Daniel Flefil
April 14, 2019 · 7 min read
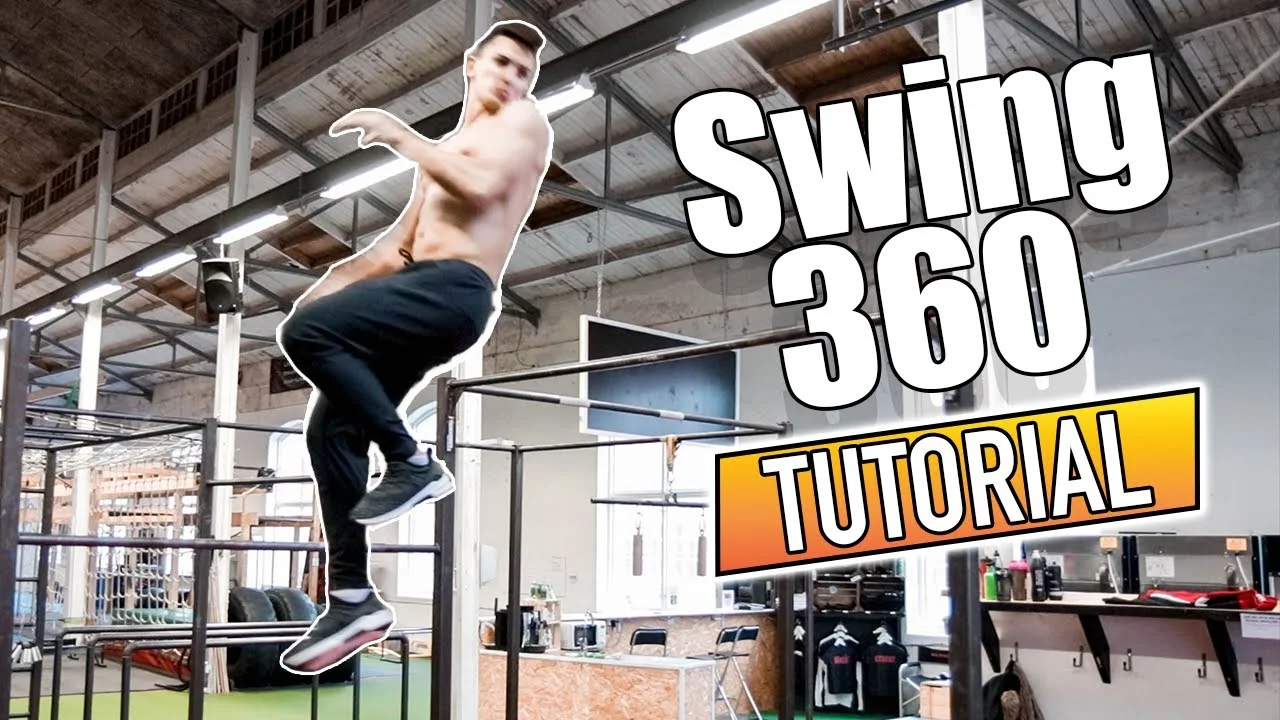
The swing 360 is a bar re-catch move where you swing, release, spin your body a full 360 degrees in the air, and grab the bar again. The rotation is horizontal around your vertical axis, which is completely different from the swing gainer where the body flips backward. It sits at the intermediate freestyle level. The main challenge is generating enough height at the release point for the spin to complete, and then finding the bar on the way back. In this tutorial I cover the prerequisites, the two technique cues that make the spin work, and six steps that take you from your first swing to catching the bar after a full 360. By the end, you will have a clear training framework for this skill at whatever pace works for you.
Watch the Full Tutorial
What Is the Swing 360?
The swing 360 is a bar move where the athlete swings, releases, performs a 360-degree horizontal spin, and re-catches the bar. The spin happens around the vertical axis of the body, not the horizontal axis. This makes it a very different skill from bar dismounts like the swing gainer. The swing 360 ends back on the bar.
It trains spatial awareness, explosive pulling power, and the ability to re-catch a fixed object after a blind rotation. In street workout freestyle, it works as a transition between swing elements and adds a dynamic visual break in bar combinations. Once the re-catch is reliable, it chains naturally into standard swings and other freestyle bar moves.
The difficulty is split between two specific moments: getting enough height at release to complete the spin in time, and orienting fast enough to re-catch after the 360.
Prerequisites
The swing 360 requires a strong, controlled swing before any spin is attempted. You need to be able to swing with both feet reaching bar height on the forward peak. If the swing does not reach that height passively, the active height-generation in step 2 will not compensate enough.
Basic pull-up ability also matters. The height at the release point comes partly from a pulling motion at the back swing, not just from the swing momentum. Without enough upper body strength to create that upward drive, the air time required for the 360 is not there.
Specific standards before starting:
- Consistent swing with feet reaching bar height
- 5 clean pull-ups
- Comfortable in dynamic bar positions with both hands
Technique: Key Cues for the Swing 360
Two technique cues define the swing 360. Get both right and the rest follows.
The first is height generation. At the peak of the back swing, do not just let the swing carry you. Pull your knees up and use a partial pulling motion with your arms to drive the hips upward. This active upward push gives the air time the 360 requires. Passive swing height is not enough. Create it deliberately.
The second is the head leading the spin. When you release the bar, turn your head and look over your shoulder in the spin direction before anything else moves. The head turning is the trigger. The hips and knees follow the head. If the head stays facing forward, the body does not spin. It freezes in the air. Turn the head first, immediately at release, and the body will follow.
Arms stay close to the body throughout the spin. Wide arms slow the rotation by increasing rotational inertia. Pull the arms in tight to the chest as you release so the spin can complete before the bar is out of reach.
Progression: Training From Zero to Swing 360
These six steps build the height, the spin mechanics, and the re-catch reflex in a controlled sequence. Each step is a foundation for the one after it.
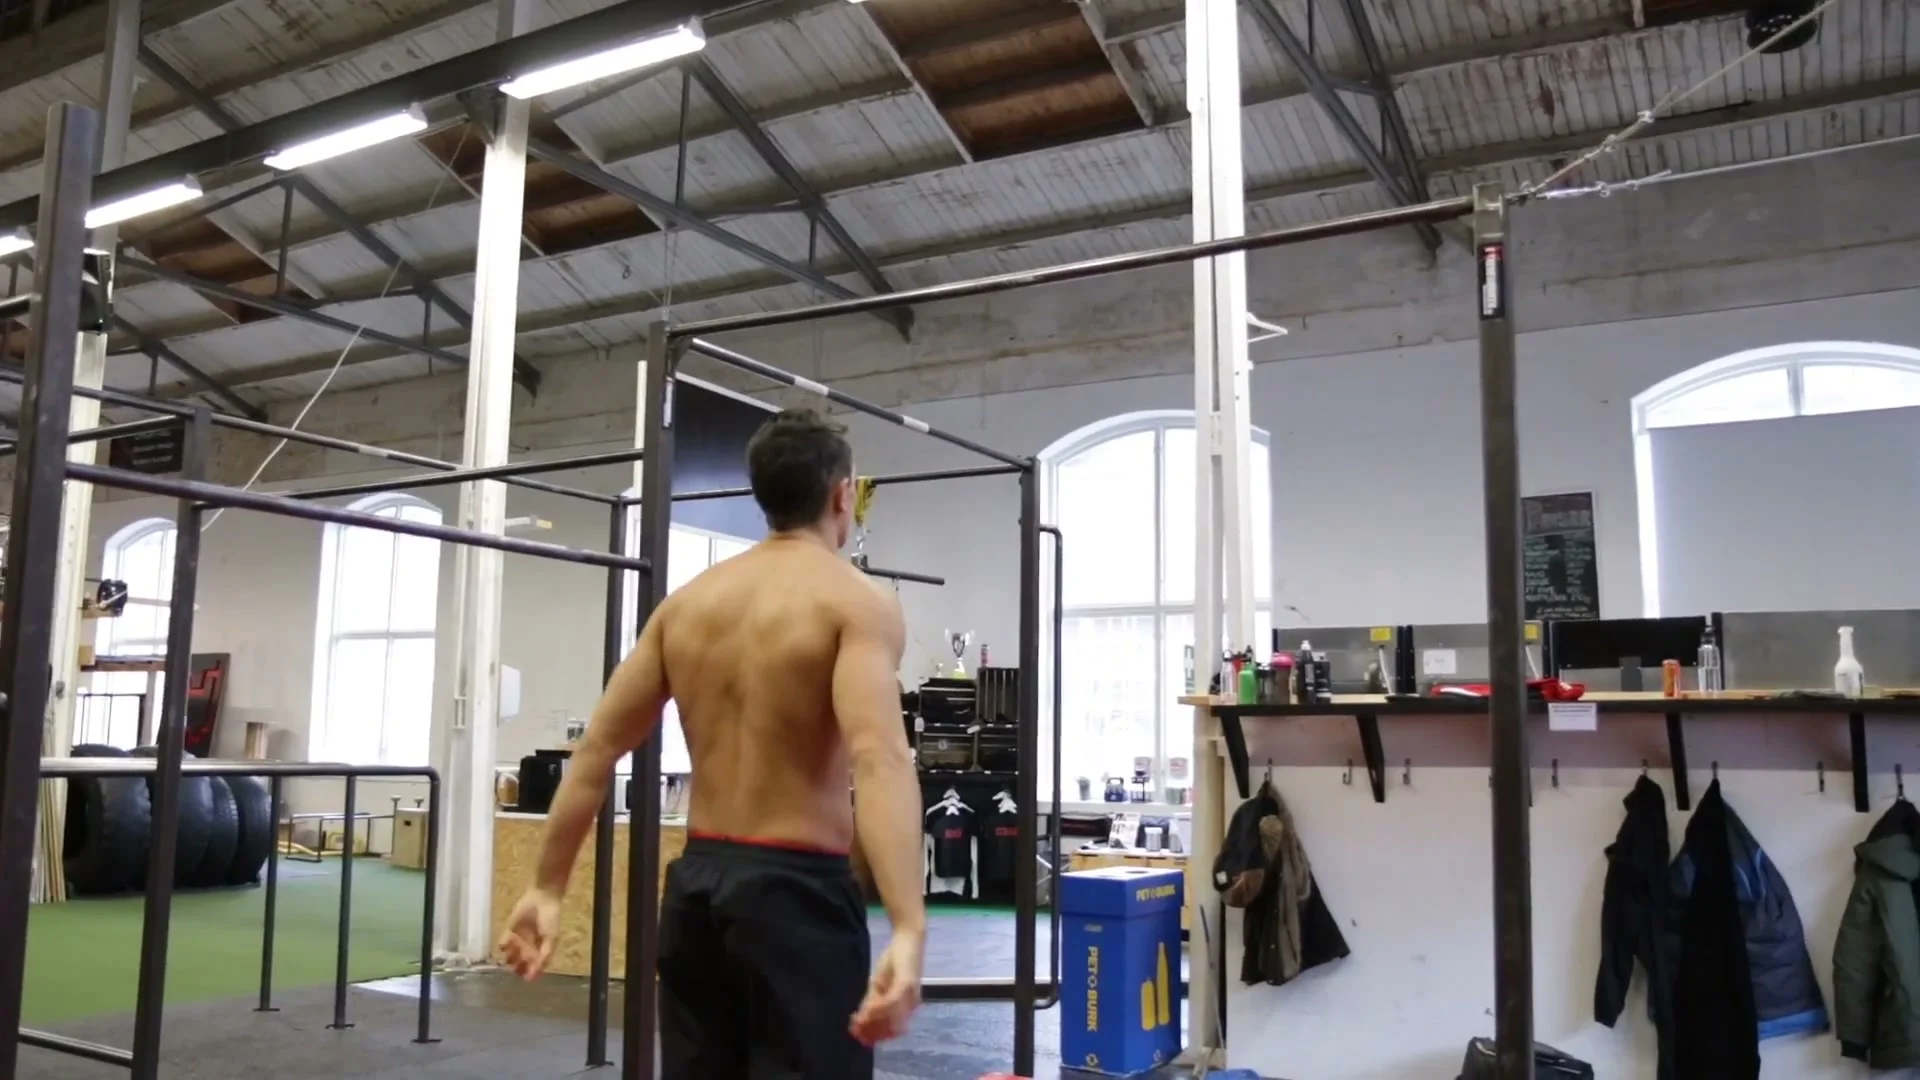
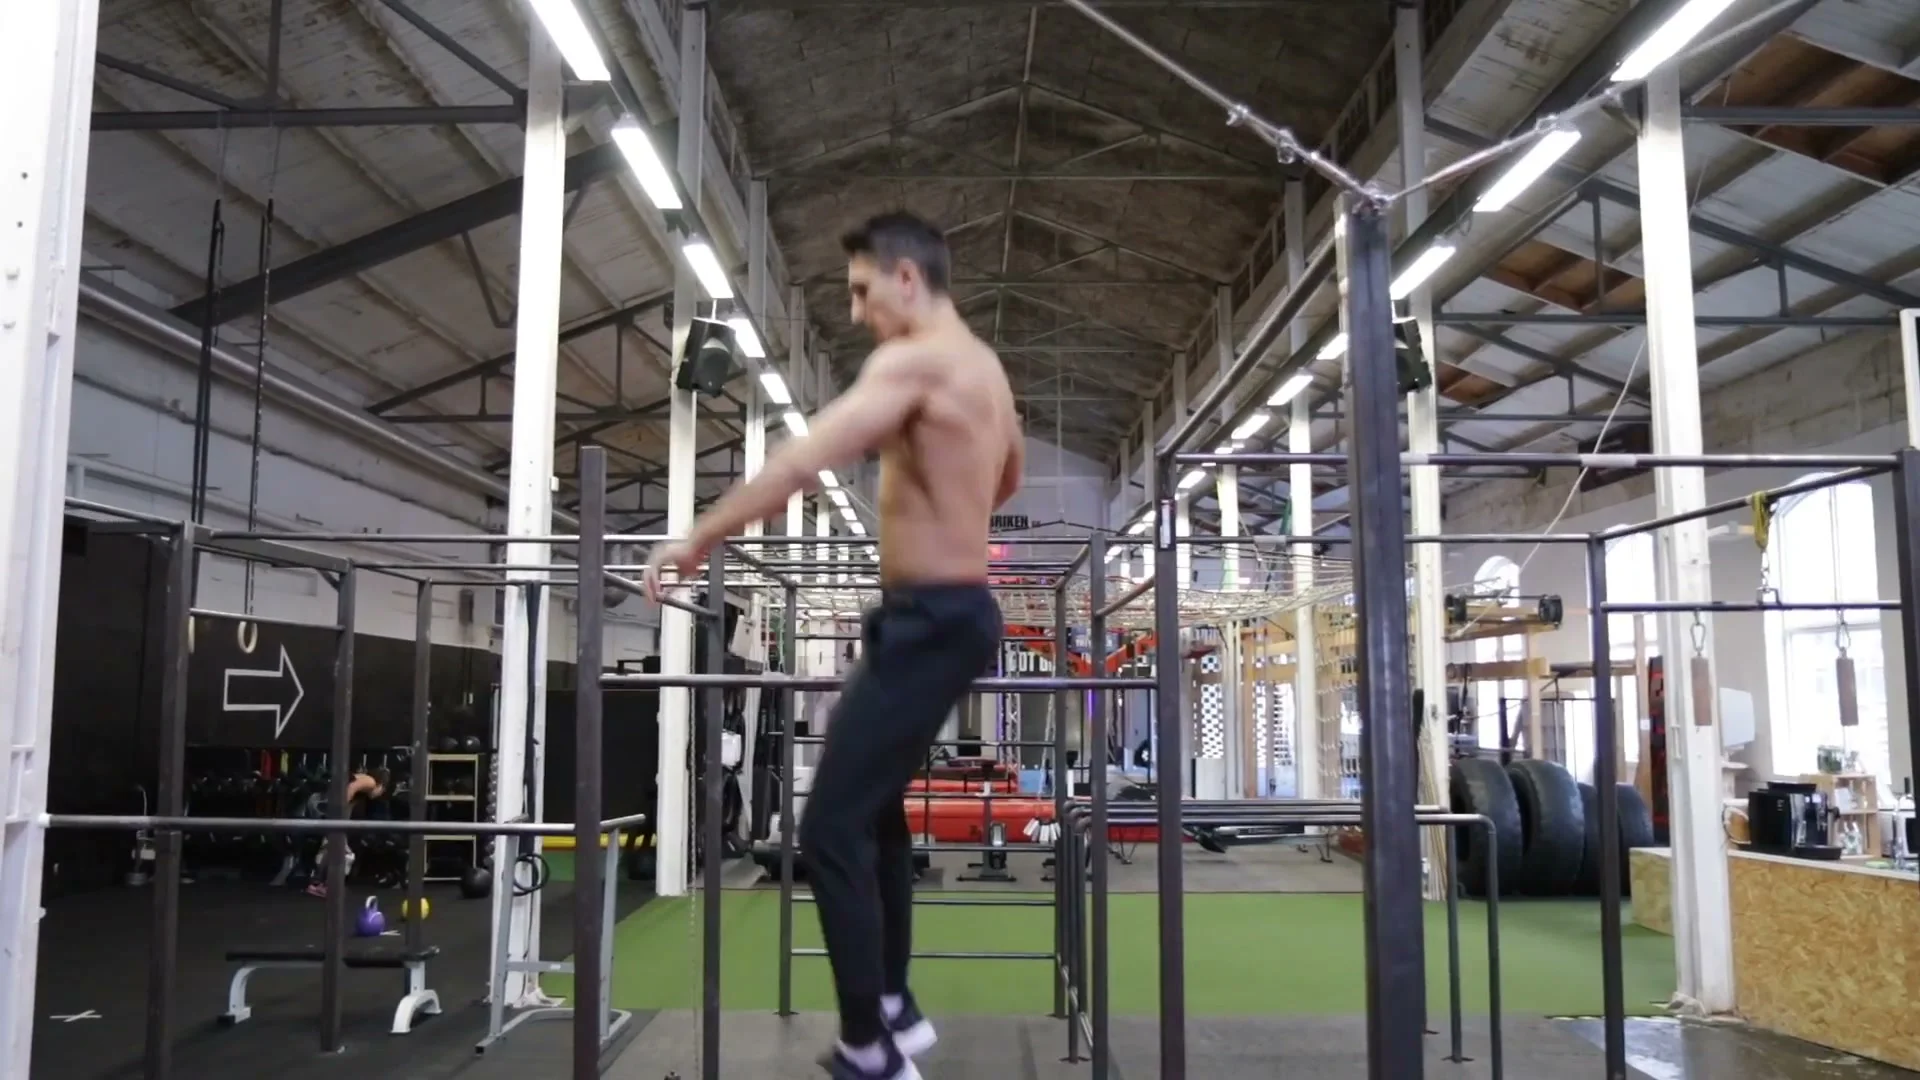
Step 1: Build a Controlled Swing
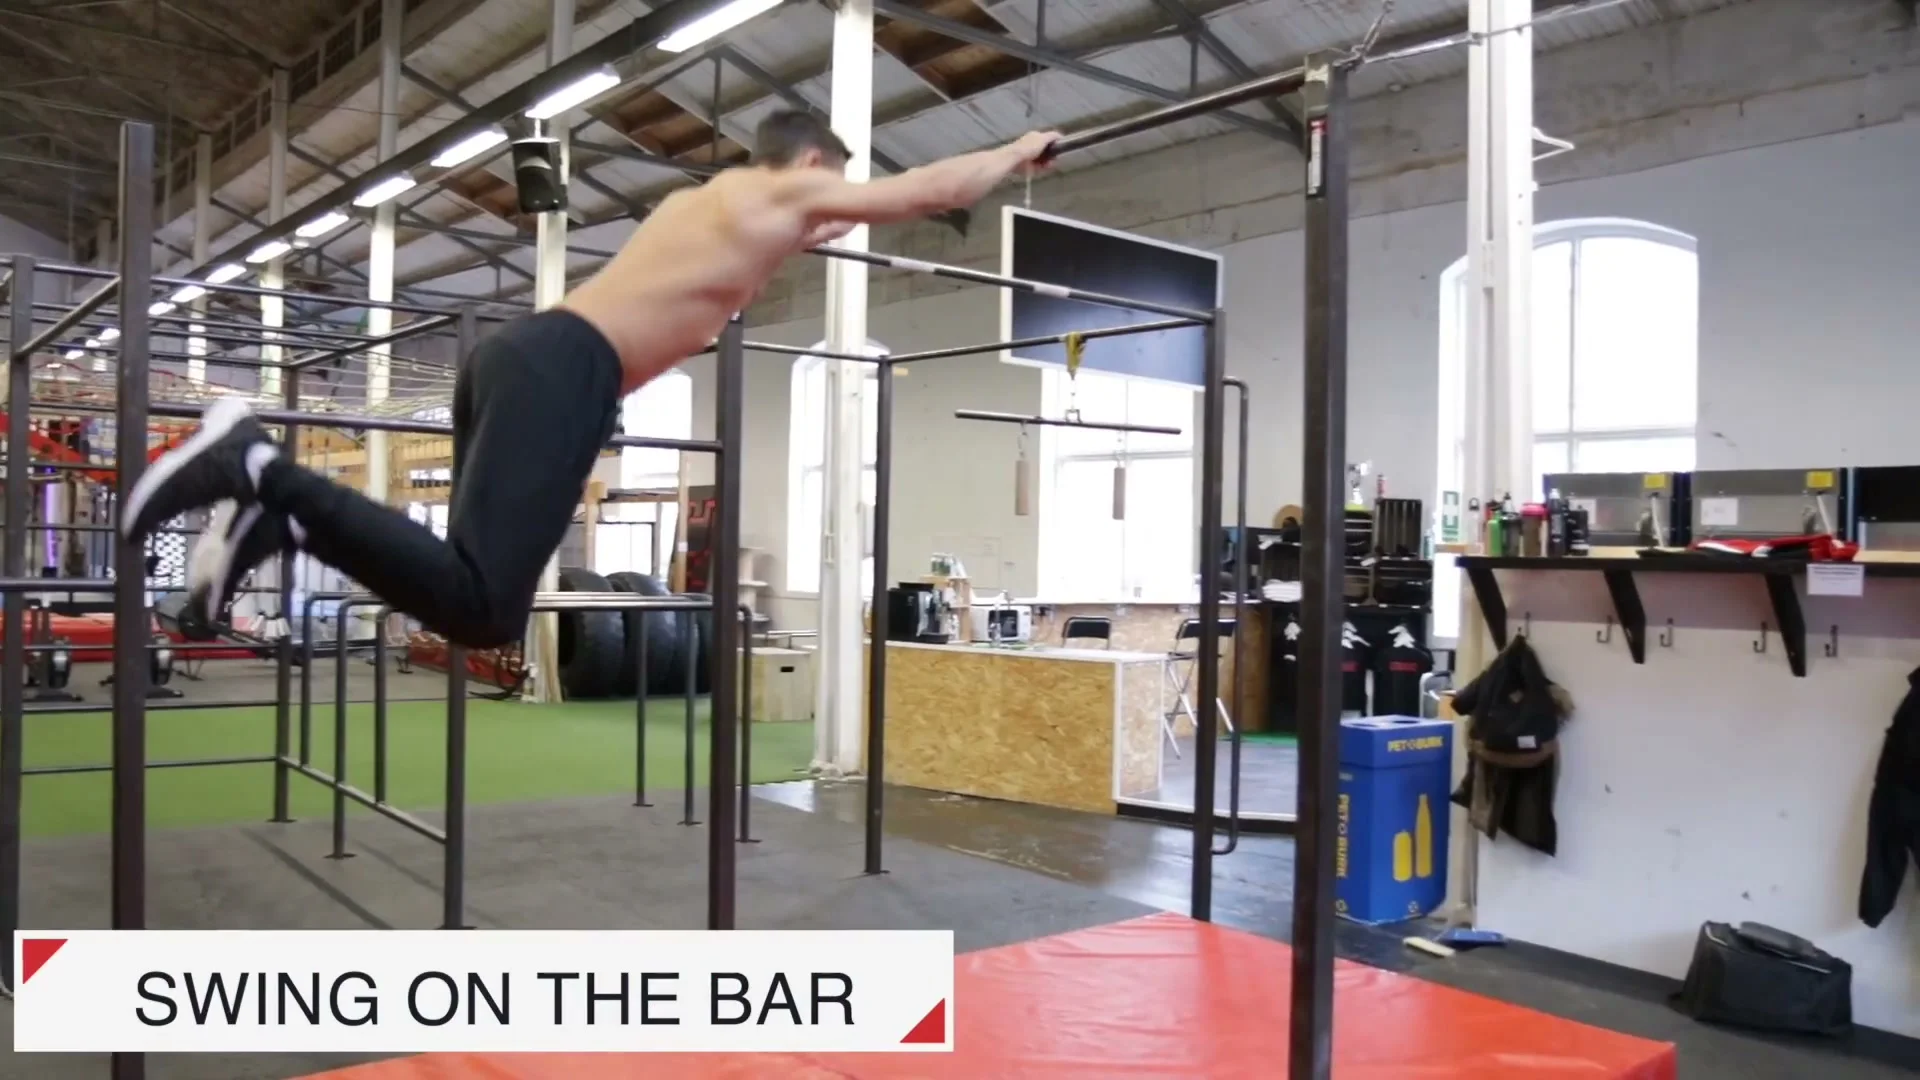
Start by building a swing with enough height that both feet consistently reach bar level on the forward peak. This is the minimum baseline before anything else is attempted. If the swing is weak or inconsistent, spend time only on this step.
Drive the swing from the lats and core, not just the legs. A body-driven swing stays tighter and generates more height than a leg-kick-driven one. The better the swing quality here, the easier every later step becomes.
Key Takeaway
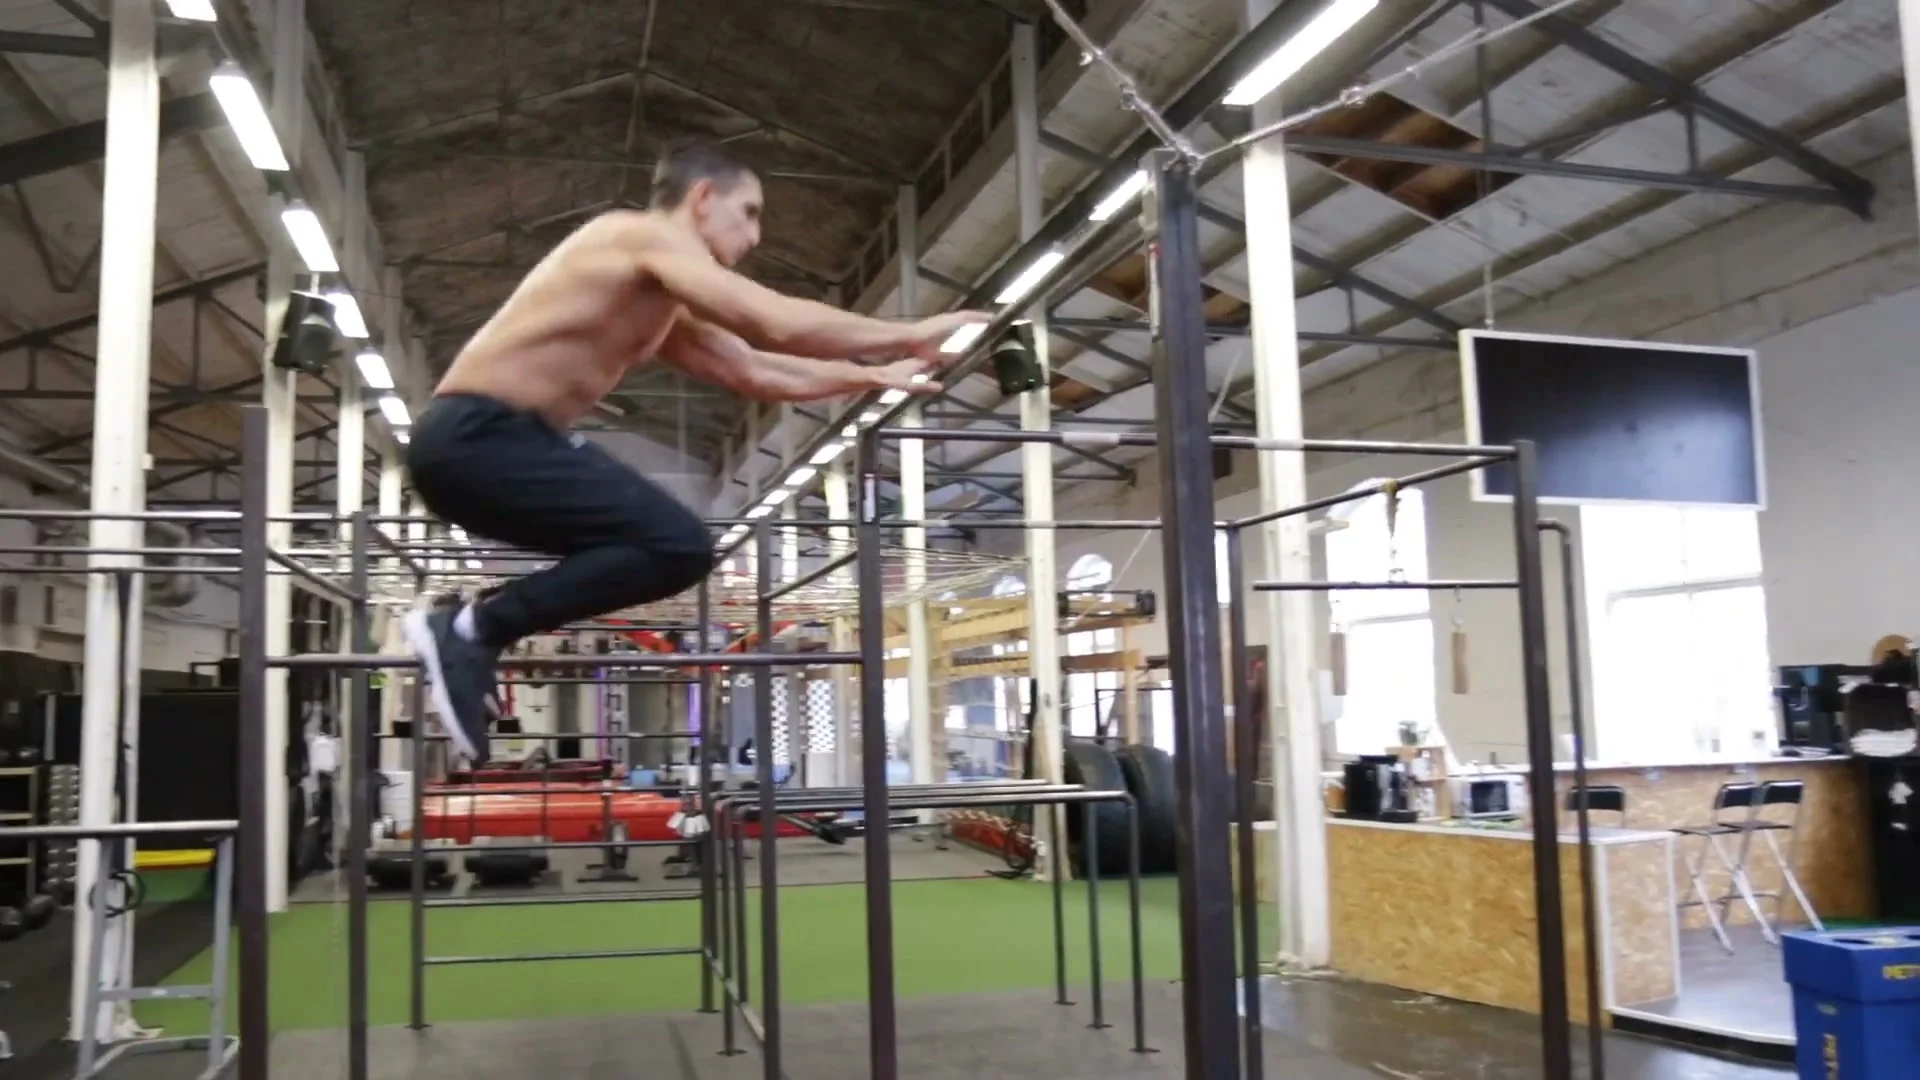
Step 2: Generate Height With a Pull at the Back Swing
At the peak of the back swing, bring your knees up and use a brief pulling motion to drive the hips upward. Keep the arms mostly extended during this drive. You are not doing a full pull-up. The goal is a short, explosive upward push that sends the hips above the bar level, giving you more air time than the passive swing produces.
Practice this height-generation on its own before adding any spin. Feel the difference between a passive swing and an active one. When the active version consistently gets your hips above the bar, you have enough air time for the 360.
Step 3: Release and Touch Knees
With the height from step 2, release the bar and touch both knees with your hands while airborne. Then re-catch the bar.
There is no spin in this step. The purpose is to build confidence in releasing and re-catching from a dynamic swing. Touching the knees gives your hands something to do in the air and trains the timing of extending back out to catch the bar. Repeat until the release and re-catch feel natural and the timing feels consistent.
Step 4: Add the Spin, Start With a 180
Now add the spin. Start with a 180. At the release point, turn your head and look over your shoulder in the spin direction. Bring your arms close to your chest. Your hips and knees follow the head. The goal is a 180-degree rotation, landing or re-catching facing the opposite direction from the start.
Once the 180 is consistent, commit to the full 360. The cues are identical: head leads, arms close, look over the shoulder. The only difference is committing to the second half of the rotation before reaching for the bar. Visualize the full spin and the re-catch before each attempt.
Step 5: Touch the Bar After the 360
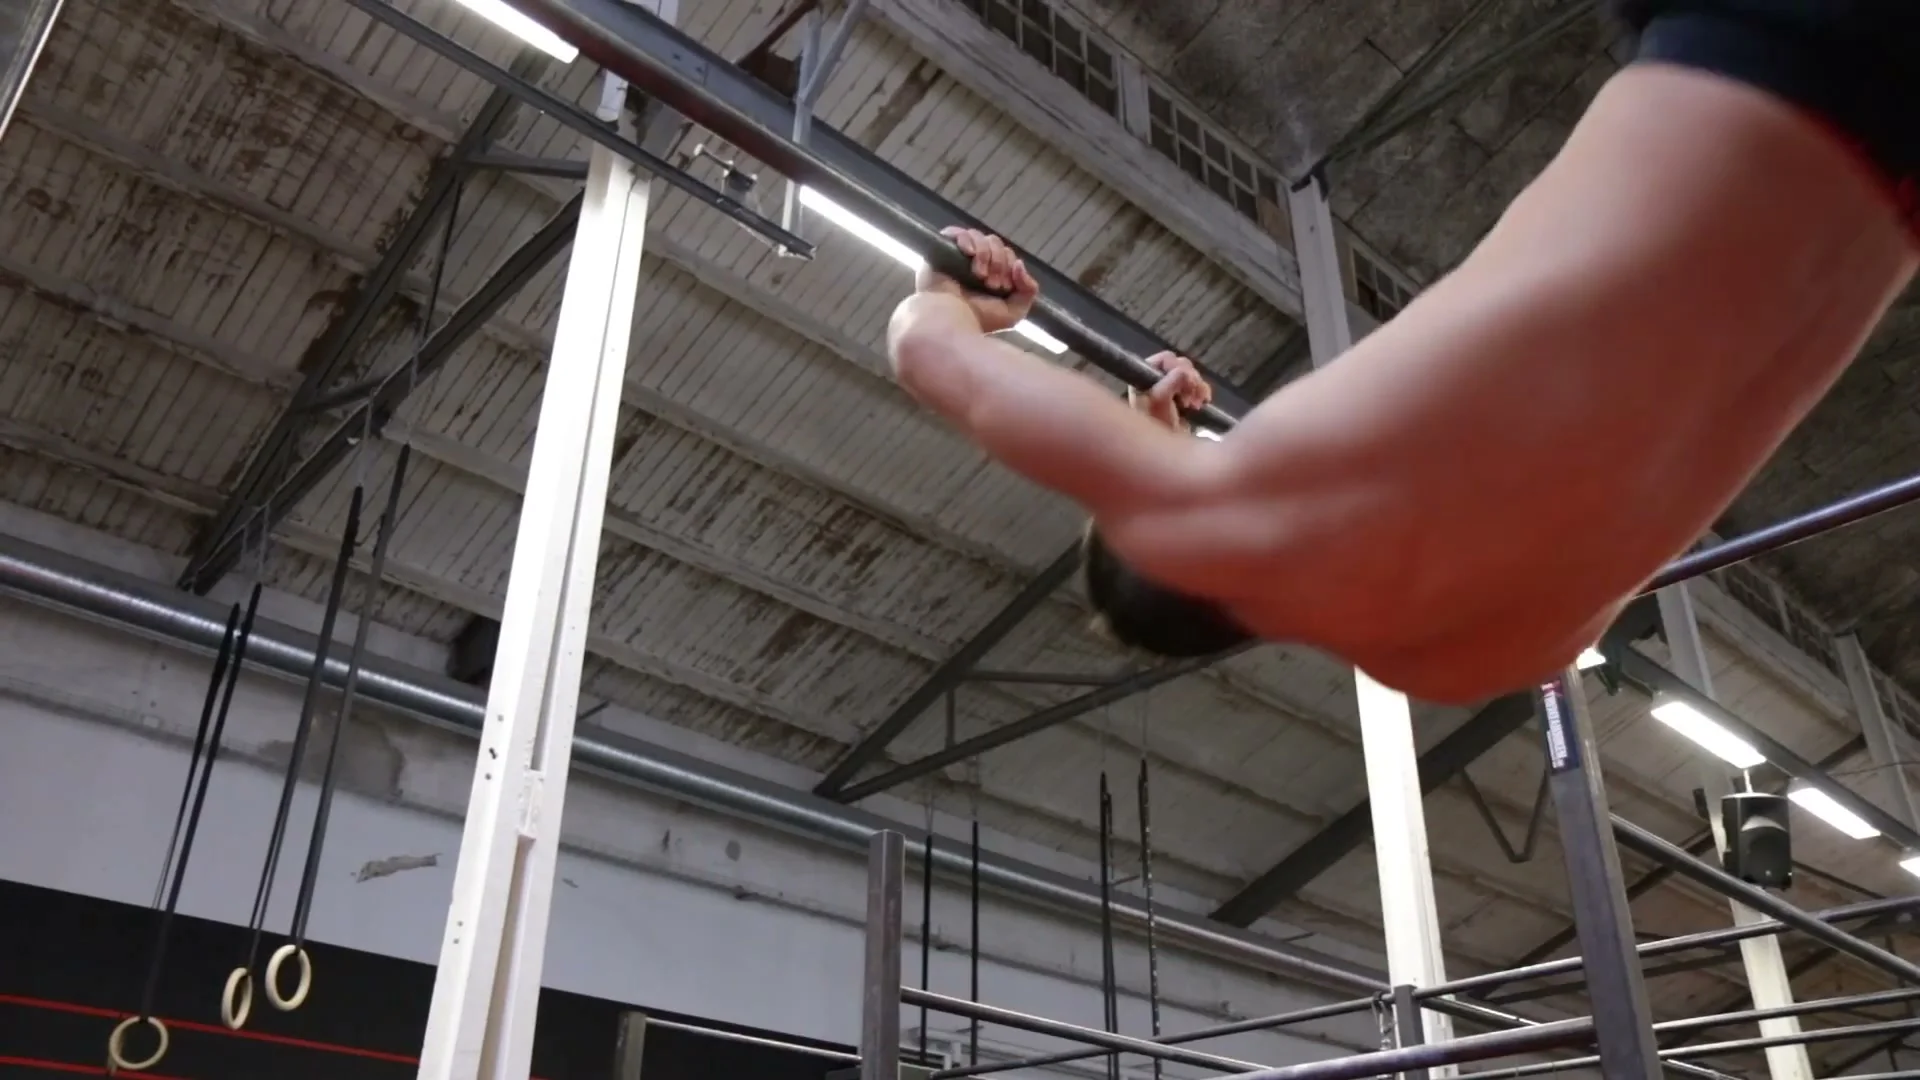
After completing the full 360, touch the bar without grabbing it. This intermediate step confirms that the rotation is completing cleanly and the bar position is correct at the end of the spin. It is lower commitment than a full re-catch and lets you build the reflex of finding the bar without requiring a grip under load.
When you can touch the bar reliably after the 360, the position is confirmed. The full grab is a small addition from here.
Step 6: Full Re-Catch
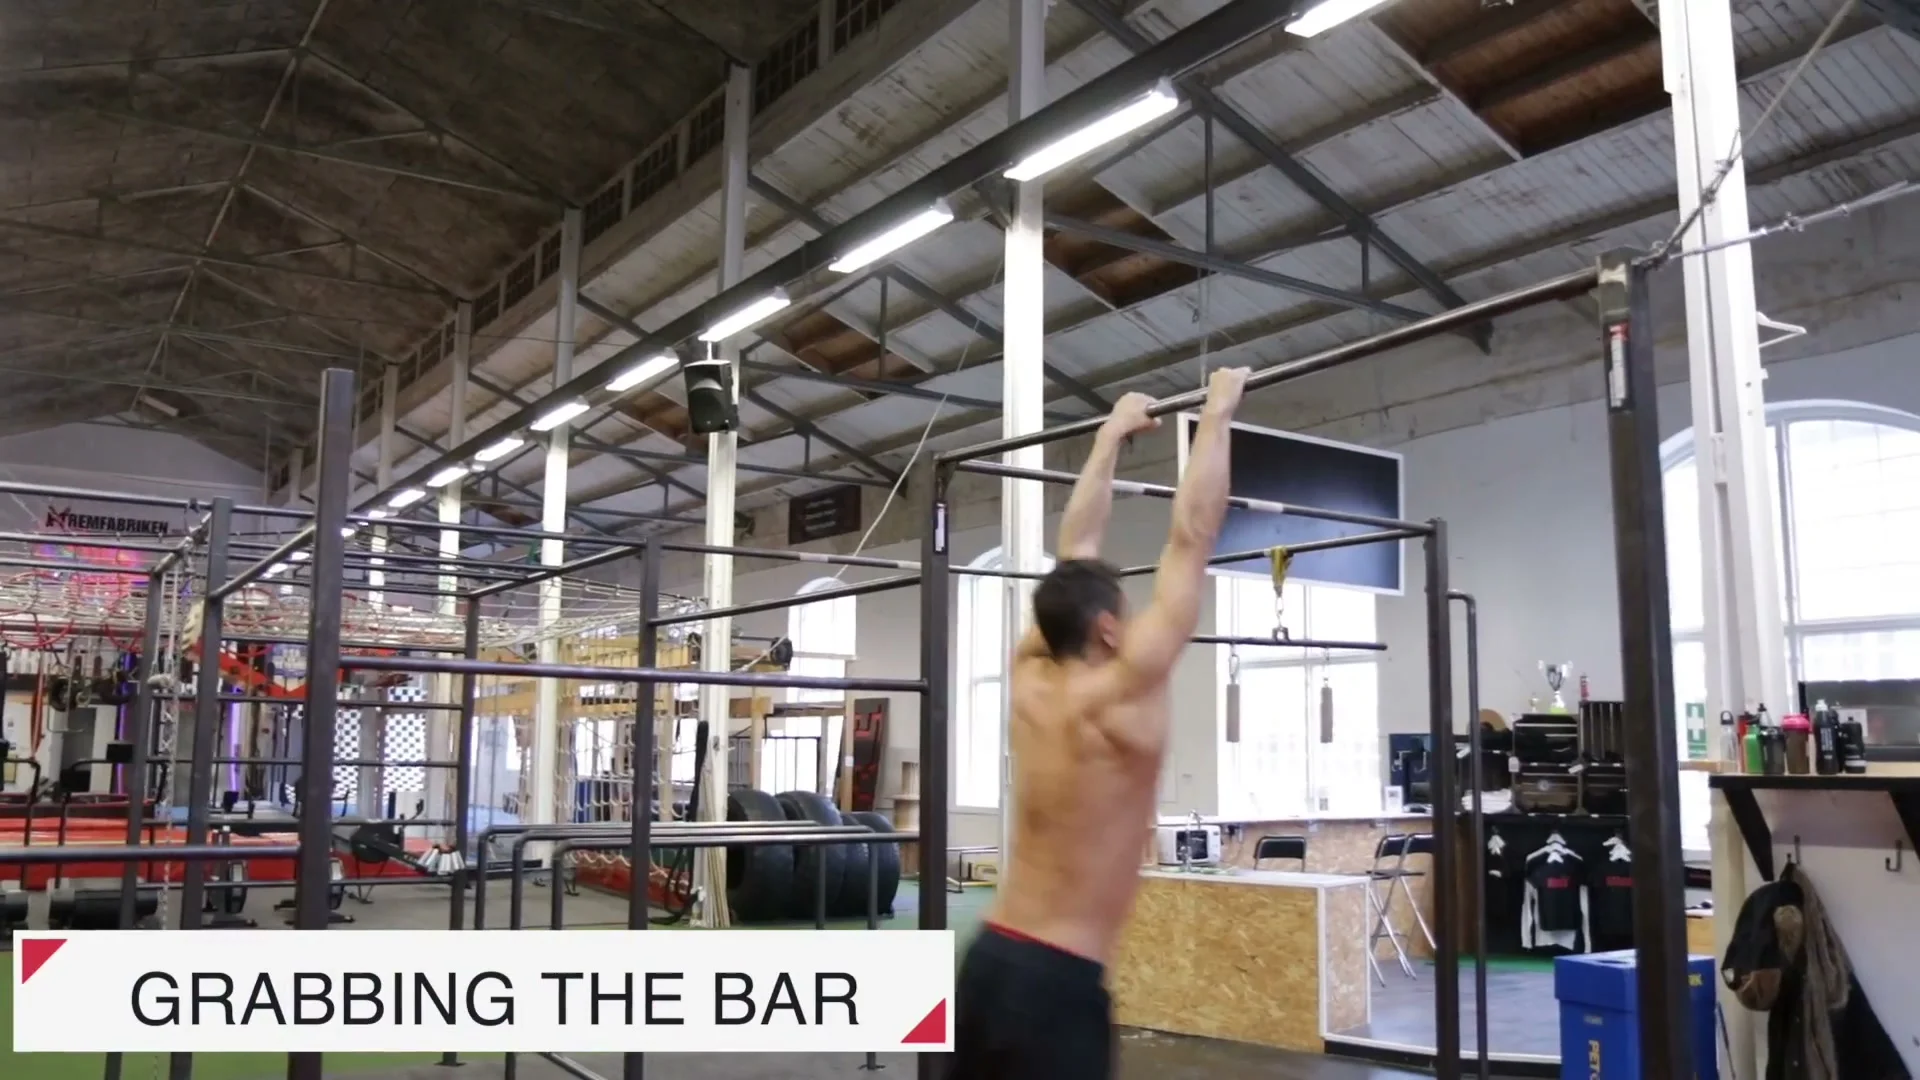
Build the height, release, spin 360, and grab the bar. Visualize the full movement before each attempt. The re-catch requires extending the arms outward at the end of the spin rather than keeping them pulled in. The transition from tight arms during the spin to extended arms for the catch is the final coordination piece the swing 360 requires.
Take time at this step even when the earlier steps are solid. The first full catches will feel uncertain. Trust the position from step 5 and commit to the grab.
Common Mistakes
Not Turning the Head at the Release
The most common reason the spin does not start is the head staying forward. If the head does not turn, the body does not follow. Look over your shoulder in the spin direction at the exact moment of release. This is the trigger for the entire rotation.
Arms Too Wide During the Spin
Wide arms add rotational inertia and slow the spin significantly. The 360 then does not complete in time to catch the bar. Pull the arms in tight to the chest as you release. Practice the arm-pull consciously in each attempt until it becomes automatic at the moment of release.
Not Enough Height at the Release Point
Releasing from a passive swing without using the pull-up drive in step 2 means not enough air time. The spin runs out before completing. Return to step 2 and practice the active height-generation until it is consistent before attempting the spin again.
Extending the Arms Too Early for the Catch
Reaching for the bar before the 360 completes cuts the rotation short. The arms extend out, slow the spin, and the catch happens at 270 degrees instead of 360. Let the rotation finish fully, then extend toward the bar.
Training Tips
Practice the swing 360 at the start of a session when the grip is fresh. The re-catch requires a strong grip at the moment of catch. Grip fatigue causes missed catches that have nothing to do with technique and can build bad habits around the release timing.
Use the step 3 drill as a warmup before every session where the swing 360 is being trained. The release-and-touch-knees drill keeps the re-catch timing sharp and warms up the release reflex before any spin is added. Do 5 to 10 reps of it before moving to step 4 or beyond.
Film yourself from behind when working on the spin. The head-turn is hard to feel accurately in the moment but immediately visible on video. If the body is not spinning, the video will show whether and when the head is turning.
Once the full re-catch is consistent, chain it into combinations. A standard swing into a swing 360 and back into a swing is a clean, simple sequence that trains the move in a flowing context rather than as an isolated skill. The next step up in difficulty is the swing 540.
Frequently Asked Questions About the Swing 360
Do I need pull-up strength before training the swing 360?
Yes. The height-generation in step 2 uses a partial pulling motion at the back swing. Without basic upper body pulling strength, creating the upward drive that gives enough air time for the 360 is not possible from swing momentum alone. 5 solid pull-ups is a reasonable baseline before starting.
Which direction should I spin?
Spin toward whichever side feels most natural. Most people spin toward their dominant side. There is no correct direction. Pick one, practice it consistently until it is reliable, then consider the other direction later.
How long does it take to learn the swing 360?
Most athletes with a strong swing and basic pull-up ability can work through the six steps within two to four weeks of focused training. Step 4 (adding the spin) and step 6 (the full re-catch) are typically the stages that require the most sessions. The touch-knees drill in step 3 builds release confidence quickly if practiced consistently.
Is the swing 360 dangerous to learn?
The main risk is a missed re-catch causing a fall from bar height. Working through the steps in order significantly reduces this risk because each step builds the height and orientation at a lower commitment level before the full catch is attempted. Use a bar where a missed catch results in a controlled drop to the ground, not a fall from significant height, especially during steps 4 and 5.
What is the difference between the swing 360 and the swing gainer?
The swing gainer is a backward flip dismount where the athlete releases the bar and lands on the ground in front of it. The swing 360 is a horizontal spin re-catch where the athlete returns to the bar. They use completely different axes of rotation and require different techniques. The swing gainer does not involve a re-catch.
Can I learn the swing 360 without a pull-up bar with open space around it?
The swing 360 requires a bar with enough clearance to swing freely on all sides. A doorframe pull-up bar is not suitable because the ceiling and surrounding walls prevent a full swing. A pull-up rig, a gym bar with open space, or an outdoor calisthenics park bar are the practical options.
Why does my body stop spinning halfway through the 360?
Two causes cover most cases. Either the arms did not come in close enough at the release, which slowed the rotation, or the head did not turn enough to initiate the spin. Check both on video. Wide arms during the spin and a head that stays facing forward are the two most common reasons a 360 stalls at 180 degrees.
Daniel Flefil
Calisthenics coach with 11 years of experience, co-founder of Calixpert, and organizer of Beast of the Barz, one of the world's largest calisthenics competitions. Based in Stockholm. I write about training, equipment, and everything that goes into building a serious calisthenics practice.
More about Daniel →