Daniel Flefil
October 6, 2024 · 10 min read
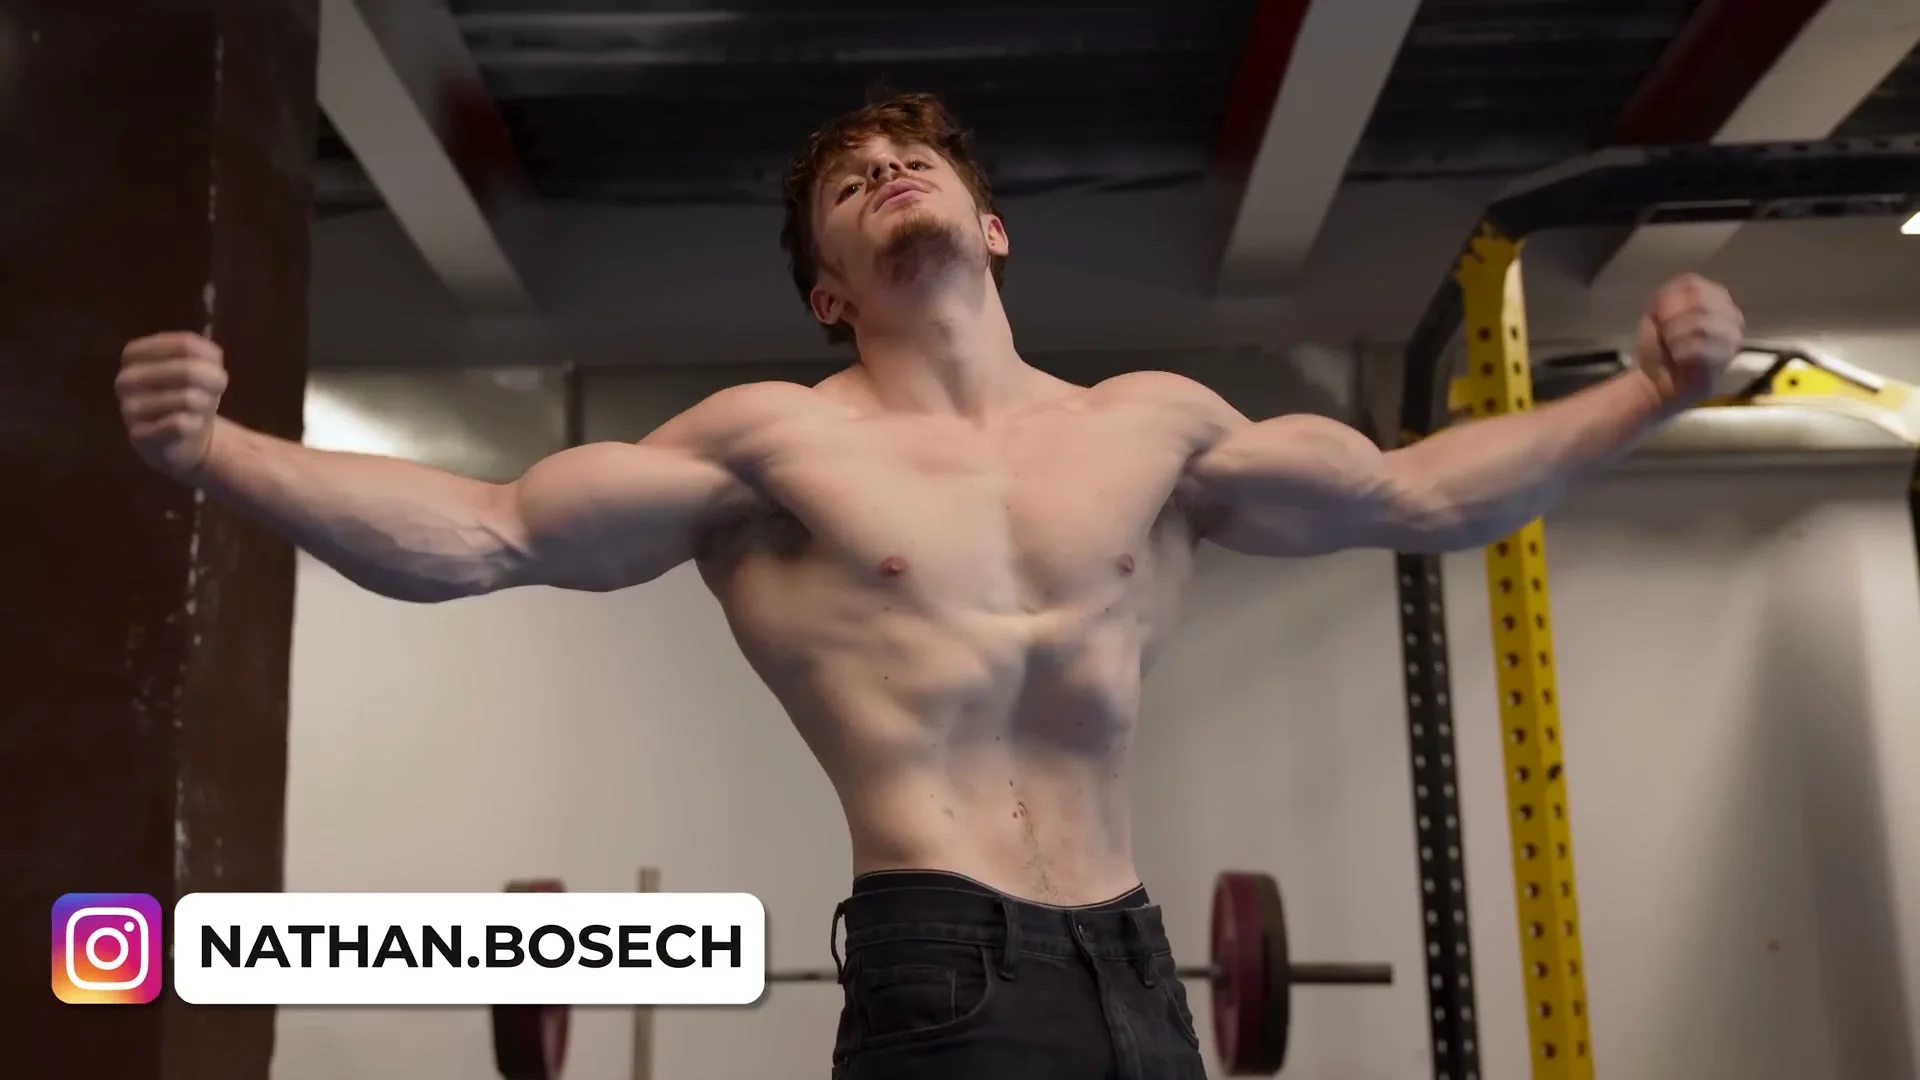
The planche is one of the most recognized skills in calisthenics. Holding your entire body parallel to the ground on just your hands takes years of dedicated shoulder and wrist strength. It is not a movement for complete beginners, but it is also not as unreachable as it looks. I flew to Bulgaria to train with Nathan Bosech, a static movement specialist with over six years of dedicated planche work. In this tutorial, I cover the seven progression steps Nathan recommends, the technique details that matter most, and the mistakes that slow most people down. By the end, you will know exactly where to start your planche journey, no matter where you are right now.
Watch the Full Tutorial
What Is the Planche?
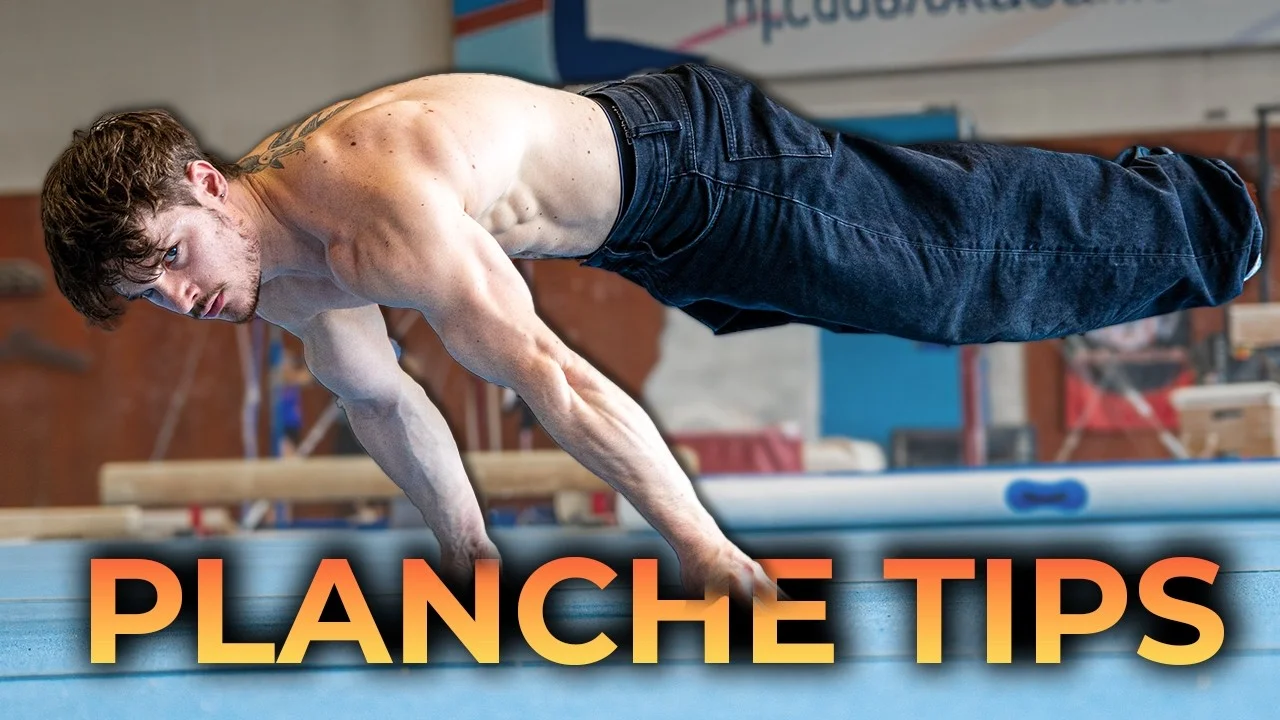
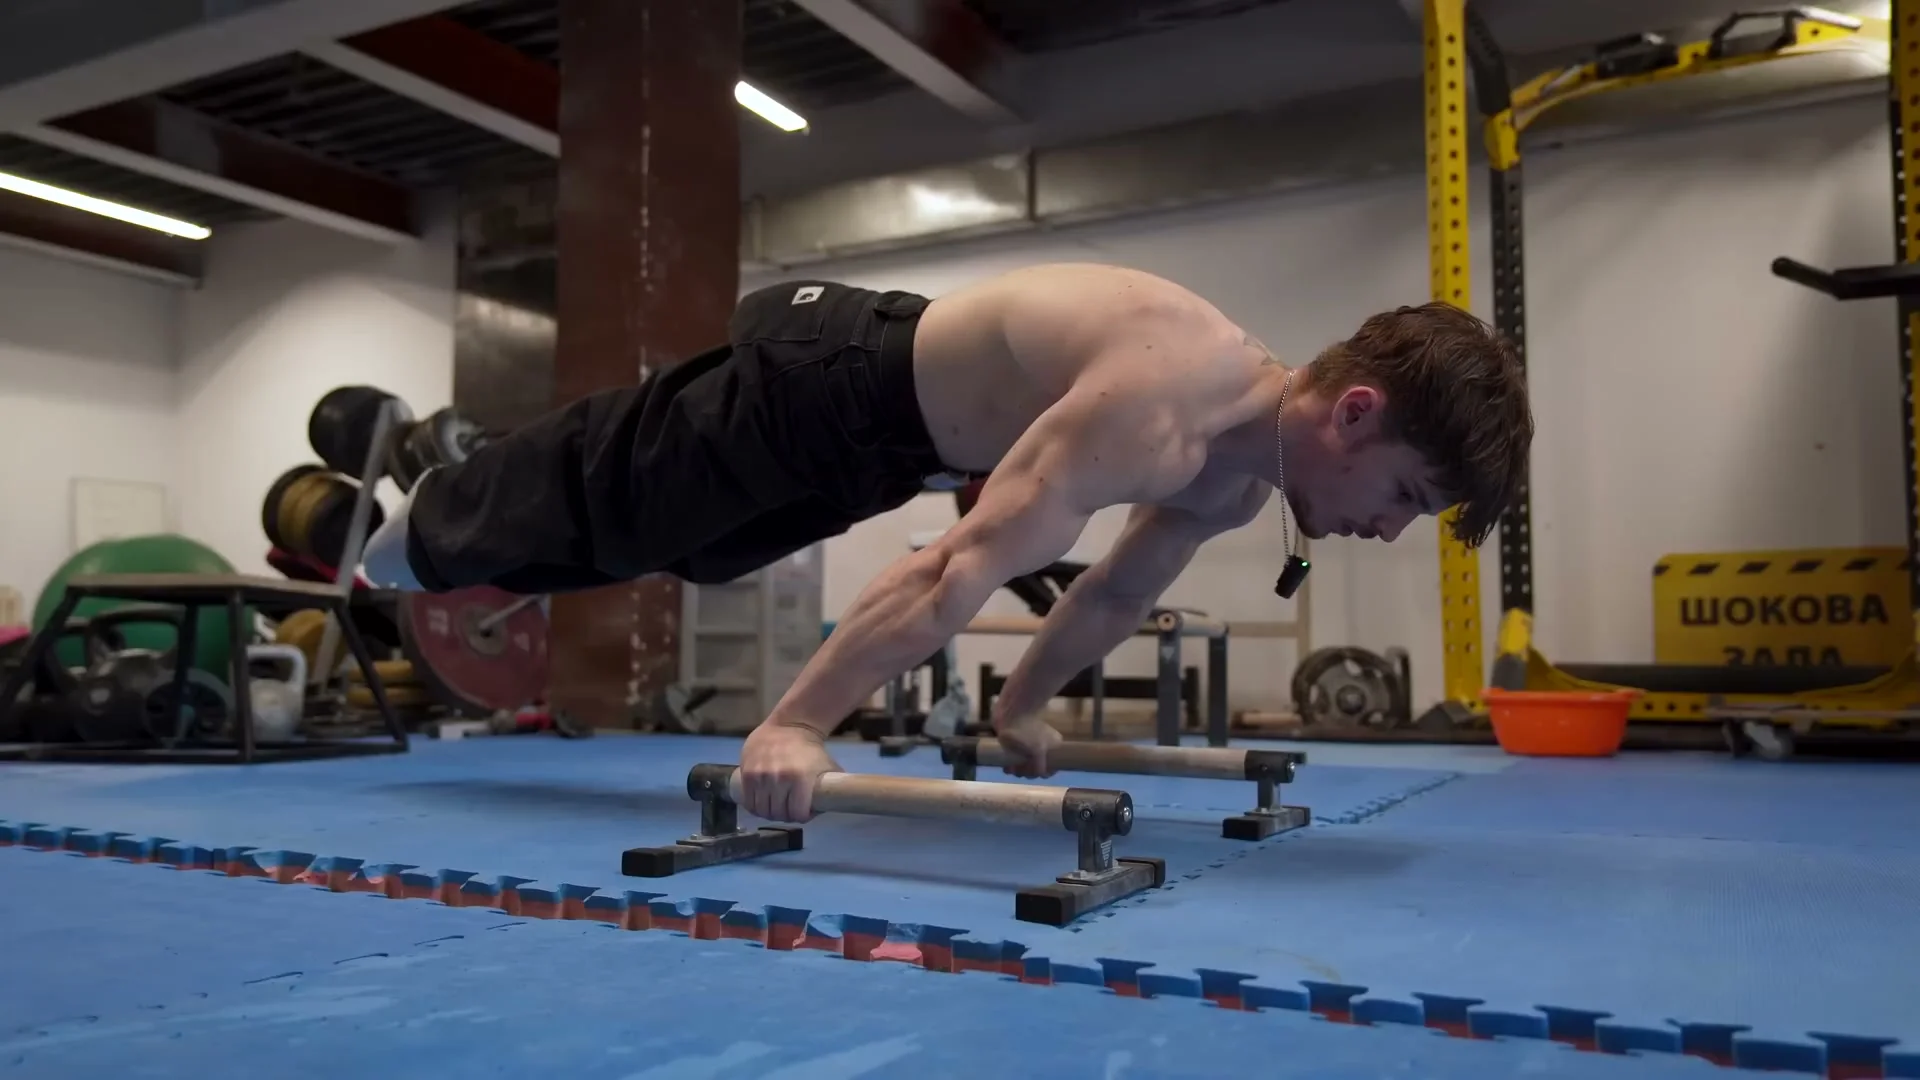
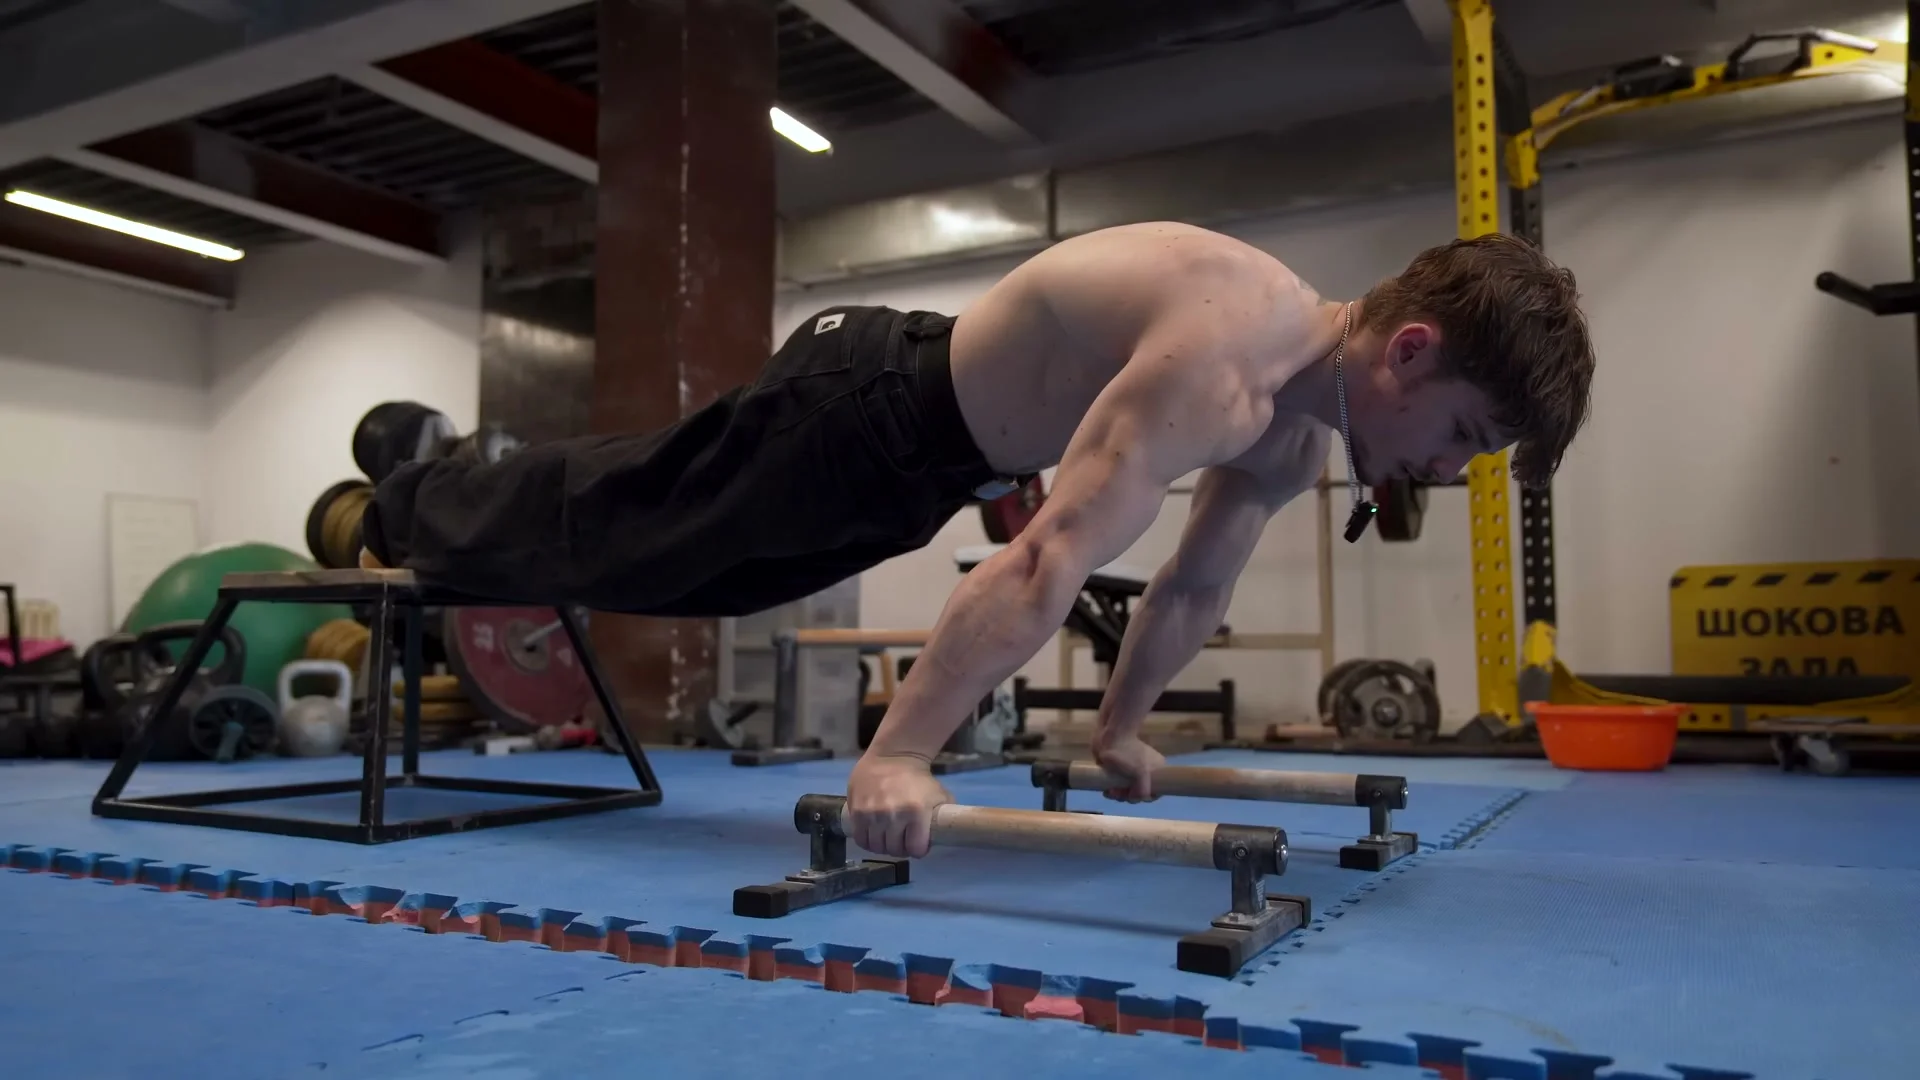
The planche is a static gymnastics and calisthenics hold where the body is held completely horizontal, parallel to the floor, supported only by two straight arms. From the outside it looks like the athlete is floating. There is no bend in the elbows, no contact with the ground except the hands, and the body forms one rigid line from head to feet.
The movement primarily trains the shoulders, biceps, wrists, and chest. The loading is unlike any standard push exercise because the forces are almost entirely anterior, demanding that your front delts and scapular muscles support the full weight of your body in a fully extended position.
In the calisthenics skill hierarchy, the planche sits above the handstand and the front lever. It is considered an advanced to elite movement. Most athletes spend between two and five years developing the specific strength and body awareness it requires before holding a clean full planche.
Prerequisites
Before starting planche training, you need a solid foundation in basic upper body pressing. Nathan is clear about this: if you only have a few push-ups and a few dips, your first goal is the lean planche, not the tuck planche. Rushing the progressions without the right base leads to wrist and shoulder injuries that can set you back months.
Aim to have these before starting:
- 20 clean push-ups
- 10 dips
- A consistent handstand practice
- Basic wrist mobility and tolerance for bodyweight pressure on extended wrists
Technique: How to Do the Planche
Before getting into progressions, understand the position you are working toward. In a full planche, your hands are flat on the floor with a neutral wrist angle, not fully pronated and not fully supinated. Find the angle where you feel the least stress on your thumb. Your shoulders are rounded forward with strong scapular protraction. Arms stay straight, elbows locked.
The hips stay squeezed throughout. Glute activation is not optional: it controls the posterior chain and prevents the hips from sagging. Your body forms a rigid plank parallel to the floor. The primary sensations are pressure in the wrists, forearms, elbows, and shoulders, with a secondary load through the chest and upper back.
Breathing matters more than most people expect. Nathan uses this pattern: exhale on the way down into a push-up, inhale at the bottom, block the breath while holding, then exhale again as you push up. Being too tense or forgetting to breathe burns energy fast and collapses hold time far earlier than strength would.
Progression: Training From Zero to Planche
Key Takeaway
No one goes straight to the full hold. Nathan laid out seven steps in a specific order. Work each stage until it feels controlled and consistent before moving to the next.
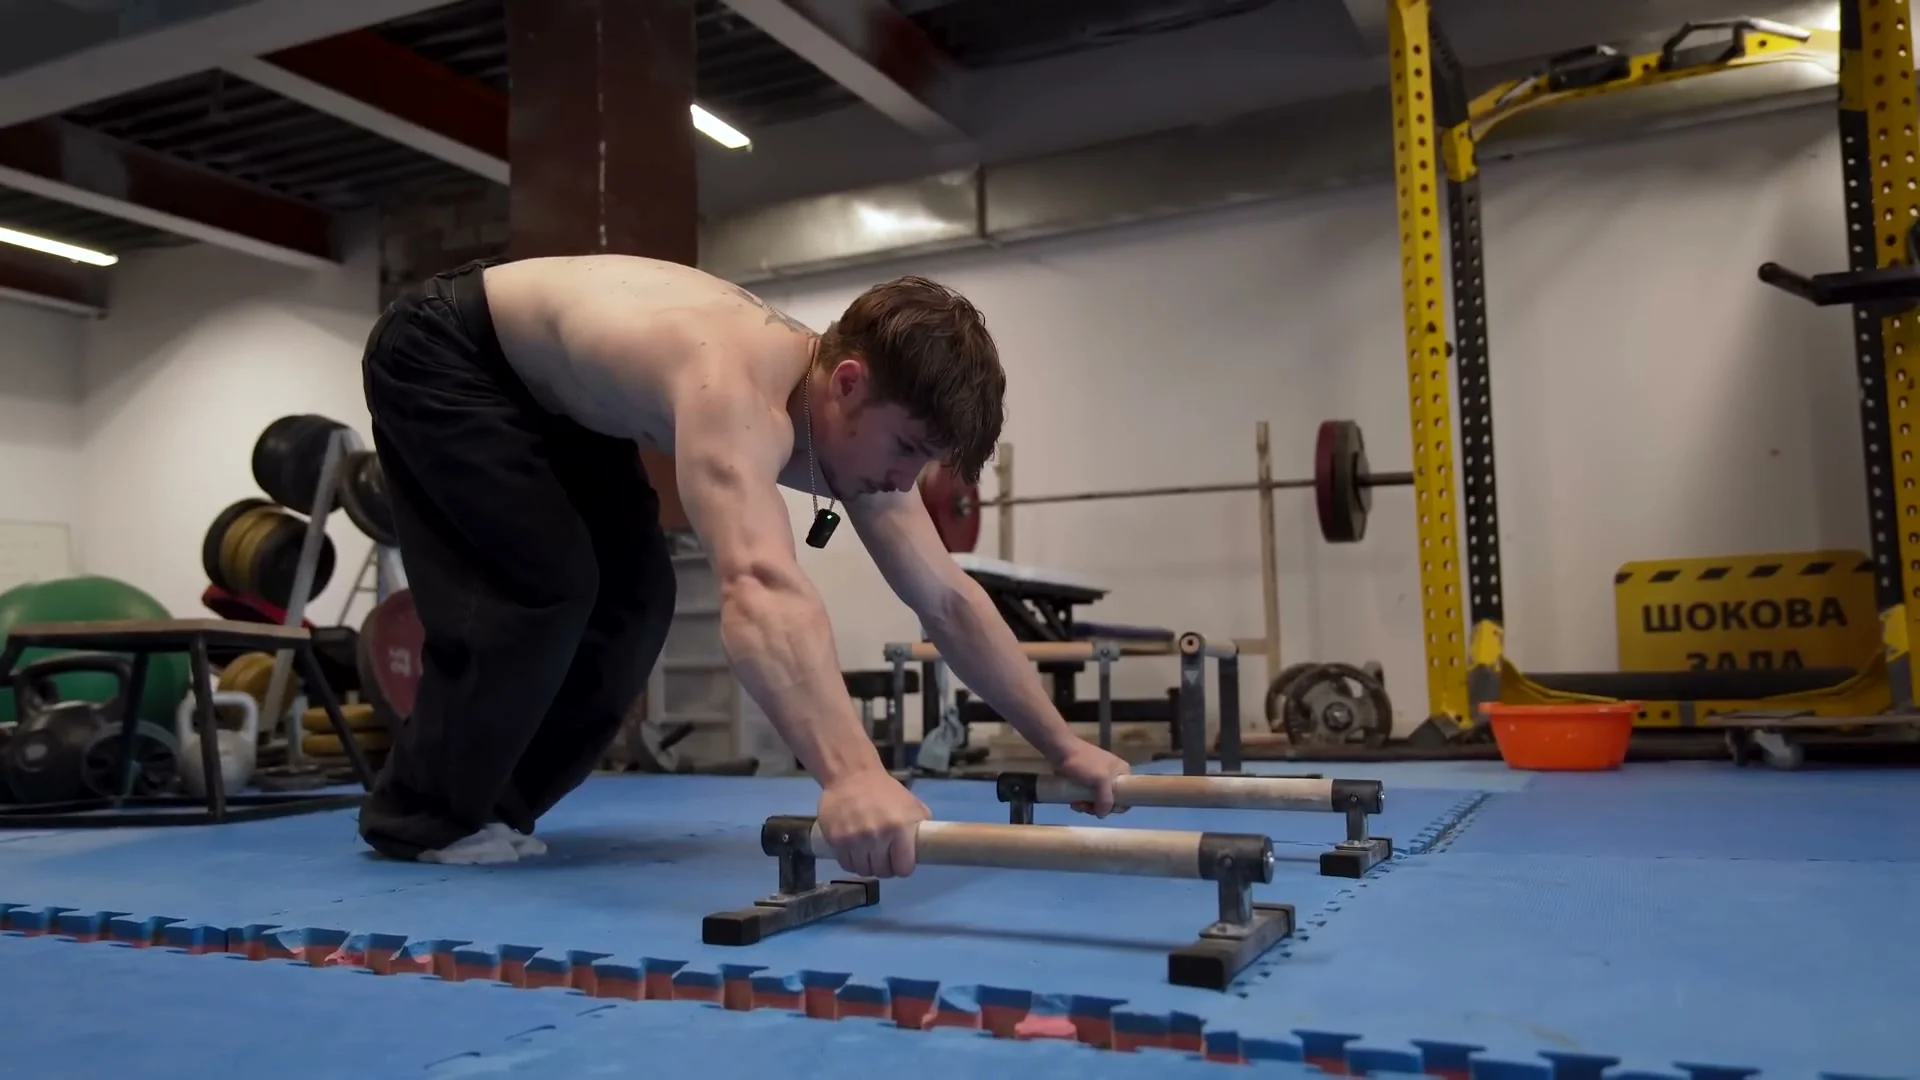
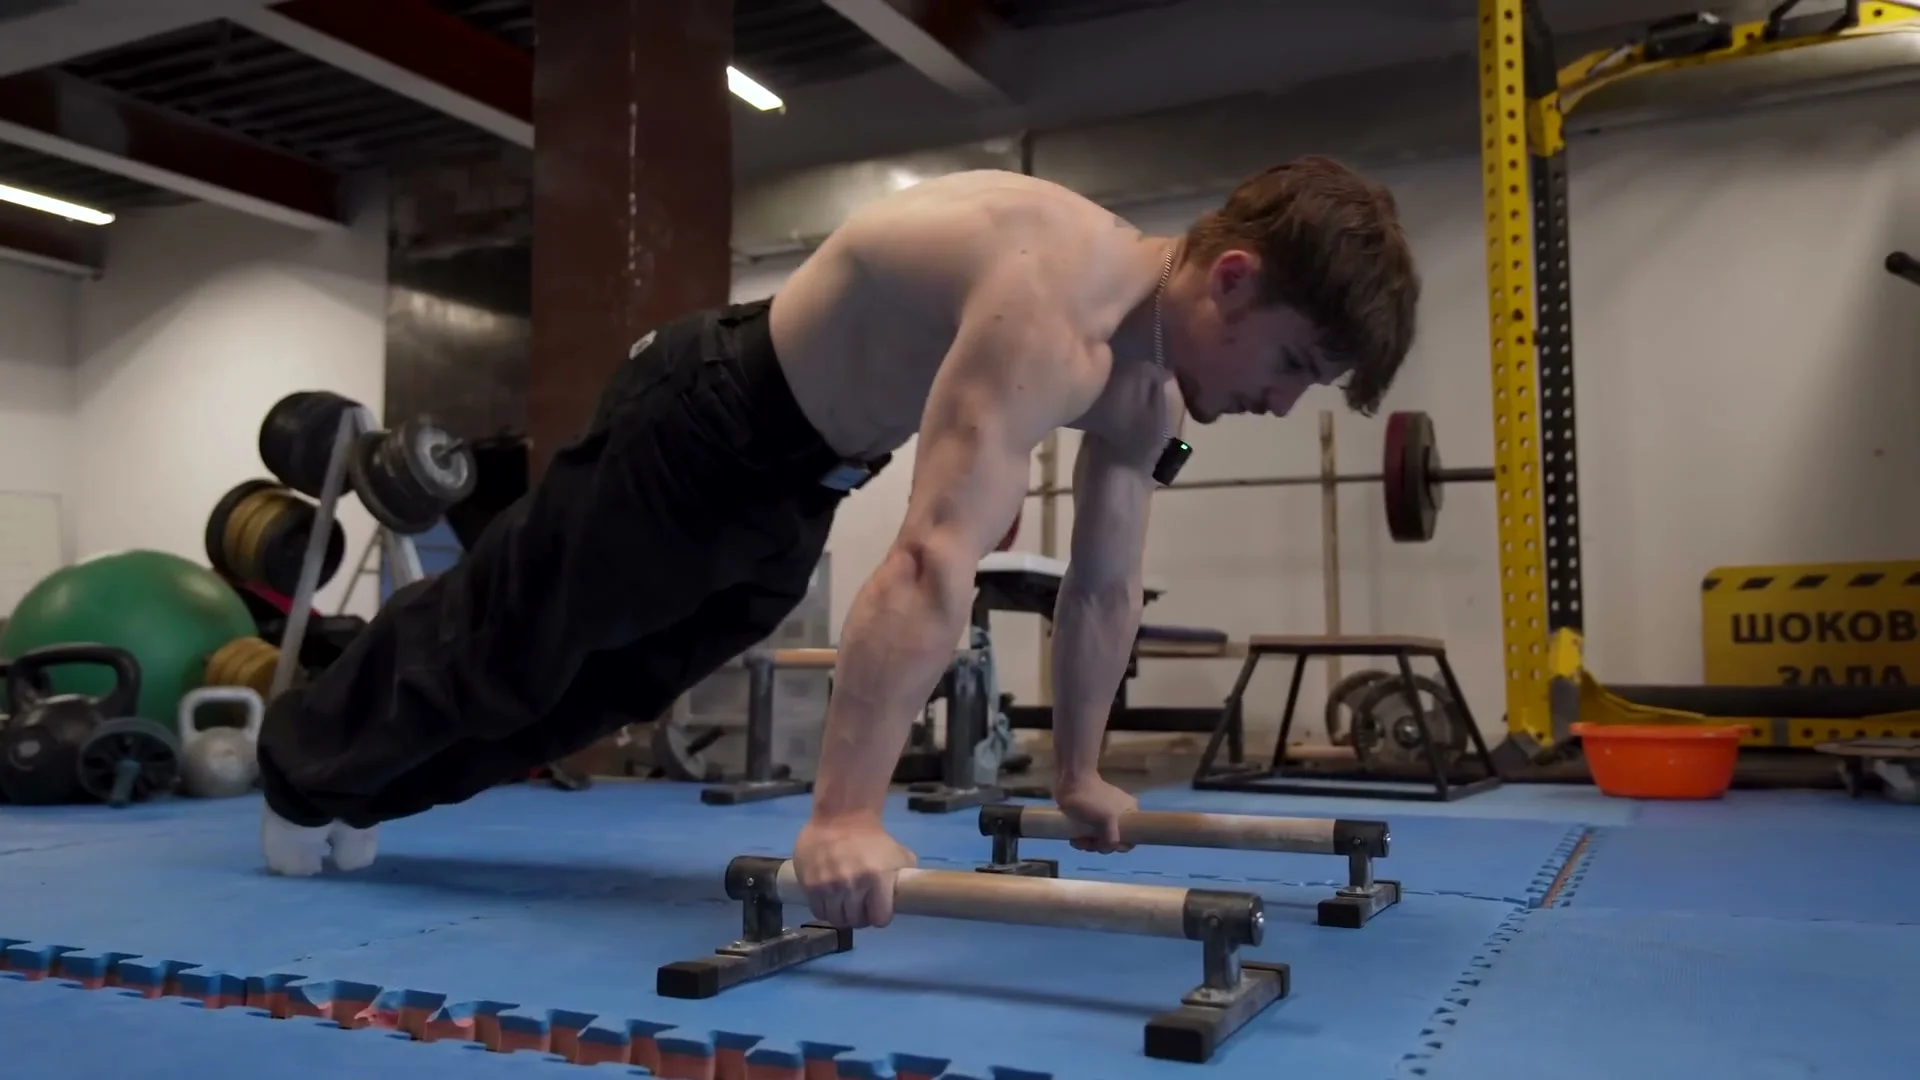
Stage 1: Lean Planche
Start here if you are new to planche training. Place both hands flat on the floor, neutral wrist position. Round your back, keep your arms straight, squeeze your glutes, and lean your weight forward over your wrists. You will feel the load building immediately in your shoulders and biceps.
You do not need to lift your feet. The goal is to load the joints and start building the tendon strength for the position. Do several short holds throughout your session. You can combine lean planche holds with other exercises as a superset.
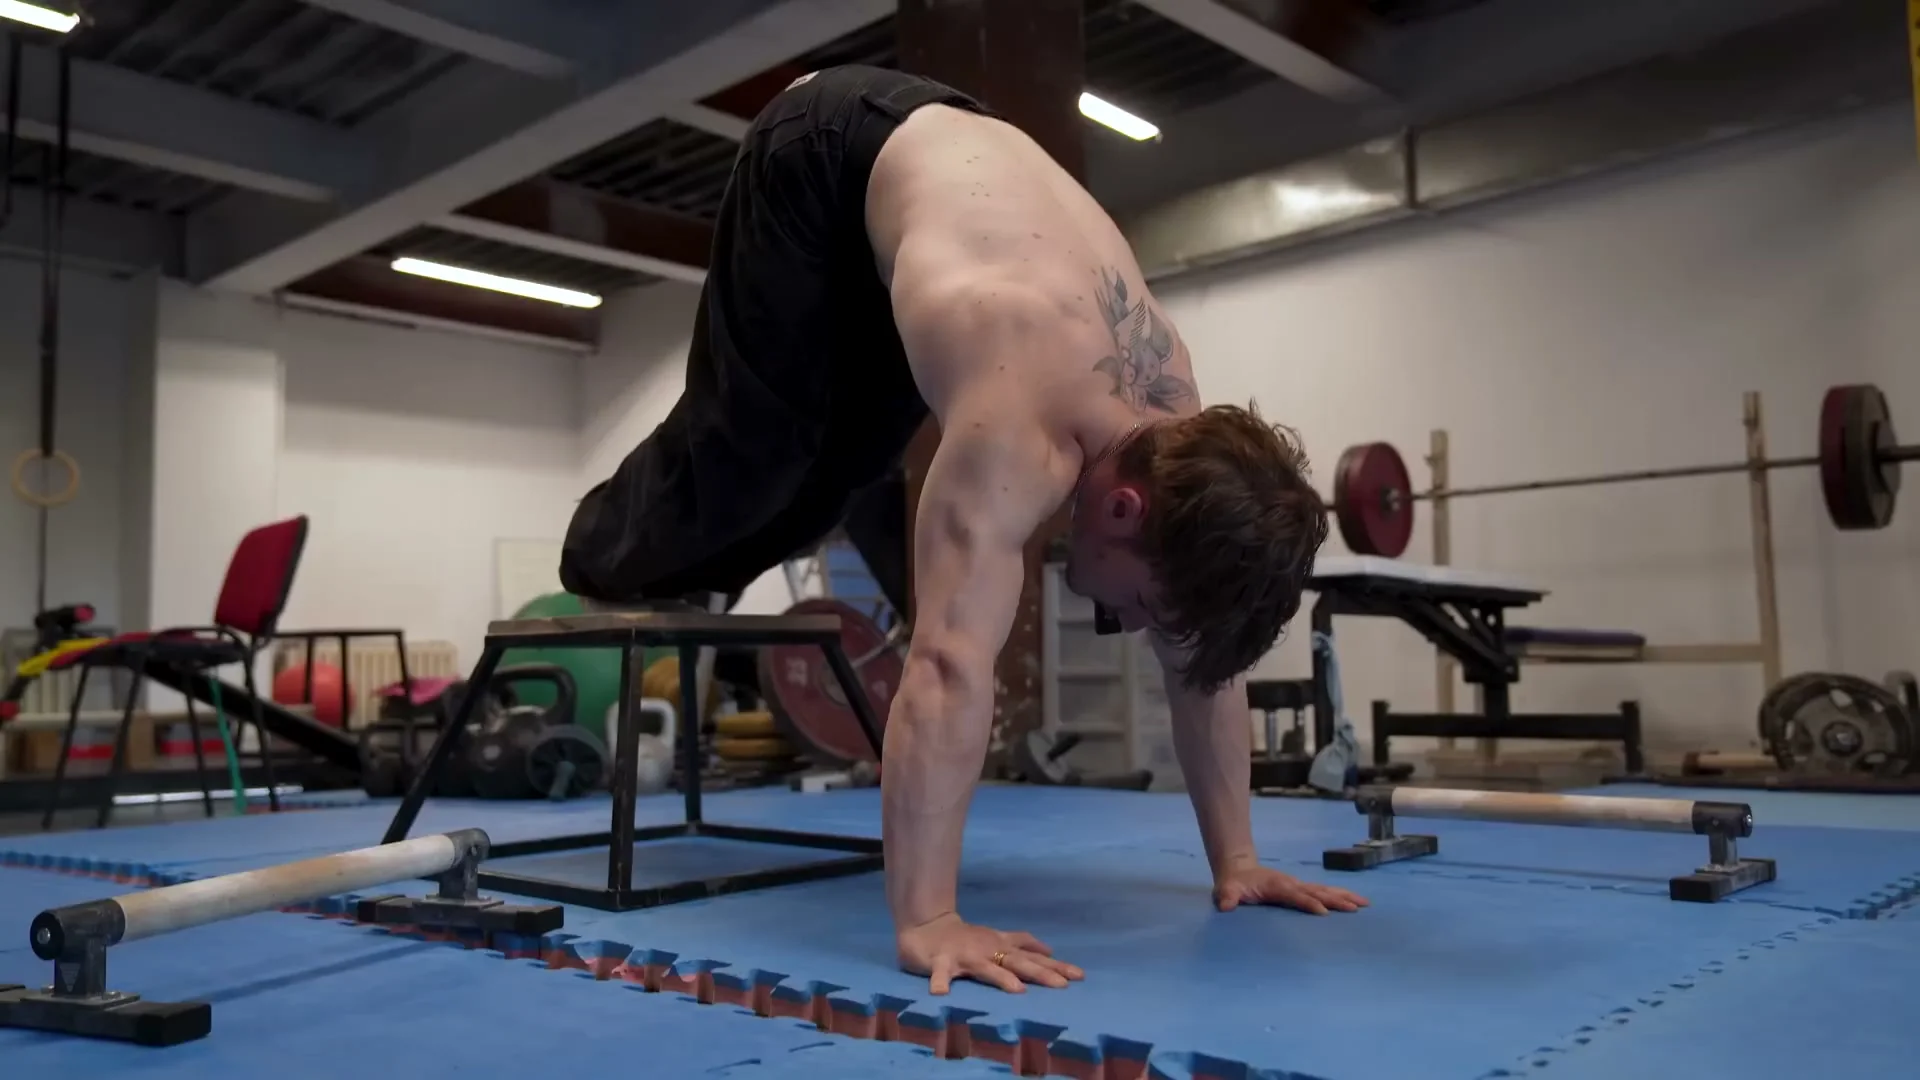
Stage 2: Pike Push-ups
Elevate your feet on a box, bench, or bar. The goal is to get your torso as close to perpendicular to the floor as possible. From that position, push forward, not straight down. The movement is horizontal, not vertical. Feel the burn in your shoulders. This is what planche training is: shoulder strength, over and over.
If bending your wrists in this position causes discomfort, use parallettes. The motion is identical and the load is the same, but the wrist angle is far more forgiving.
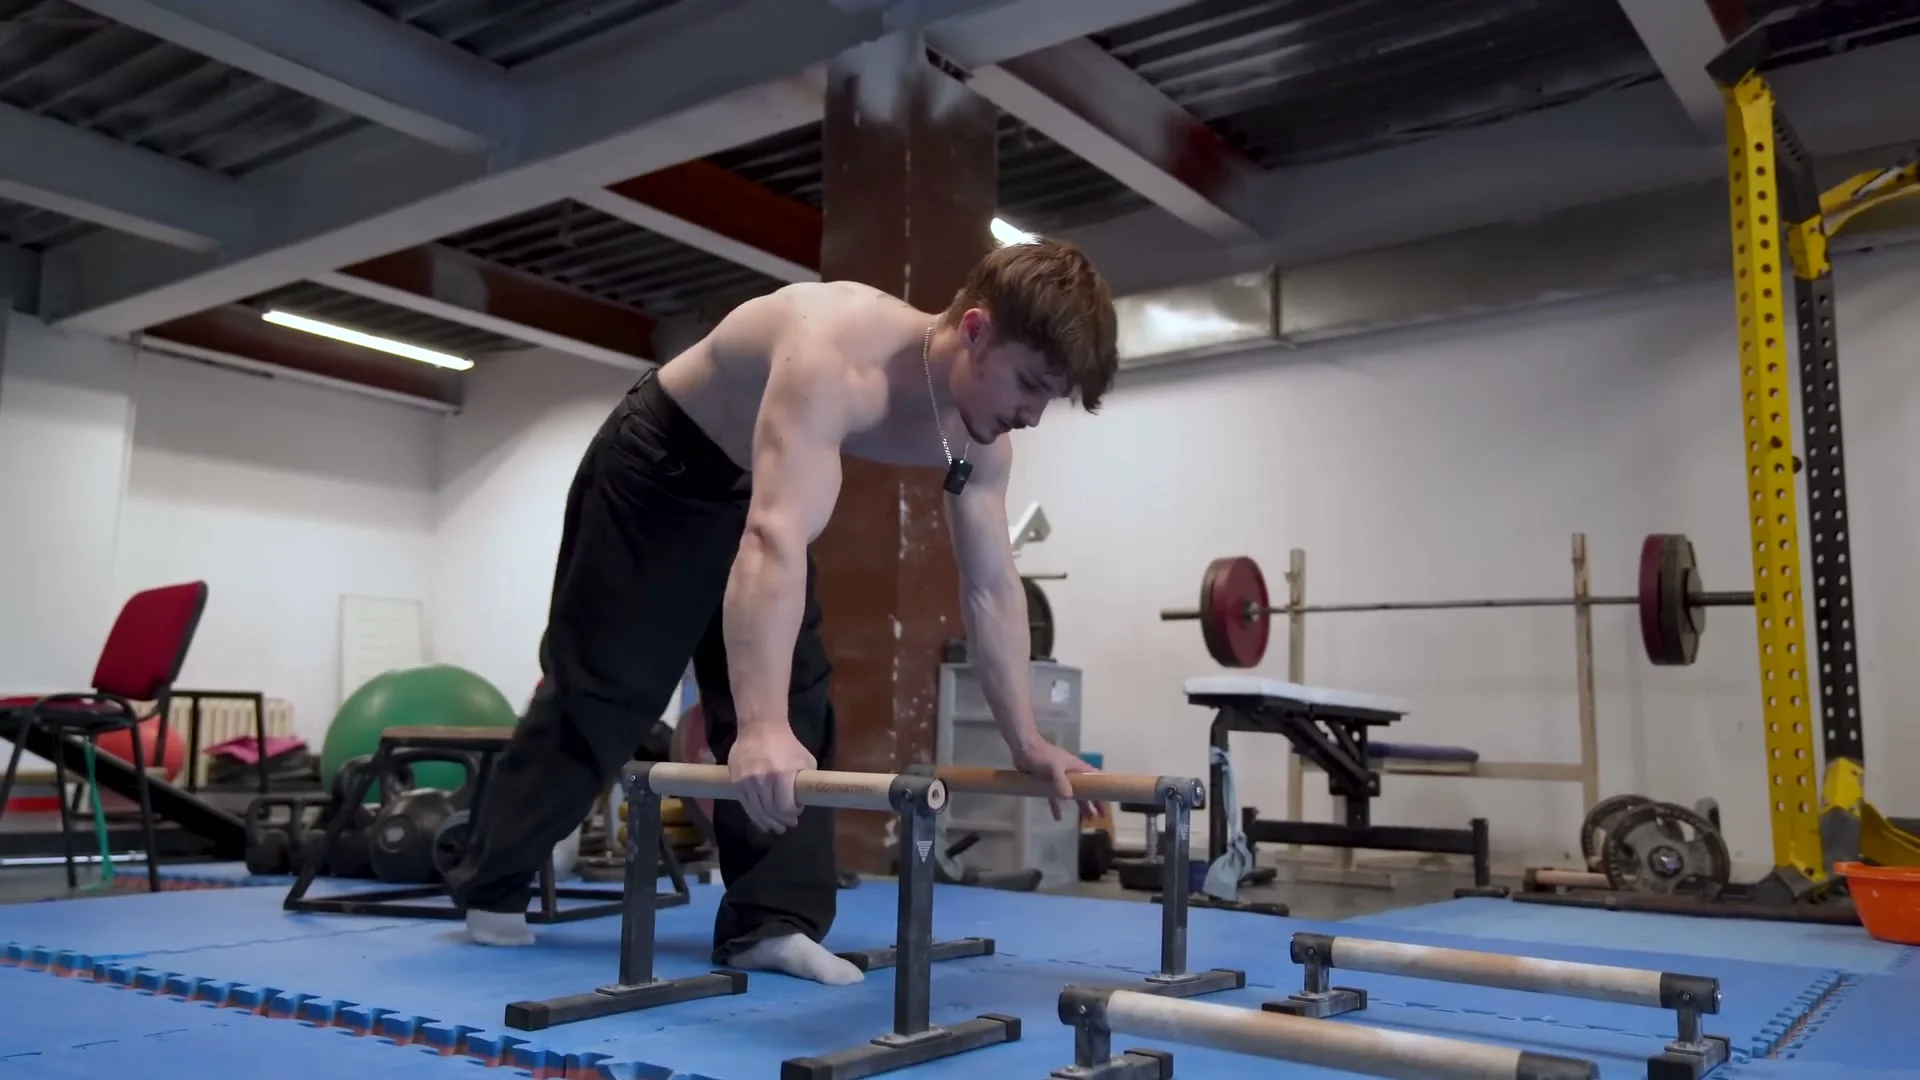
Stage 3: Handstand
There are no shortcuts to the handstand. The only tip Nathan gave here: try as often as possible. The handstand is not demanding the way a max squat is. Your body can handle frequent attempts, and the nervous system adapts best to volume over intensity at this stage.
The key technical detail: lean forward over your shoulders before committing to the kick-up. Most beginners kick up and then fall over backward because they never got over their shoulders. Lean first, then kick. Your hands, wrists, and shoulders will already be aligned, and your success rate will increase immediately.
Stretch your wrists before every handstand session. Nathan's preferred stretch: close your fist as tight as possible and actively bend the wrist into flexion while your forearm is under tension. Two to three rounds of this before training.
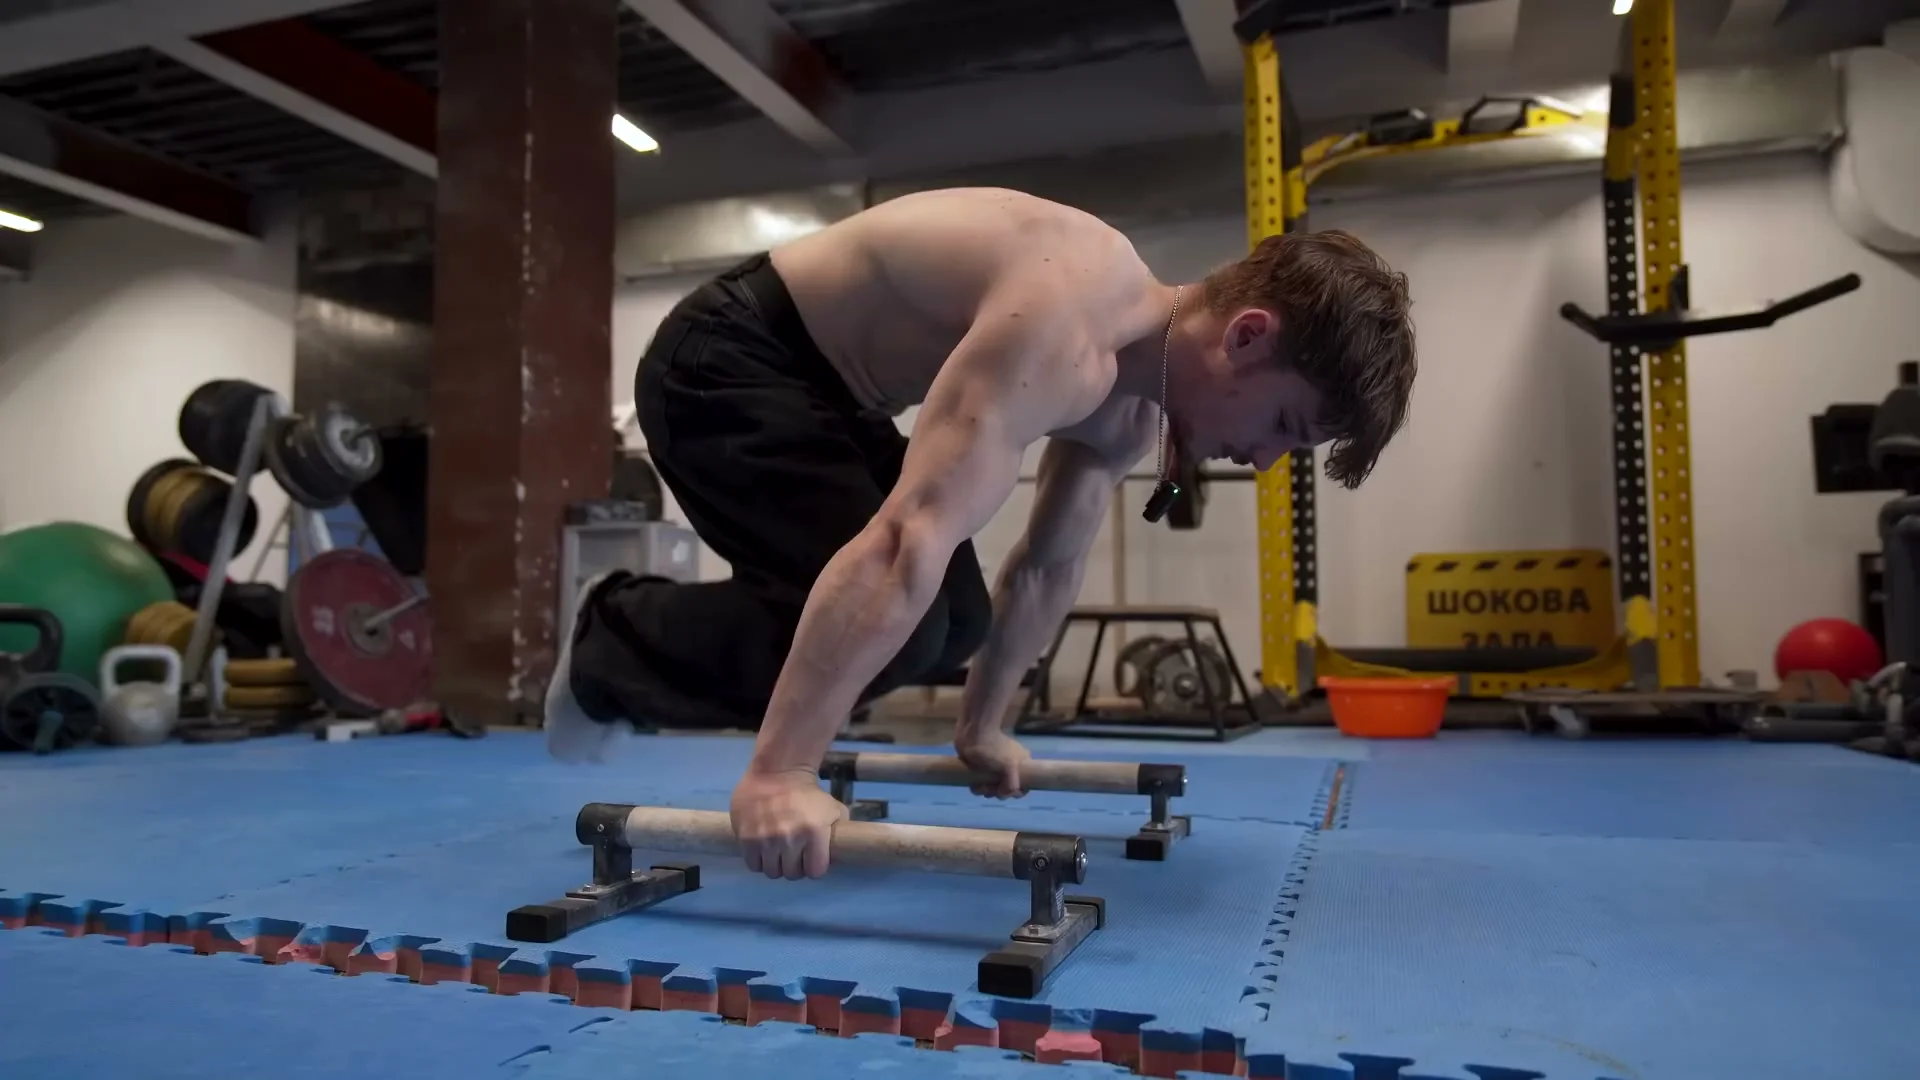
Stage 4: Tuck Planche
Once you have a consistent handstand and a solid lean planche, tuck planche becomes your main static hold to develop. Close your grip as hard as possible on the floor or on parallettes. Keep elbow rotation neutral, not turned in or out. Engage strong scapular protraction and lean forward progressively until your feet leave the ground.
If you cannot lift your feet at first, use small foot hops to assist the lift. The feet are still loading the shoulder and bicep during the airtime, and with practice the hop becomes unnecessary. Combine tuck planche attempts directly with lean planche holds in the same set.
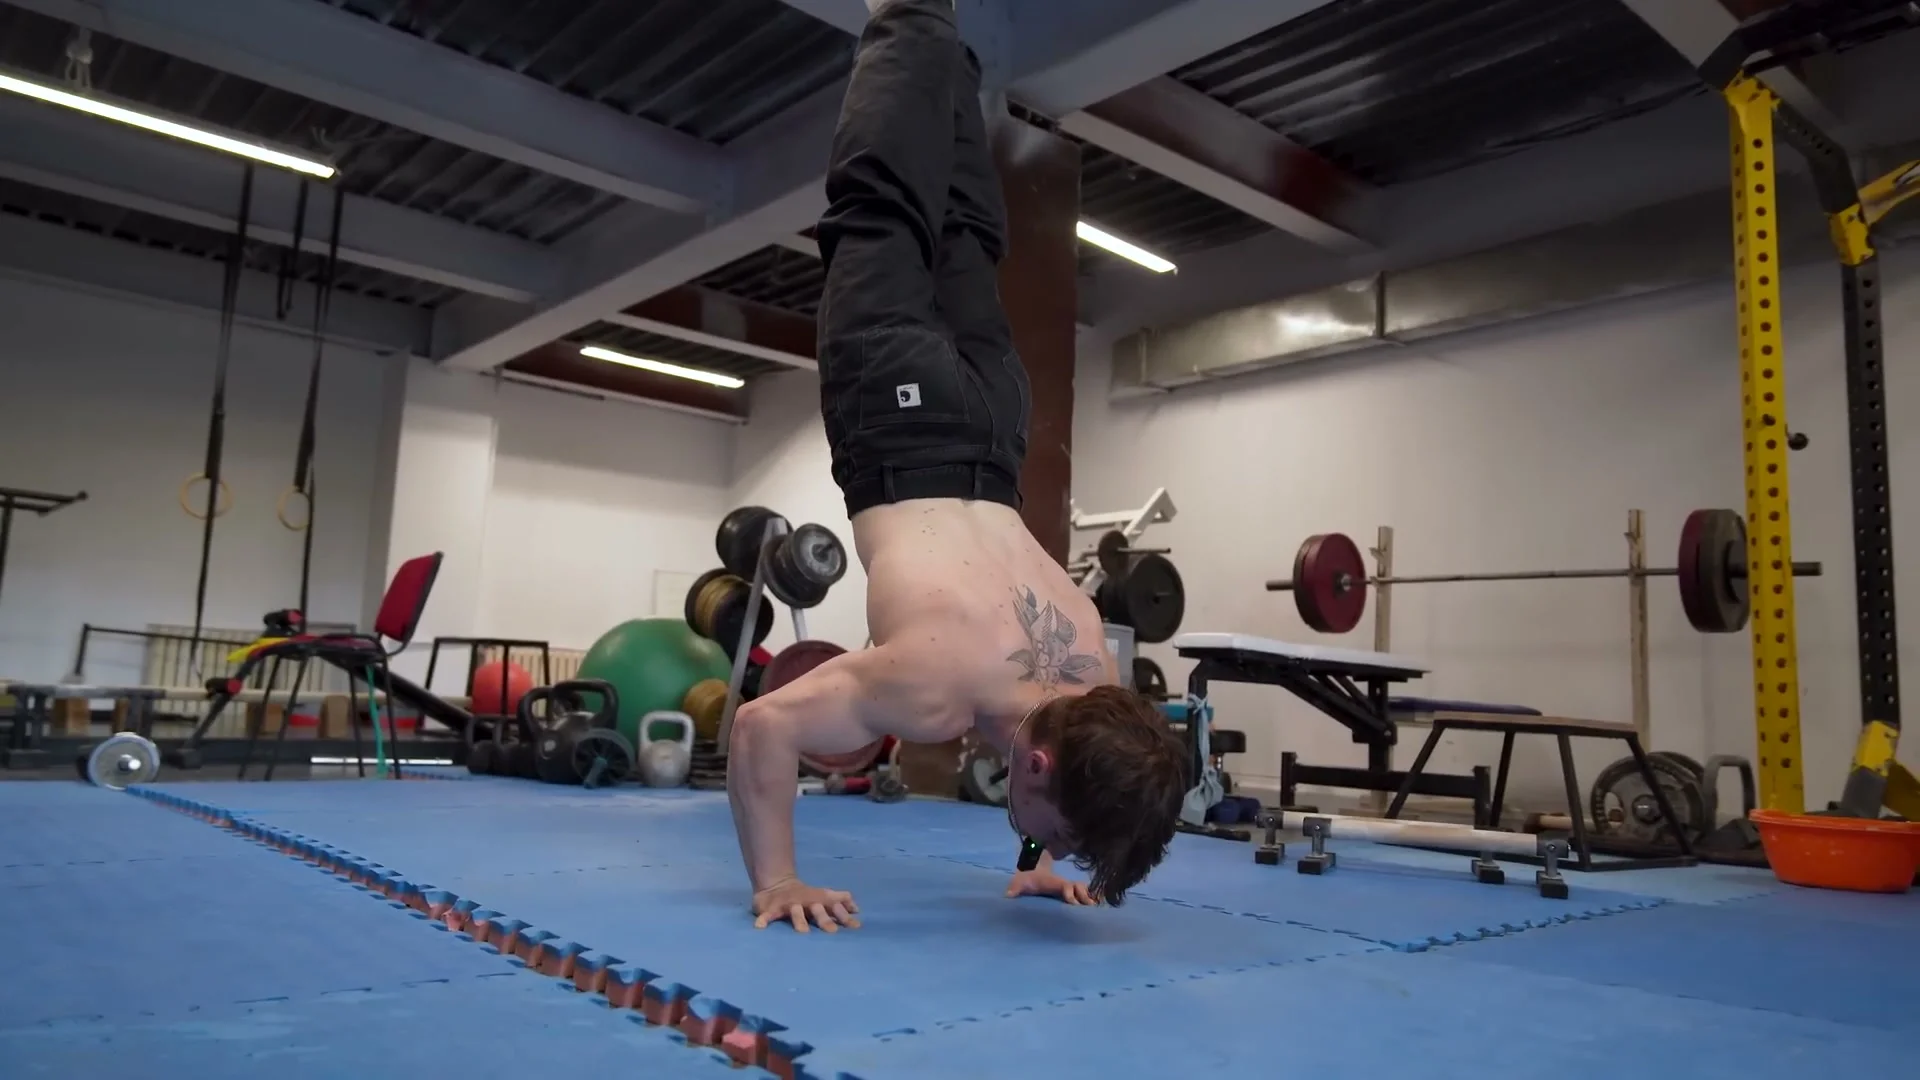
Stage 5: Handstand Push-ups
Handstand push-ups develop the pressing strength that carries directly into planche push-ups. Get into a handstand, lean forward slightly, and lower with control. Use your fingers actively to grip the floor throughout the movement. This improves stability on the way down and on the push back up.
Nathan does not obsess over rep counts here. What matters is building the tension time habit and training it frequently enough to cause adaptation. Frequent short sessions beat rare long ones.
Stage 6: Planche Push-up Progressions
This stage has three sub-progressions, each adding difficulty. Throughout all three, maintain a strong closed grip, retroversion of the hips, and the breathing pattern from the technique section.
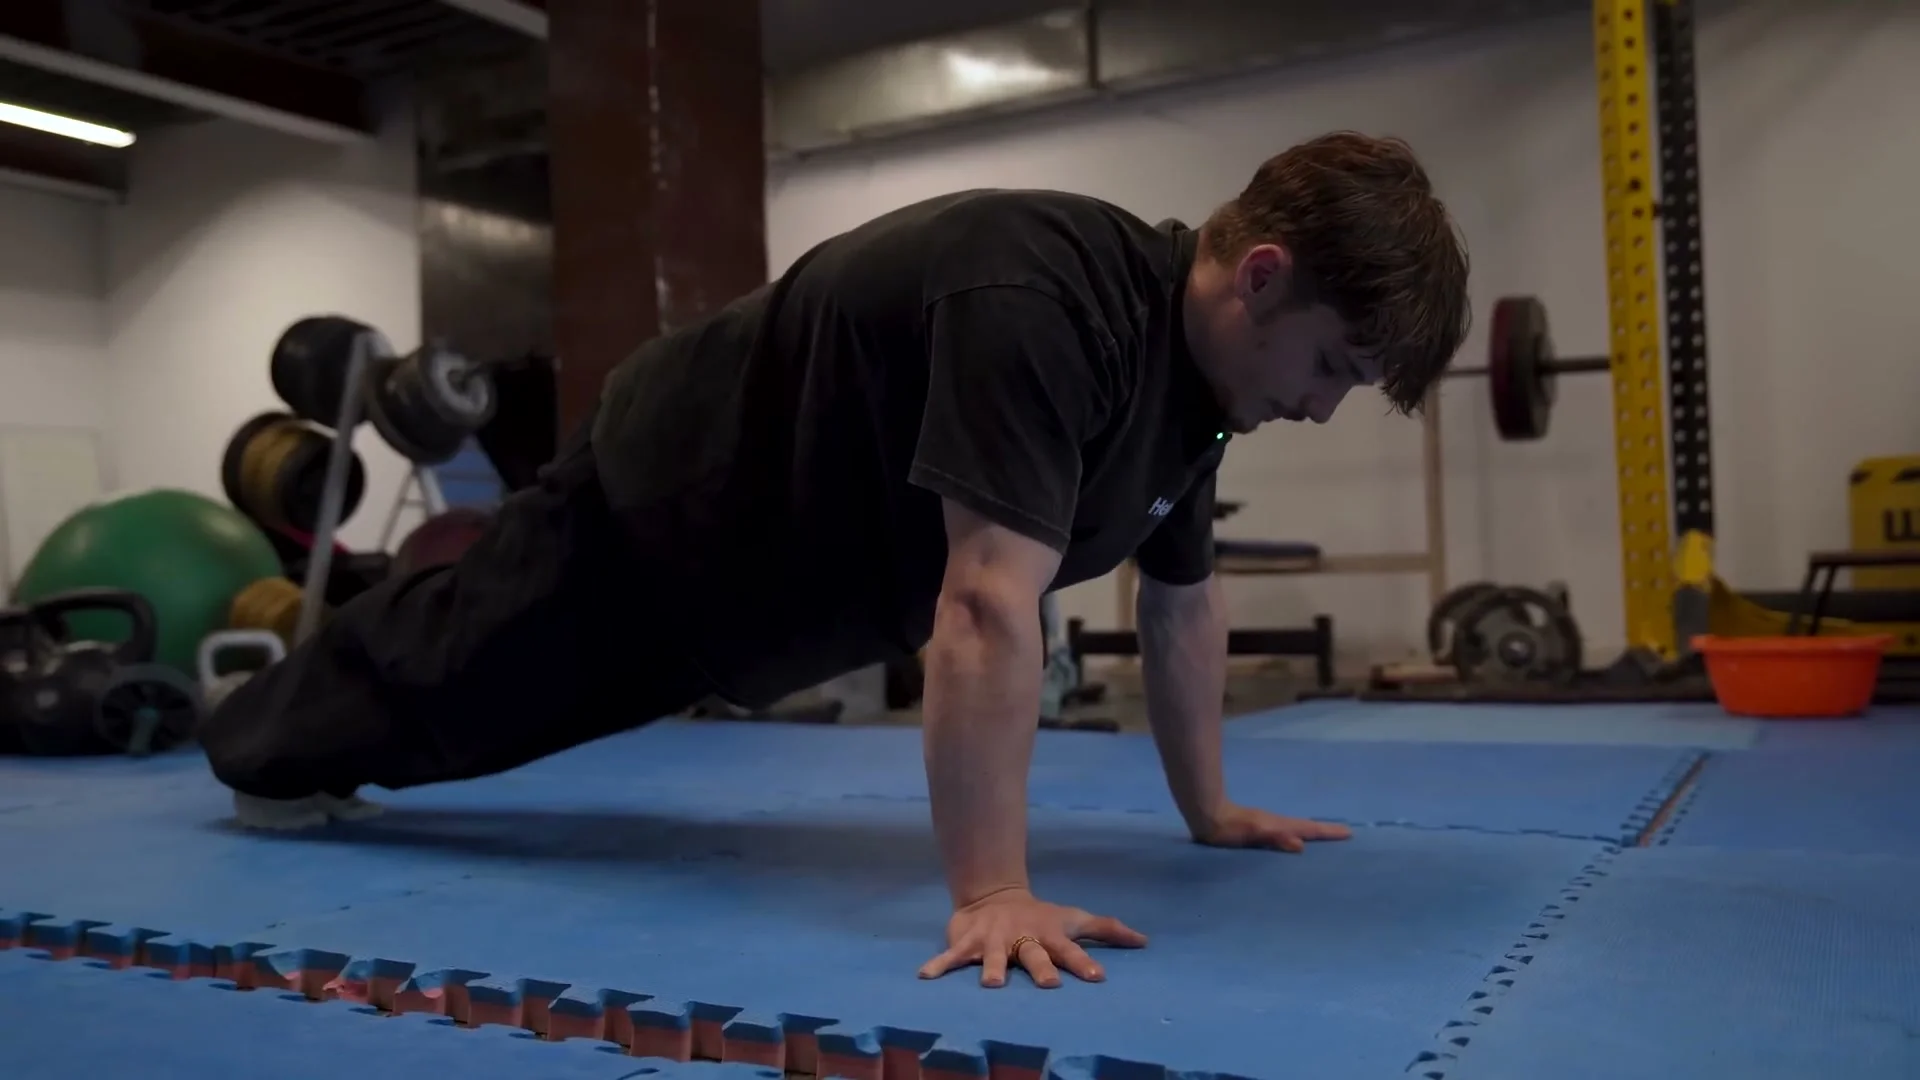
Lean planche push-up (feet on floor): Start in a lean planche, breathe in, block, lean forward and lower into the push-up. This is the entry point for planche-specific pressing.
Elevated feet push-up (feet on box): Same movement but with feet elevated on a step or box. The body line now resembles the actual planche much more closely. Harder to find the right range of motion, but this is the bridge to the real thing.
Tuck planche push-up (feet off floor): From a tuck planche, perform the push-up with feet completely off the ground. Make sure both hands are at the same height. One hand further forward than the other builds asymmetrical strength and loads the tendons unevenly over time.
Stage 7: Lean to Planche and Tuck to Planche
This is where the full planche starts appearing. Two approaches: lean to planche, and tuck to planche. Nathan trains both because each develops different aspects of the skill.
For tuck to planche: get as high as possible in the tuck before unfolding the legs. Height is the goal. You are using the elevated tuck position to make the extension into planche line achievable.
For lean to planche: position your shoulders slightly behind your hands before leaning. Nathan is specific about this. If your shoulders start too far forward over your hands, you lose the leaning distance and end up in a locked position with nowhere to go. Shoulders slightly back, then lean, extend the legs, squeeze the glutes.
Bonus: Handstand to Planche Transfers
Nathan added this as his single most important long-term tip. Once you have all the basics, the drill where you gain the most planche-specific strength is not from the floor upward. It is from the handstand downward. The transition from handstand to planche, and back, builds the exact range and shoulder control the full movement requires.
Start with tuck to handstand to tuck. Get comfortable traveling through that range with control. Then progress toward lean to planche to handstand. Nathan demonstrated this live during the session, and the strength requirement is immediately obvious.
Common Mistakes
These are the errors Nathan pointed out during the session. All of them are fixable.
Wrist Angle Too Extreme
Going too far into supination or pronation puts unnecessary stress on the thumb and wrist joint. Keep the hand in a neutral position where you feel the least tension on the thumb. Small adjustment, big difference on wrist health over months of training.
Elbows Rotating In or Out
In the lean planche and tuck planche, the elbows should stay neutral, matching the wrist direction. Rotating them inward or outward changes the loading angle and increases injury risk at the elbow joint. If your elbows are drifting, check your grip pressure and consciously control the rotation.
Pushing Straight Down in Pike Push-ups
The whole point of pike push-ups for planche development is horizontal pressing strength. Going straight down turns it into a standard push-up and removes the specific adaptation. Push forward, not down.
Hands at Different Heights in Push-up Progressions
If one hand is placed further forward than the other during planche push-ups, you build asymmetrical strength and load the tendons unevenly. Over time this creates imbalances and increases injury risk. Check your hand placement at the start of every set.
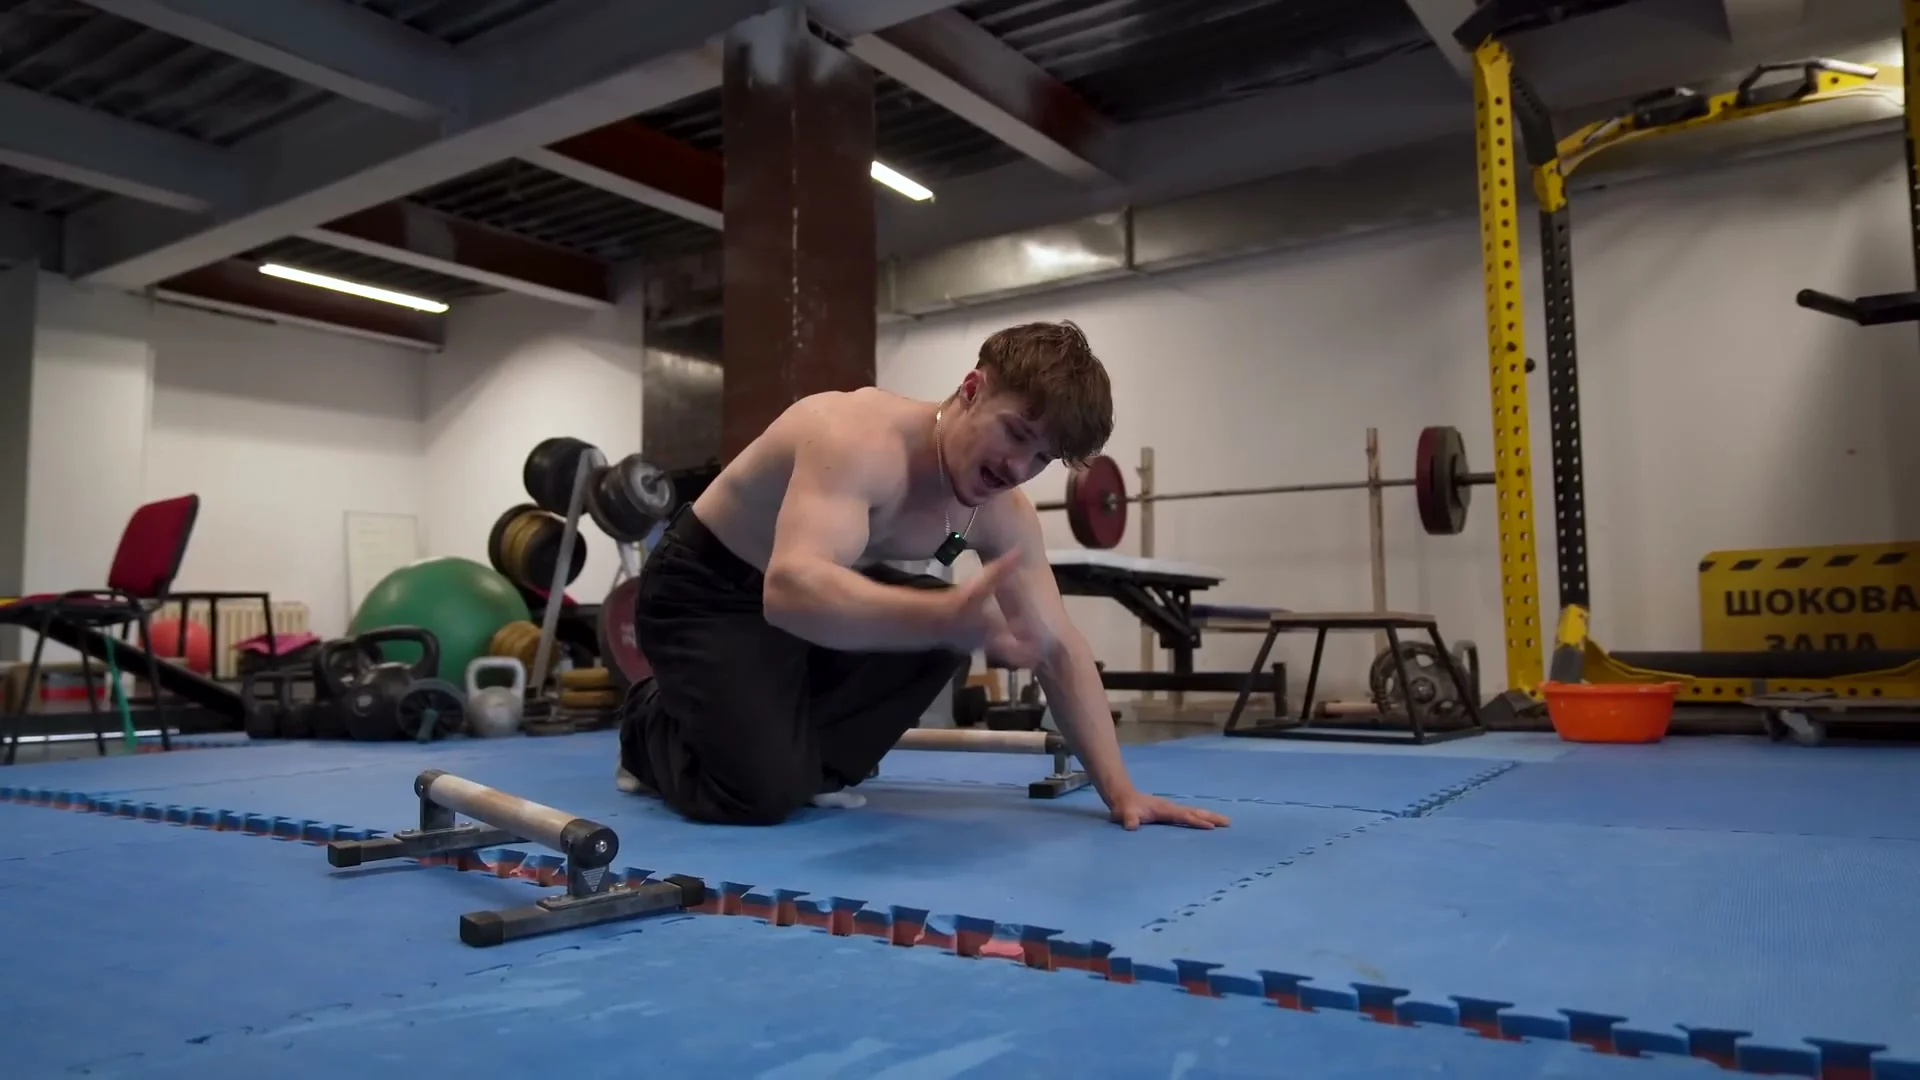
Being Too Tense
Holding the breath, gripping too hard, and bracing the whole body beyond what is needed burns energy at a rate that collapses hold time far earlier than strength would. Nathan was visibly out of breath just from demonstrating these movements. Relaxed control beats white-knuckle tension.
Training Tips
Frequency matters more than volume for planche development. The movements are not as taxing as heavy compound lifts, and connective tissue adapts best to repeated exposure. Nathan recommended doing lean planche holds and handstand attempts multiple times throughout the day, not just in a formal training session. Short frequent attempts beat one long exhausting session.
Stretch your wrists before every session. Nathan's go-to: close your fist as hard as you can and actively push the wrist into flexion while the forearms are under tension. Two to three rounds before any planche or handstand work. This protects the joint and improves the range available during training.
Track your progress in specific benchmarks, not vague effort. Do not just "practice tuck planche." Know your hold time. Know whether you can get into it without the foot hop. Know what your lean to planche transition feels like at this stage. Vague practice gives vague results.
Use parallettes if your wrists are a limiting factor. The movement quality is identical to floor training and the load on the joints is significantly lower. There is no reason to force floor training if wrist discomfort is getting in the way of the actual training stimulus.
Do not rush to full planche before the tuck is solid. The tuck planche is not a lesser version of the skill. It is the same strength requirement in a more controlled range. Nathan still trains lean planche and tuck drills with full planche. The foundations do not become obsolete.
Frequently Asked Questions About the Planche
How long does it take to learn the planche?
Most athletes need between two and five years of consistent training to hold a clean full planche. The timeline depends on starting strength, training frequency, and body proportions. Longer arms and higher bodyweight make the lever more difficult. Consistent work on the progressions every week is what determines the result.
Do you need parallettes to train the planche?
No, but they help. Parallettes reduce wrist strain during push-up progressions and handstand work. If your wrists are the limiting factor, use them. The movements are identical and the training effect is the same.
What muscles does the planche train?
The planche primarily develops the anterior deltoids, biceps in a loaded extended position, wrists, forearms, and serratus anterior. The chest and upper back play supporting roles. The loading is unlike standard push exercises because the force is horizontal, not vertical.
Can beginners start planche training?
Yes, but only at the lean planche stage. If you have 10 to 15 clean push-ups and a few dips, you can start lean planche holds. The key is not skipping ahead. Rushing to tuck planche before the shoulder and wrist base is built leads to injury.
Is the straddle planche easier than the full planche?
Yes. The spread legs shift the center of mass closer to the hands, reducing the lever arm. Nathan no longer trains straddle once he had the full planche, and his reasoning is clear: straddle planche and full planche are not the same element. If you have the strength for full, train full.
How often should I train the planche?
Nathan recommends frequent low-intensity exposure. Lean planche holds and handstand attempts can be done daily. Planche push-up progressions benefit from two to four sessions per week with adequate recovery. The nervous system adapts well to repeated exposure as long as you protect the wrists and elbows.
What is the difference between lean to planche and tuck to planche?
Both are transitions into the full planche but they build different strengths. Lean to planche develops control of the forward shift and the body line during extension. Tuck to planche develops the ability to move from a high tucked position into the horizontal hold. Training both gives you a more complete planche.
Daniel Flefil
Calisthenics coach with 11 years of experience, co-founder of Calixpert, and organizer of Beast of the Barz, one of the world's largest calisthenics competitions. Based in Stockholm. I write about training, equipment, and everything that goes into building a serious calisthenics practice.
More about Daniel →