Daniel Flefil
March 15, 2020 · 6 min read
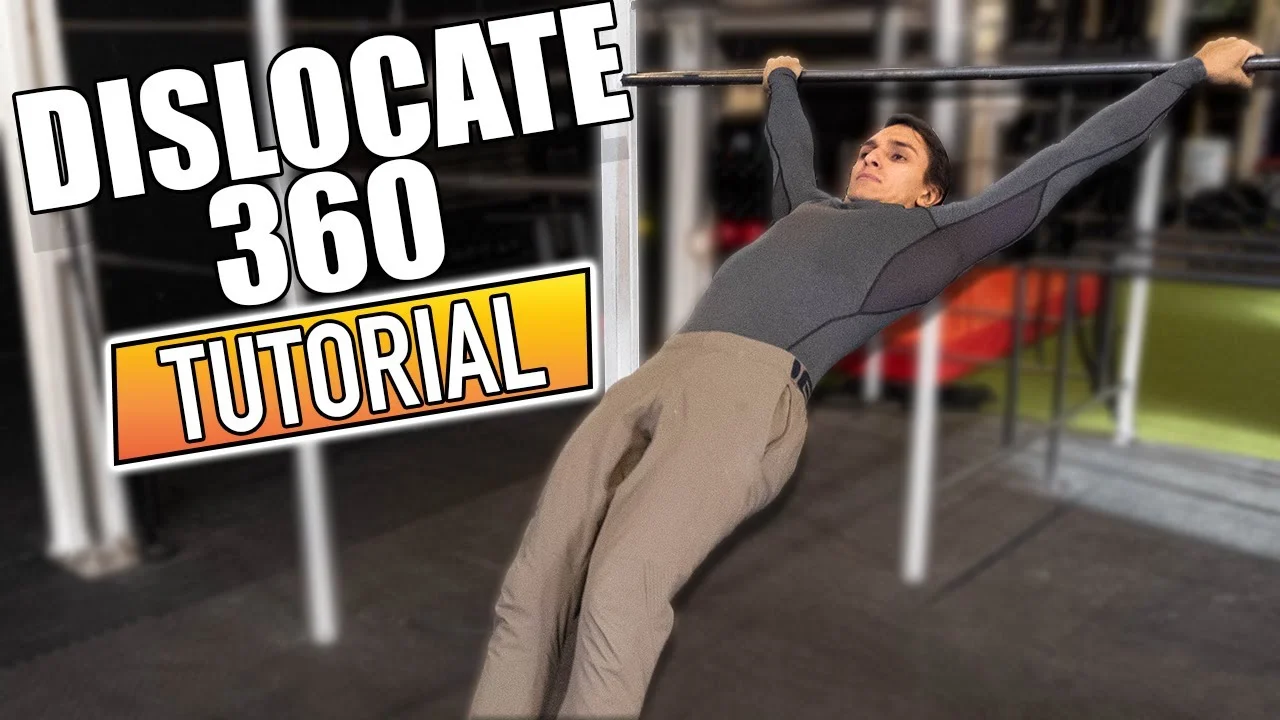
The dislocate 360 is a freestyle bar skill where you swing in a reversed grip, release, spin a full 360 degrees, and catch the bar again. It is an intermediate move that requires a specific shoulder mobility preparation and a commitment to the spin that most beginners underestimate. The grip is what makes it different from the standard swing 360: the hands are behind the body with palms facing backward, which puts the shoulders in an unfamiliar position. In this tutorial I go through seven steps, starting from a mobility drill and building up through the grip hang, the 180 spin, the full spin, and finally the grip transition mid-swing on a high bar.
Watch the Full Tutorial
What Is the Dislocate 360?
The dislocate 360 is a bar spin where the athlete hangs in a dislocated grip: arms reaching back behind the body with palms facing forward rather than in the standard overhand position. From this hanging swing, the athlete releases the bar and completes a 360-degree spin in the air before catching the bar again.
The reversed grip is what gives the move its name and its challenge. The shoulders are placed in a range of motion that most athletes have not specifically trained, which is why a mobility preparation phase is built into the beginning of this tutorial. The spinning mechanics are the same as the swing 360. If you already understand how to spin from a swing 360, the dislocate version will come faster. If not, learning the swing 360 first is the recommended path before starting this tutorial.

Prerequisites
The dislocate 360 is accessible once the basic swing 360 is understood. The spin itself is the same movement pattern. What is new is the dislocated grip position, which requires specific shoulder flexibility and conditioning before the full skill is safe to attempt. Trying to skip directly to the full move without building the shoulder tolerance through the grip hang steps is the most common reason for shoulder discomfort in early attempts.
Specific standards before starting:
- Comfortable hang and swing on a bar
- Swing 360 (recommended, not required), for spinning mechanics
- Enough shoulder flexibility to bring arms behind the head without significant pain
Technique: What the Dislocate Grip Requires
The dislocated grip means the arms are held behind and above the head with palms facing forward, placing the shoulder joint in extreme flexion and external rotation. This is not a natural hanging position. Two things are needed to make it work safely and effectively.
The first is shoulder flexibility. The dislocate 360 cannot be rushed. Attempting it with tight shoulders causes discomfort and increases injury risk. The stick mobility drill in step 1 directly prepares this range. Do not skip it or treat it as a warmup formality: it is active preparation for the load that comes in later steps.
The second is spin commitment. When executing the spin, especially at 360 degrees, there is no option to ease into it. The spin must be fast and deliberate. Spinning slowly loses rotational momentum before the catch is possible. The spin speed required is higher than most athletes expect on their first attempts.
Key Takeaway
Progression: 7 Steps to the Dislocate 360
Step 1: Stick Mobility Drill
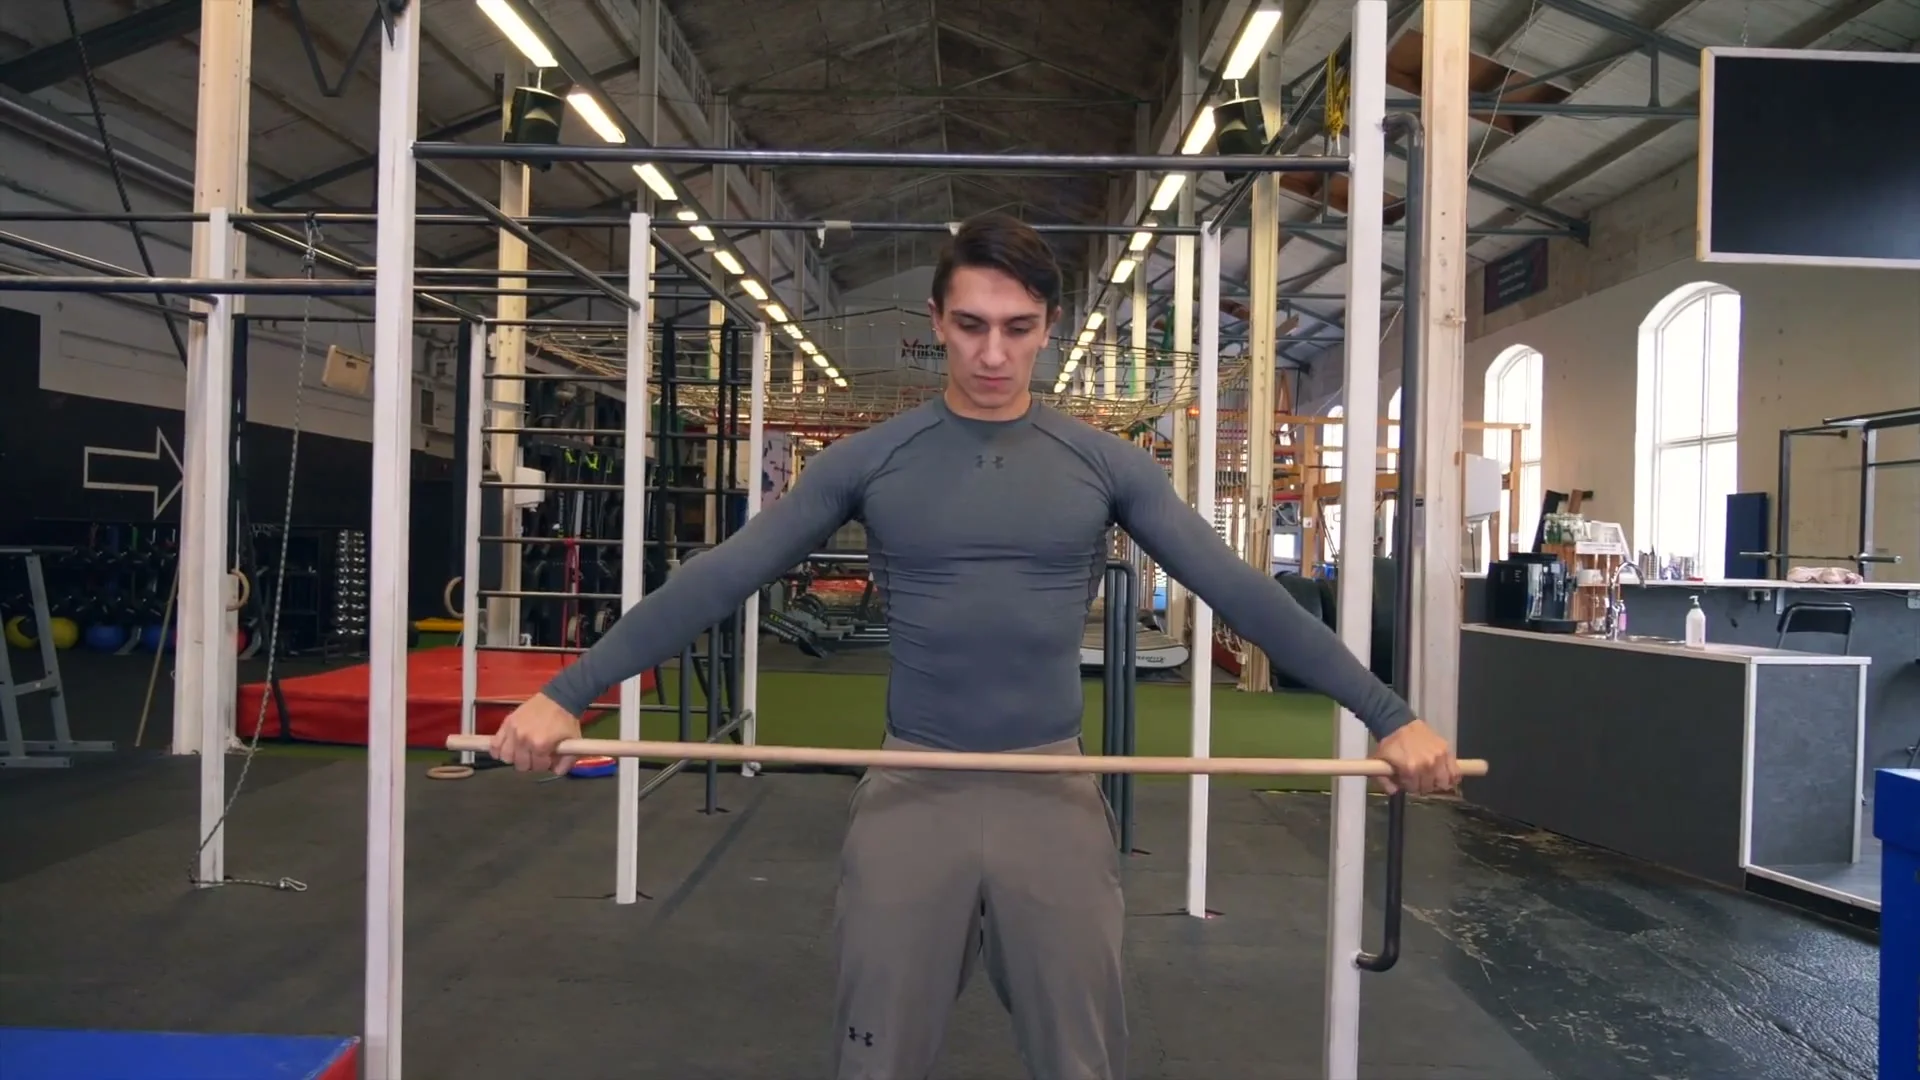
Take a stick, a towel, or any rigid object and hold it in front of the body with both hands as wide as comfortable. Bring it in a slow arc over the head and behind the back, then return to the starting position. Keep the lower back in a neutral position throughout: do not arch to compensate for shoulder tightness. Do 10 reps for 3 sets.
The second variation is more specific to the dislocate 360. Start with the stick behind the back and grip it with the palms facing forward. This mimics the exact grip used during the actual move. Work the same arc from behind the back to overhead and return. As flexibility improves, narrow the grip width gradually.
Step 2: Dislocate Grip Hang

Find a bar that is low enough to grab while standing on the ground. Take the dislocated grip: hands wider than shoulder width, palms facing forward, arms behind and above the head. Hang for 5 to 10 seconds, then step off and rest. Repeat 3 to 5 sets.
The goal is to get the shoulders used to hanging in this position, nothing more. If you can narrow the grip over time without discomfort, do that. Chalk is strongly recommended from this step onward. The dislocated grip is more difficult to hold than a standard overhand grip, and chalk prevents the grip from slipping under load.
Step 3: Swing and Release to Feet

From the dislocated grip hang, start building a small swing. On the back swing, release the bar and land on your feet. The goal is simply to get comfortable with the dislocated grip under dynamic load. Build the swing size gradually as confidence develops. Do this on a low bar where the feet can reach the ground easily.
This step is not about any spinning technique. It is about moving in the dislocated grip and learning how it feels in motion compared to a static hang.
Step 4: Release and Spin 180

With the same swing from step 3, now release and spin 180 degrees on the back swing. Two technique cues matter here. First, turn the head slightly before releasing the bar. Where the head goes, the body follows. The head turn initiates the rotation. Second, bring the arms close to the body after releasing. Arms close to the body speeds up the spin. Arms out wide slows it down.
You can also practice the spin on the ground: stand in place, raise both arms up and then bring them in close to the body while turning. This teaches the body the mechanics of the spin without the bar load.
Step 5: Full 360 Spin
With the 180 spin consistent, the next step is adding the second half of the rotation to complete a full 360. The same cues apply: turn the head, arms close. The critical addition is speed. You cannot ease into a 360. The spin must be as fast as possible from the moment of release. Any hesitation loses the rotation before the bar can be caught.
If the 360 is not yet consistent with a dislocated grip, go back to the swing 360 tutorial and build the spinning mechanics there first. The dislocated grip adds difficulty to the spin catch but does not change how the spin itself works.
Step 6: High Bar Swing and Catch
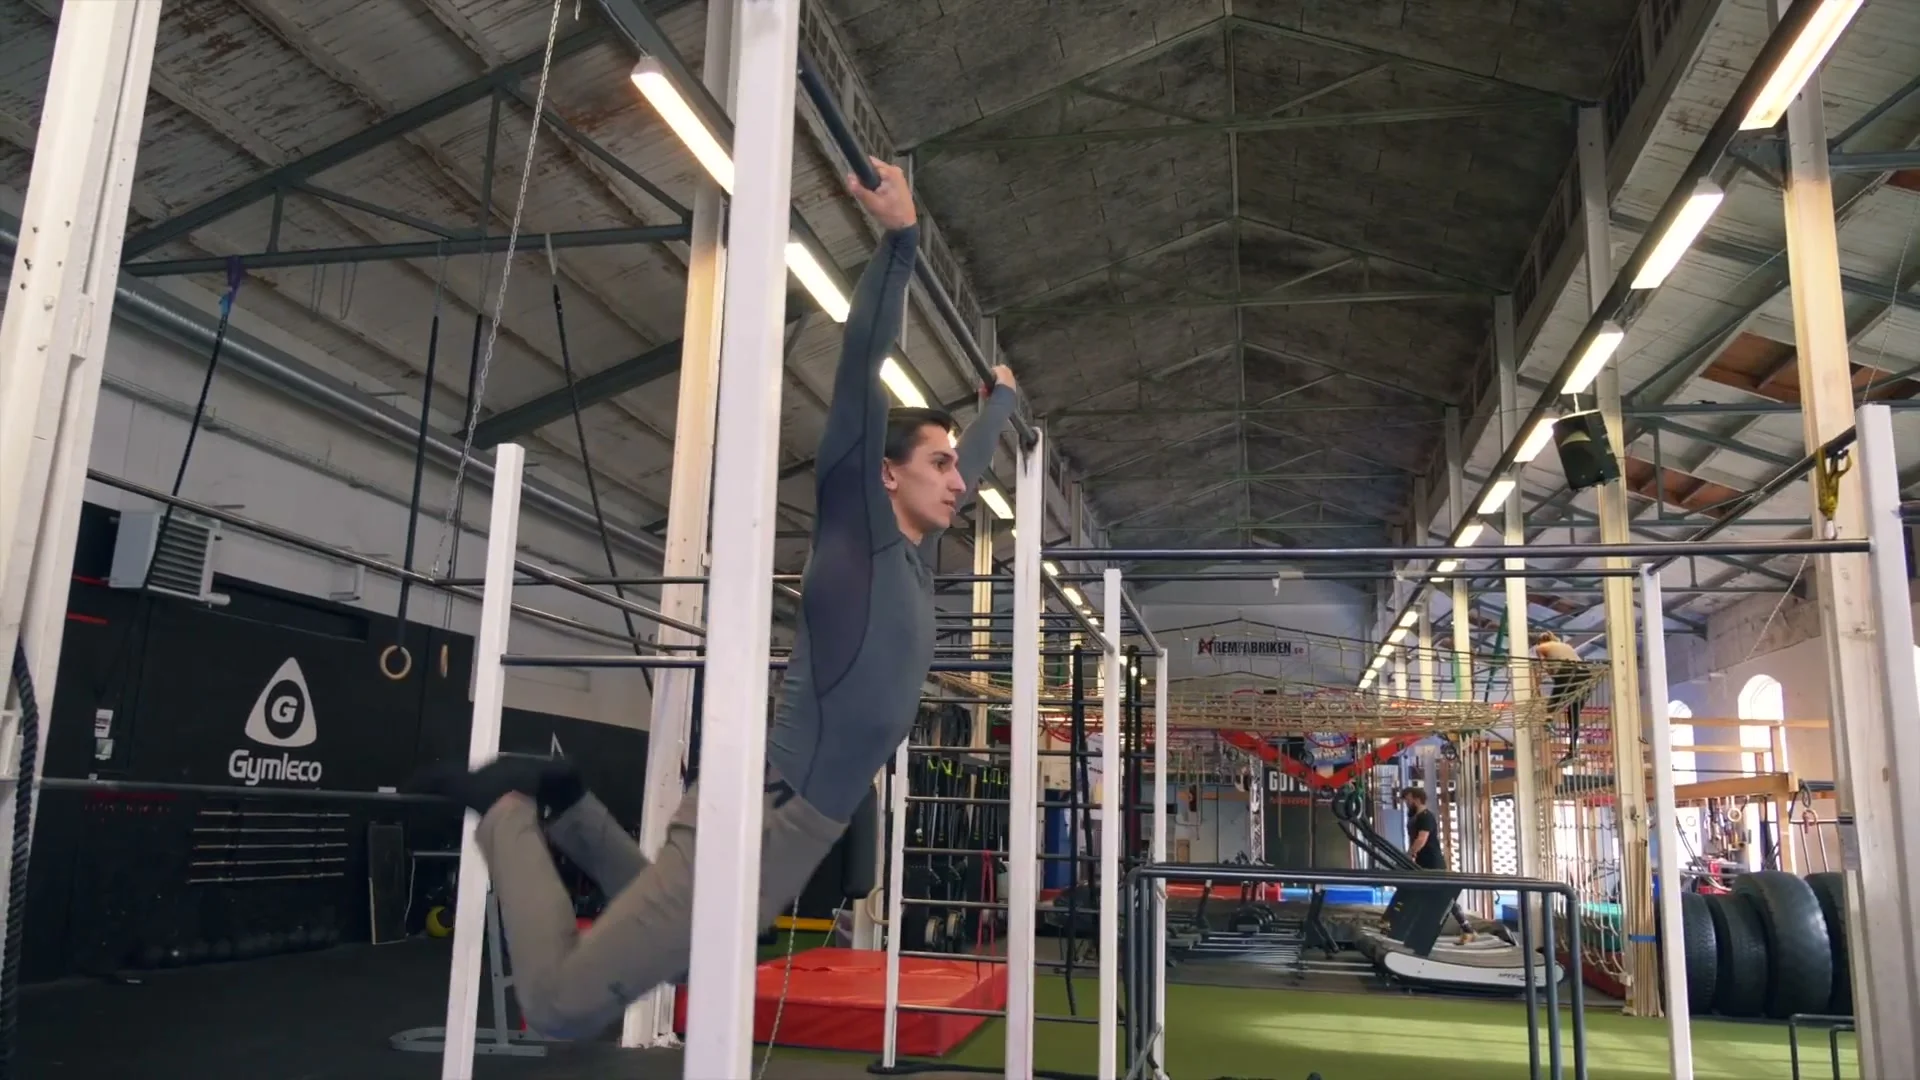
Move to a high bar where the legs can swing freely and generate real speed. A low bar limits the swing height and therefore the rotational momentum available for the spin. With a full high bar swing, build significant height before releasing. Turn the head before letting go and keep the core tight throughout. You can release both hands simultaneously or one at a time. Both approaches work.
Mats under the bar are worth using at this stage. The height of the high bar adds consequence to a missed catch. If mats are available, use them.
Step 7: Grip Transition Mid-Swing
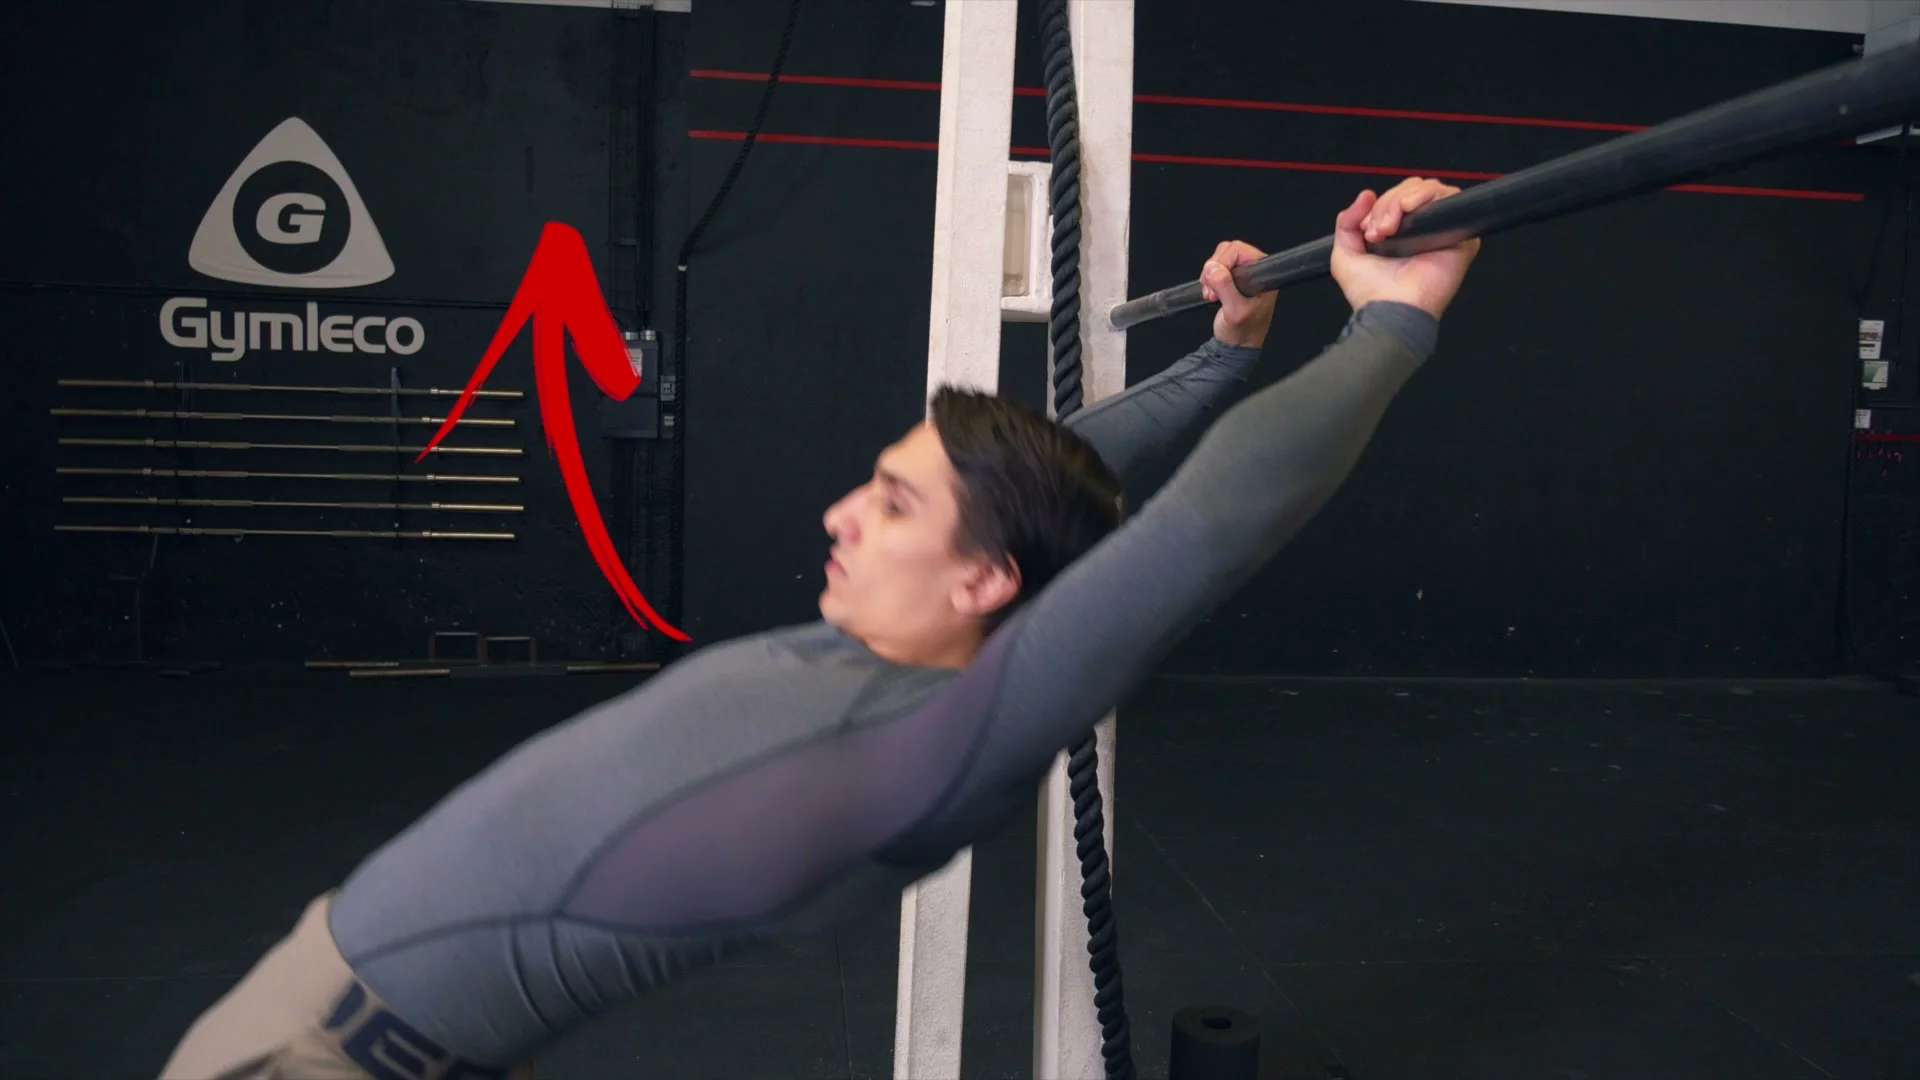
The seventh step combines everything into the full competition version: transitioning from a normal swing into the dislocated grip mid-swing, then continuing directly into the 360 spin. This is the version that appears in freestyle combinations.
Practice the transition first on a low bar. Start with a normal overhand swing. At the highest point of the forward swing, push the chest up and arch the upper back slightly. Do a small pull-up, release the normal grip, and switch to the dislocated grip while still pushing the chest up. A useful tip: almost touch the bar before fully gripping it so you know exactly where it is. Then close the hands and continue the swing into the spin.

On the high bar, push the hips forward and upward rather than lifting the knees. Lifting the knees creates a bent "banana" shape that reduces swing efficiency and makes the transition harder. The hips and chest together create the arc that makes the grip switch possible. A clean horizontal body position through the switch gives more swing into the dislocate 360 that follows.
Common Mistakes
Bending the Hips During the Grip Switch
Lifting the knees to get height during the grip switch is the most common form error. It looks like a banana shape: hips bent, knees up. It is not wrong at the start, but it reduces swing quality and is worth correcting as the move develops. Push the hips forward and upward instead of bending them. The result is a cleaner switch and more swing going into the spin.
Not Spinning Fast Enough
Treating the 360 spin as something that can be done slowly is what causes missed catches. The full rotation requires committed rotational speed. Bring the arms in tight immediately after releasing and turn as fast as possible from the moment of release. Any pause or leisurely start loses the spin.
Skipping Shoulder Preparation
Going straight to the grip hang or swing without doing the stick mobility work first is the most common cause of shoulder discomfort in the early stages. The dislocated grip loads the shoulders in a range they are not accustomed to. The stick drill is not optional. It is what makes the progression safe.
Training Tips
Do not train the dislocate 360 too frequently in the early stages. The dislocated grip loads the shoulders in a way that standard calisthenics does not. The shoulder structures need time to adapt to hanging in that position. Too much early volume causes irritation rather than adaptation. Start with two sessions per week and increase only when the shoulders feel comfortable with the load.
Use chalk from step 2 onward. The dislocated grip is harder to maintain than a standard overhand grip, and grip slip is the most common reason for incomplete catches.
If you have not learned the swing 360, do that first. The spinning mechanics, the head turn, and the arm-tuck timing all transfer directly to the dislocate 360. Building those patterns in a standard grip before adding the dislocated grip position shortens the learning curve significantly.
Frequently Asked Questions About the Dislocate 360
Do I need to learn the swing 360 before the dislocate 360?
It is strongly recommended. The swing 360 teaches the spinning mechanics, the head turn, and the arm tuck in a simpler grip. The dislocate 360 adds the grip challenge on top of those mechanics. Learning both at the same time makes both harder. Learn the swing 360 first, then apply those fundamentals to the dislocated grip.
How wide should my grip be for the dislocated hang?
Start as wide as comfortable, then narrow it gradually over time as shoulder flexibility improves. A narrower grip increases the load on the shoulder joint, so start wide enough that hanging for 5 to 10 seconds is manageable. There is no fixed width: it is individual and changes as mobility develops.
Why do I keep missing the bar when trying to catch the spin?
Two common causes. First, not spinning fast enough: the rotation stalls before the arms can reach the bar. Bring the arms in tight and commit to the spin from the moment of release. Second, not turning the head: the head initiates the rotation direction. Turn the head toward the spin direction before releasing.
Is the dislocated grip dangerous for the shoulders?
The dislocated grip places the shoulders in an unfamiliar position under load, which is uncomfortable in the early stages. That discomfort reduces as the shoulders adapt. What makes it risky is rushing: skipping the mobility preparation, skipping the hang conditioning, and trying the full spin before the grip hang is solid. Follow the seven steps in order and the risk is manageable.
Can I practice the spin on the ground?
Yes. Stand with both arms raised and then pull them in close to the body while turning as fast as possible. This teaches the relationship between arm tuck and spin speed. It is a useful drill to understand why arms close to the body spin faster than arms extended. Practice it before attempting the 180 and 360 at the bar.
How long does it take to learn the dislocate 360?
It depends heavily on existing shoulder flexibility and whether the swing 360 is already learned. Athletes with good shoulder mobility and an existing swing 360 can often get a first dislocate 360 within a few sessions of focused practice. For most athletes starting fresh, four to eight weeks of consistent work through all seven steps is a realistic timeline. The grip conditioning in steps 1 and 2 is the part that cannot be rushed.
Daniel Flefil
Calisthenics coach with 11 years of experience, co-founder of Calixpert, and organizer of Beast of the Barz, one of the world's largest calisthenics competitions. Based in Stockholm. I write about training, equipment, and everything that goes into building a serious calisthenics practice.
More about Daniel →