Daniel Flefil
September 15, 2019 · 9 min read
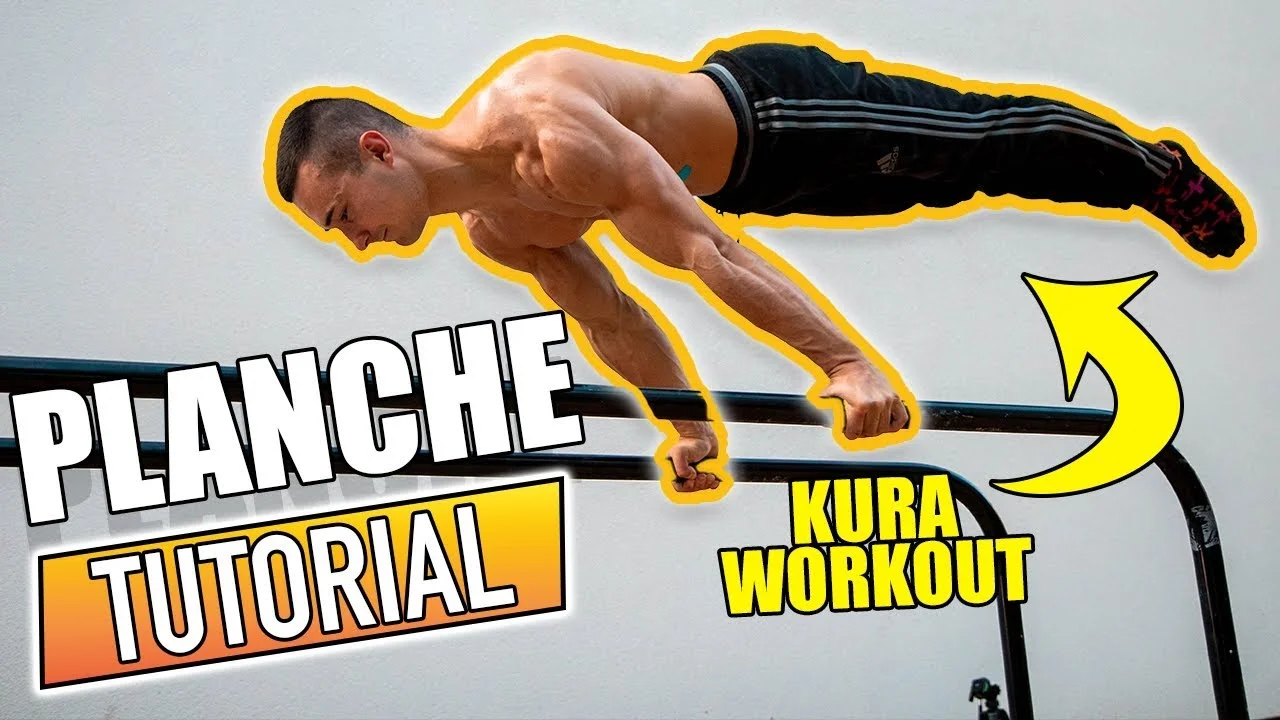
In this tutorial I train alongside Mateusz Płachta, known as Kura Workout, a six-time Polish street workout champion who specializes in planche and handstand skills. He teaches six exercises he uses with his own athletes, split into three for shoulder strengthening and three that directly build the planche position. The tutorial also covers what to concentrate on while holding the planche, the one technique cue that separates a real planche from a bent-arm version, and how often to train the skill at each level. By the end, you will have six concrete exercises and a training structure to approach the planche at whatever level you are starting from.
Watch the Full Tutorial
What Is the Planche?
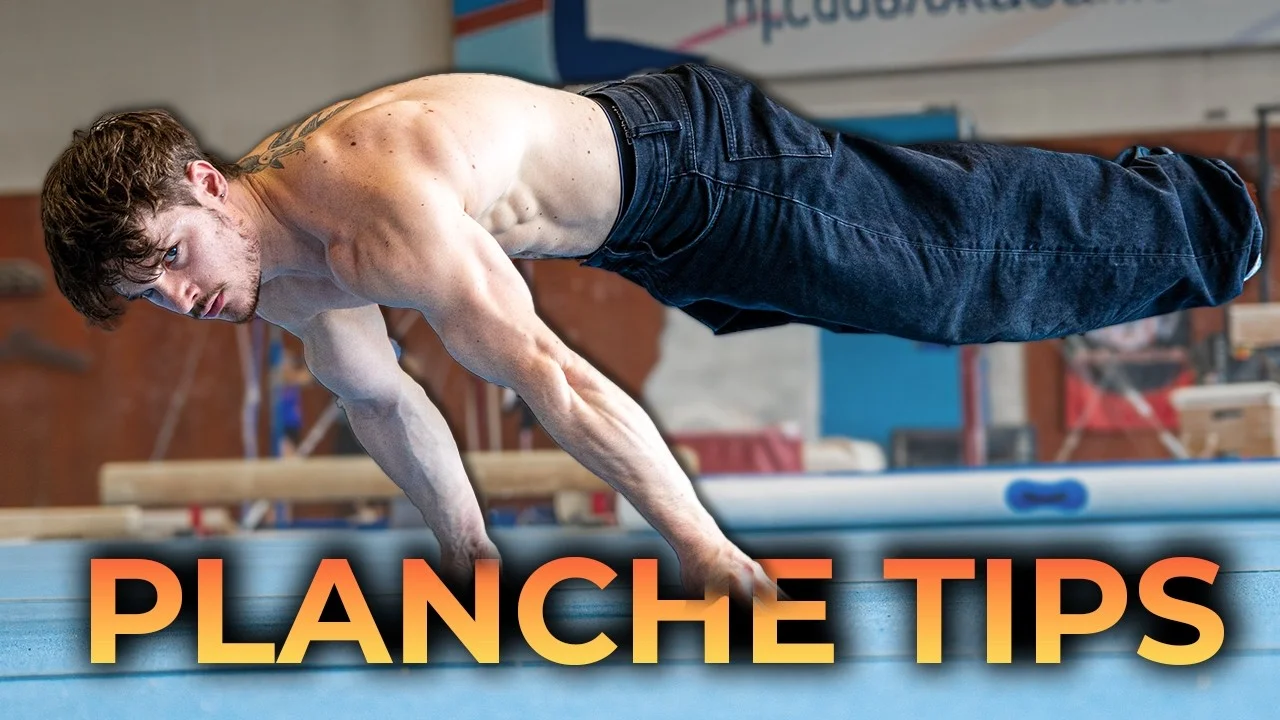
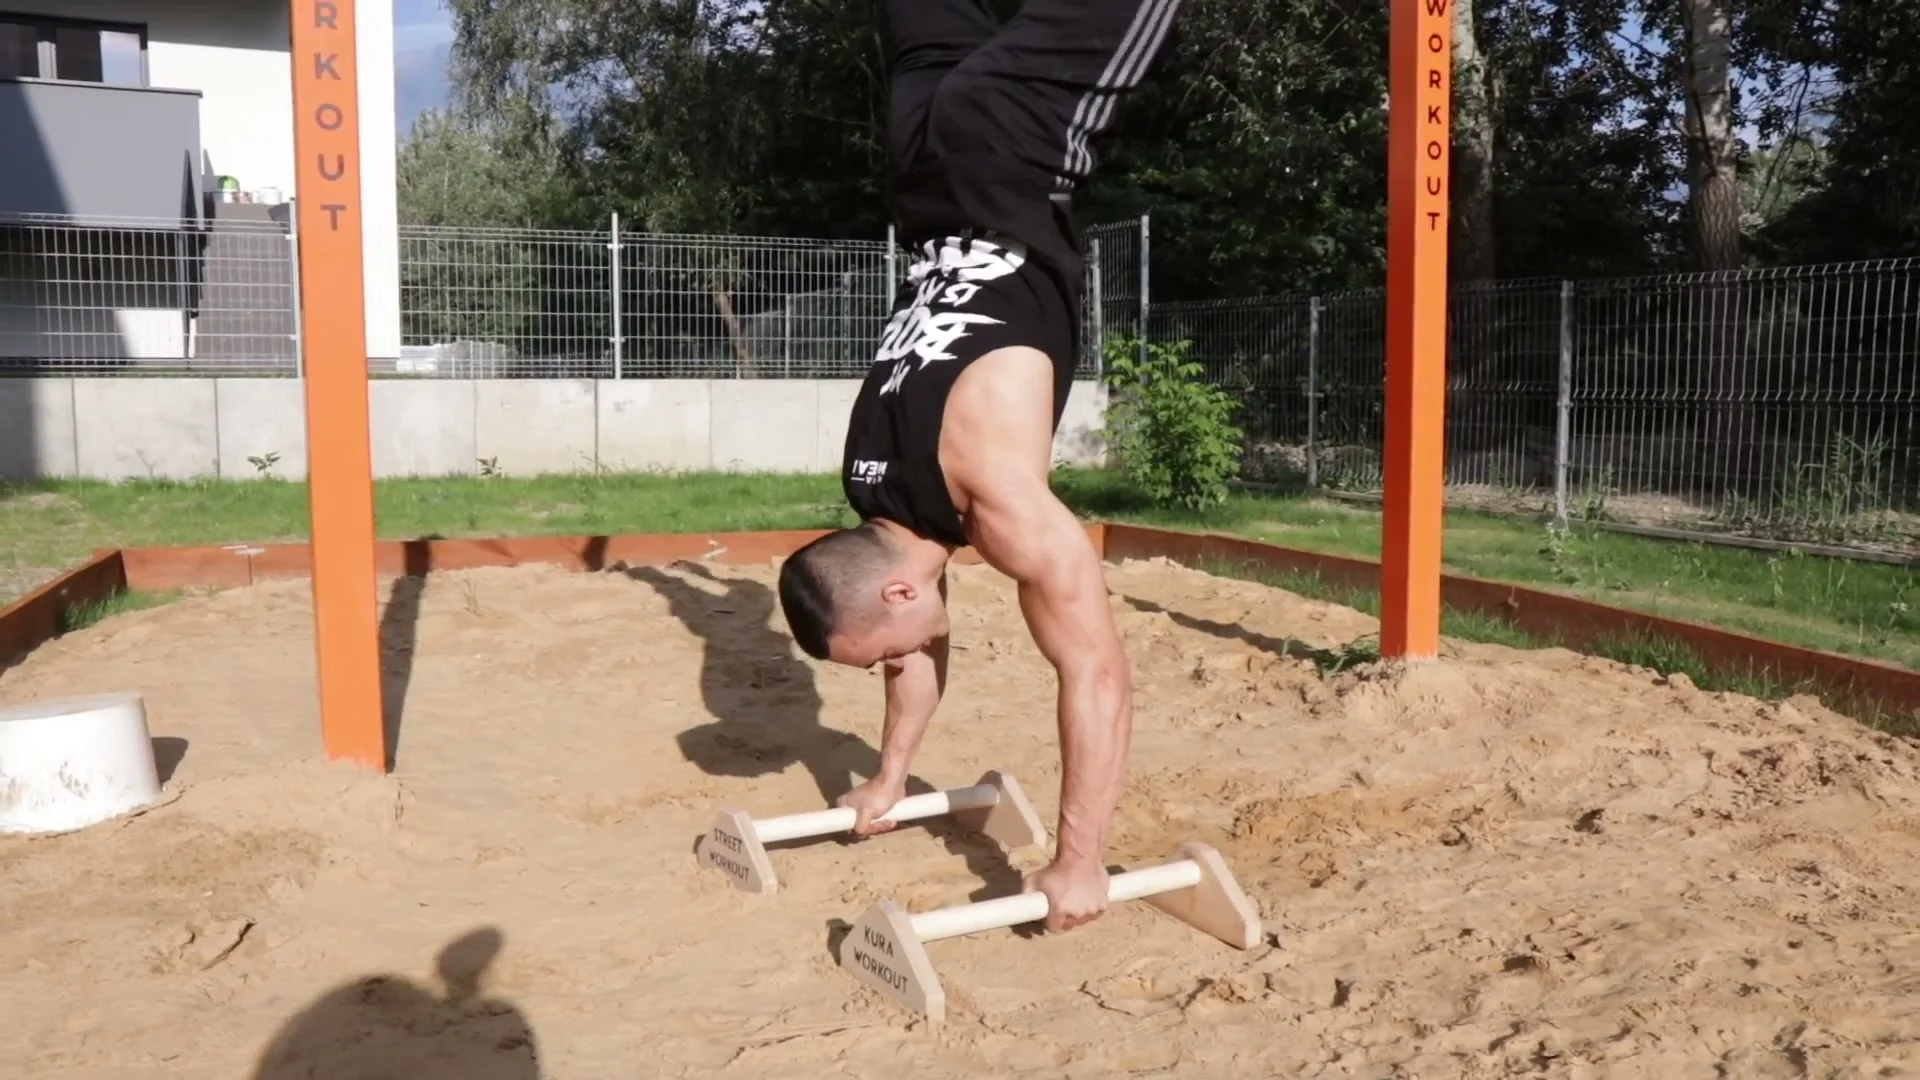
The planche is a static calisthenics hold where the body is horizontal with both feet off the ground, supported only by the hands. The arms are straight, the body is rigid, and the position is held entirely by shoulder strength and body tension. In street workout, it is one of the highest-prestige strength skills.
The planche family includes several progressions. The tuck planche has the knees pulled to the chest. The advanced tuck has the back straight and legs extending behind. The straddle planche has the legs wide. The full planche has the legs together and straight. Each stage demands more horizontal body length, which increases the torque the shoulders must resist.
According to Kura, 70 to 80 percent of the planche comes from shoulder strength. The rest is body tension: glutes, abs, and chest pressure working together to keep the body rigid while the shoulders hold the position.
Prerequisites
Kura recommends building a base of general pushing strength before dedicated planche training begins. The specific standards he gives are 15 to 20 pull-ups, 30 to 40 dips, and 40 to 50 push-ups. These numbers represent the baseline strength that makes the shoulder-specific planche exercises productive rather than just exhausting.
The core also needs direct preparation. Planche positions demand full-body rigidity throughout. Athletes who lack core endurance will lose body tension before the shoulders fatigue, which means the shoulders are never getting the training stimulus the exercises are designed to provide.
Kura started with years of handstand training before switching to street workout, which gave him exceptional shoulder strength before he ever attempted a planche. His timeline from starting planche training to his first full planche was about six months, shorter than average because of that handstand base. For most athletes without that background, a more realistic timeline is one to two years from zero to full planche.
Technique: The Cues That Define the Planche
Four technique points define whether a planche is correct.
The first and most important is protraction. The scapulas must be protracted forward, not pulled back. If the shoulder blades are visible from behind, the protraction is not enough. Protraction positions the shoulders correctly for the hold and is also the starting position for planche presses if that skill is trained later.
The second is straight arms. This is non-negotiable. Kura's biggest regret from his early training is that he practiced with bent elbows. It is a bad habit that is slow to correct. Every planche exercise should be done with fully extended elbows, even when this means reducing the range or duration.
The third is full-body tension: glutes tight, abs engaged, chest pressing down. These create the body rigidity that keeps the position from sagging.
The fourth is hips low. A common error is raising the hips to make the position easier. The hips should stay at the same height as the body, not higher.
Key Takeaway
Exercise 1: Planche Lean
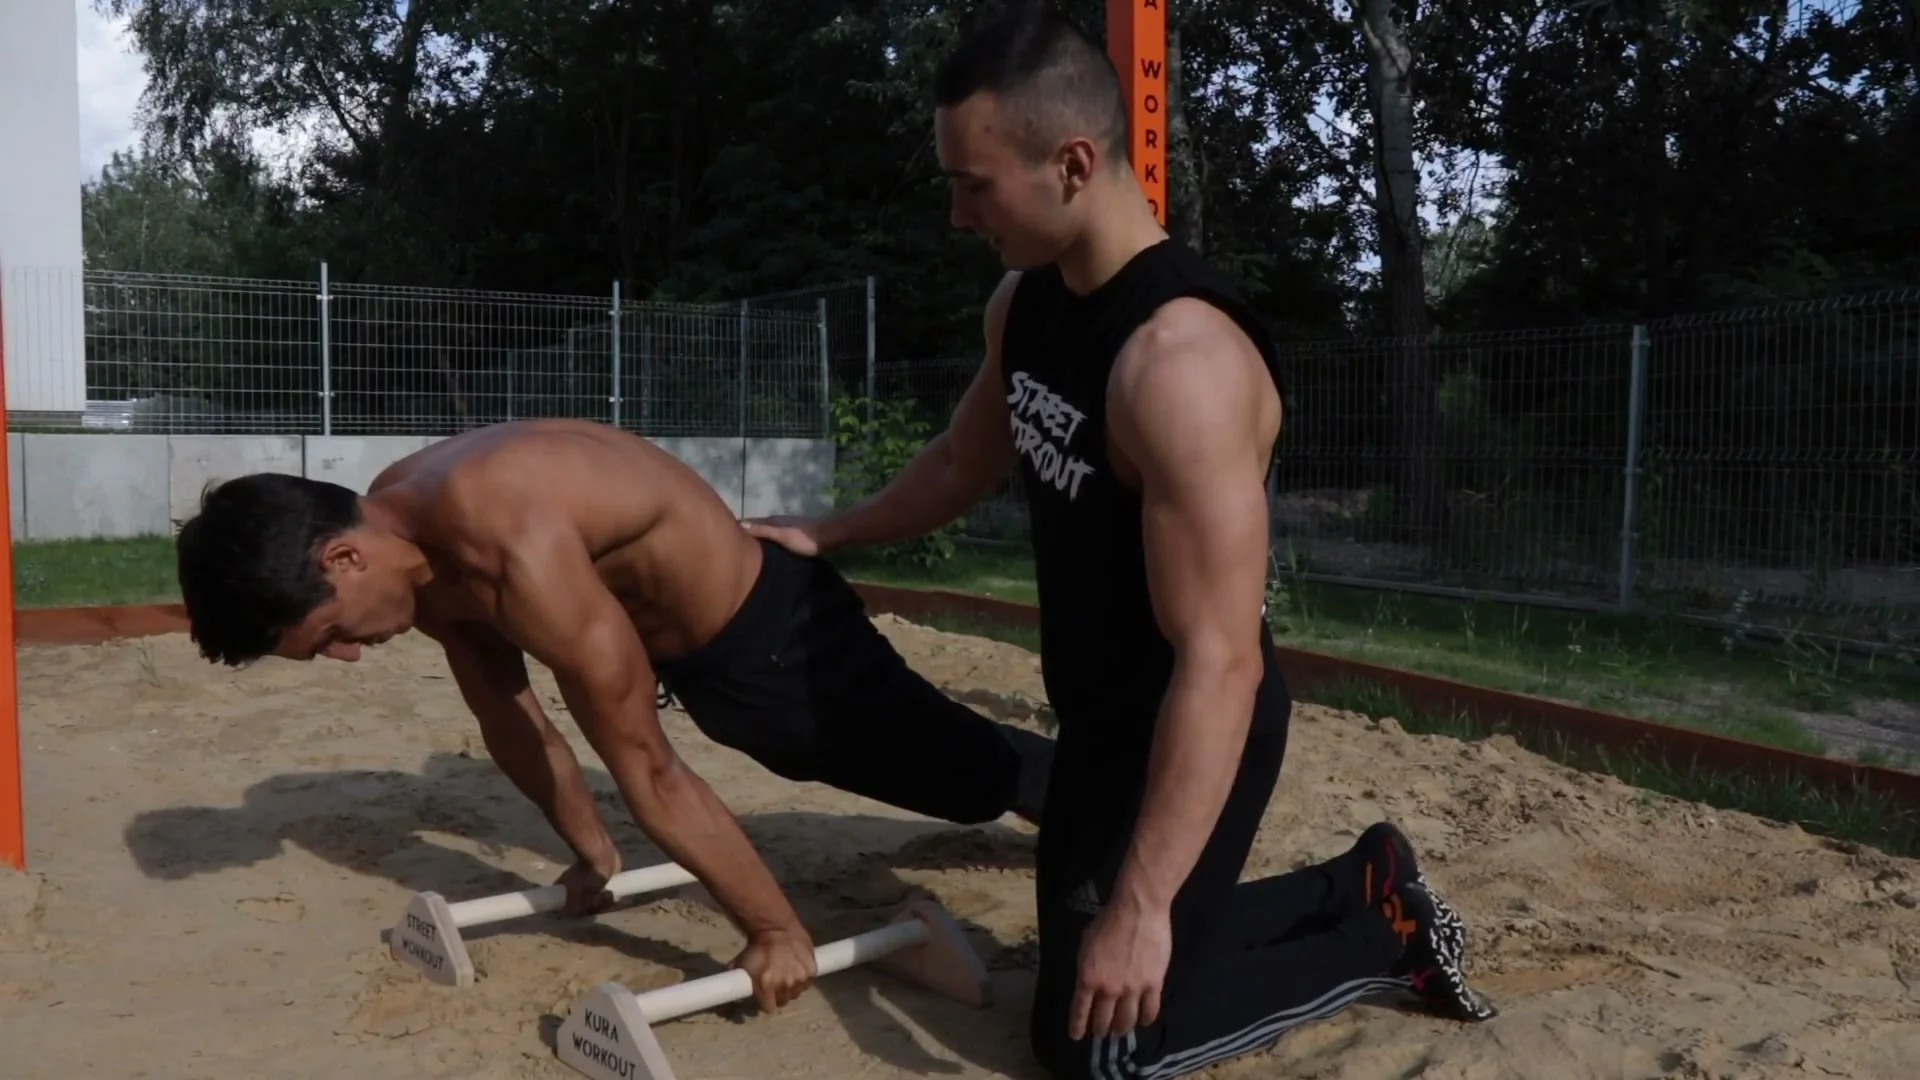
The planche lean is the most fundamental planche-specific exercise. Get into a push-up position with straight arms on the floor or parallettes. Feet together. Protract the scapulas, tighten the glutes and abs, and lean the body forward over the hands. Hold for 3 to 5 seconds, then return.
The goal is not to lean as far forward as possible. The goal is to maintain perfect protraction, straight arms, and full-body tension while leaning forward as much as those cues allow. A small lean with correct position is more valuable than a large lean where the technique has broken down. Kura coachable cue: "go back with the shoulders" as you lean forward means push the protraction against the lean, not lean forward and let the form collapse.
This exercise is the starting point for everyone. It is the first planche-specific drill because it teaches the body position before the difficulty of unsupported holds is introduced.
Exercise 2: Tuck Planche
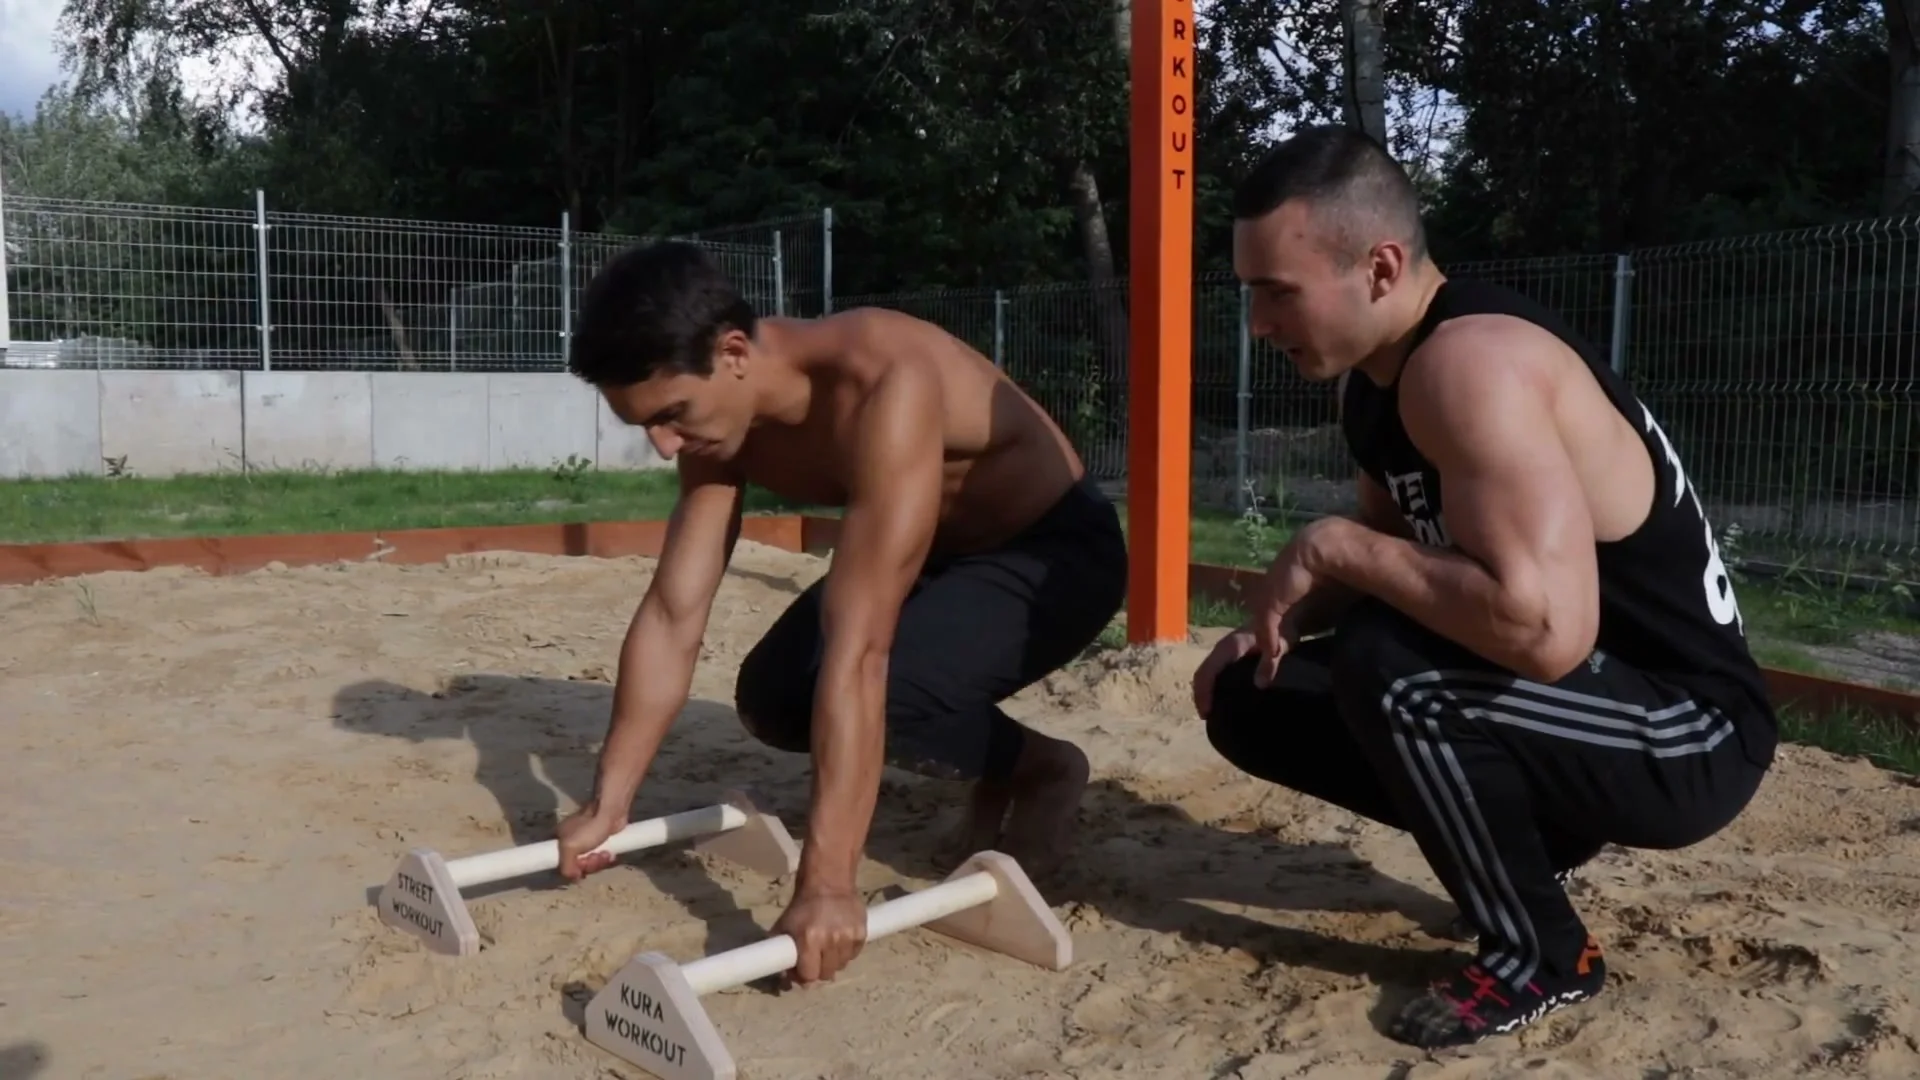
The tuck planche is the first actual planche hold. From the push-up position, bring the knees to the chest and lift the feet off the ground. The key points are identical to the planche lean: protraction, straight arms, glutes tight, hips low.
Hips low is critical here. Many athletes lift the hips when going into the tuck, which makes the position easier but does not train the actual planche. The hips stay at or below shoulder height throughout the hold.
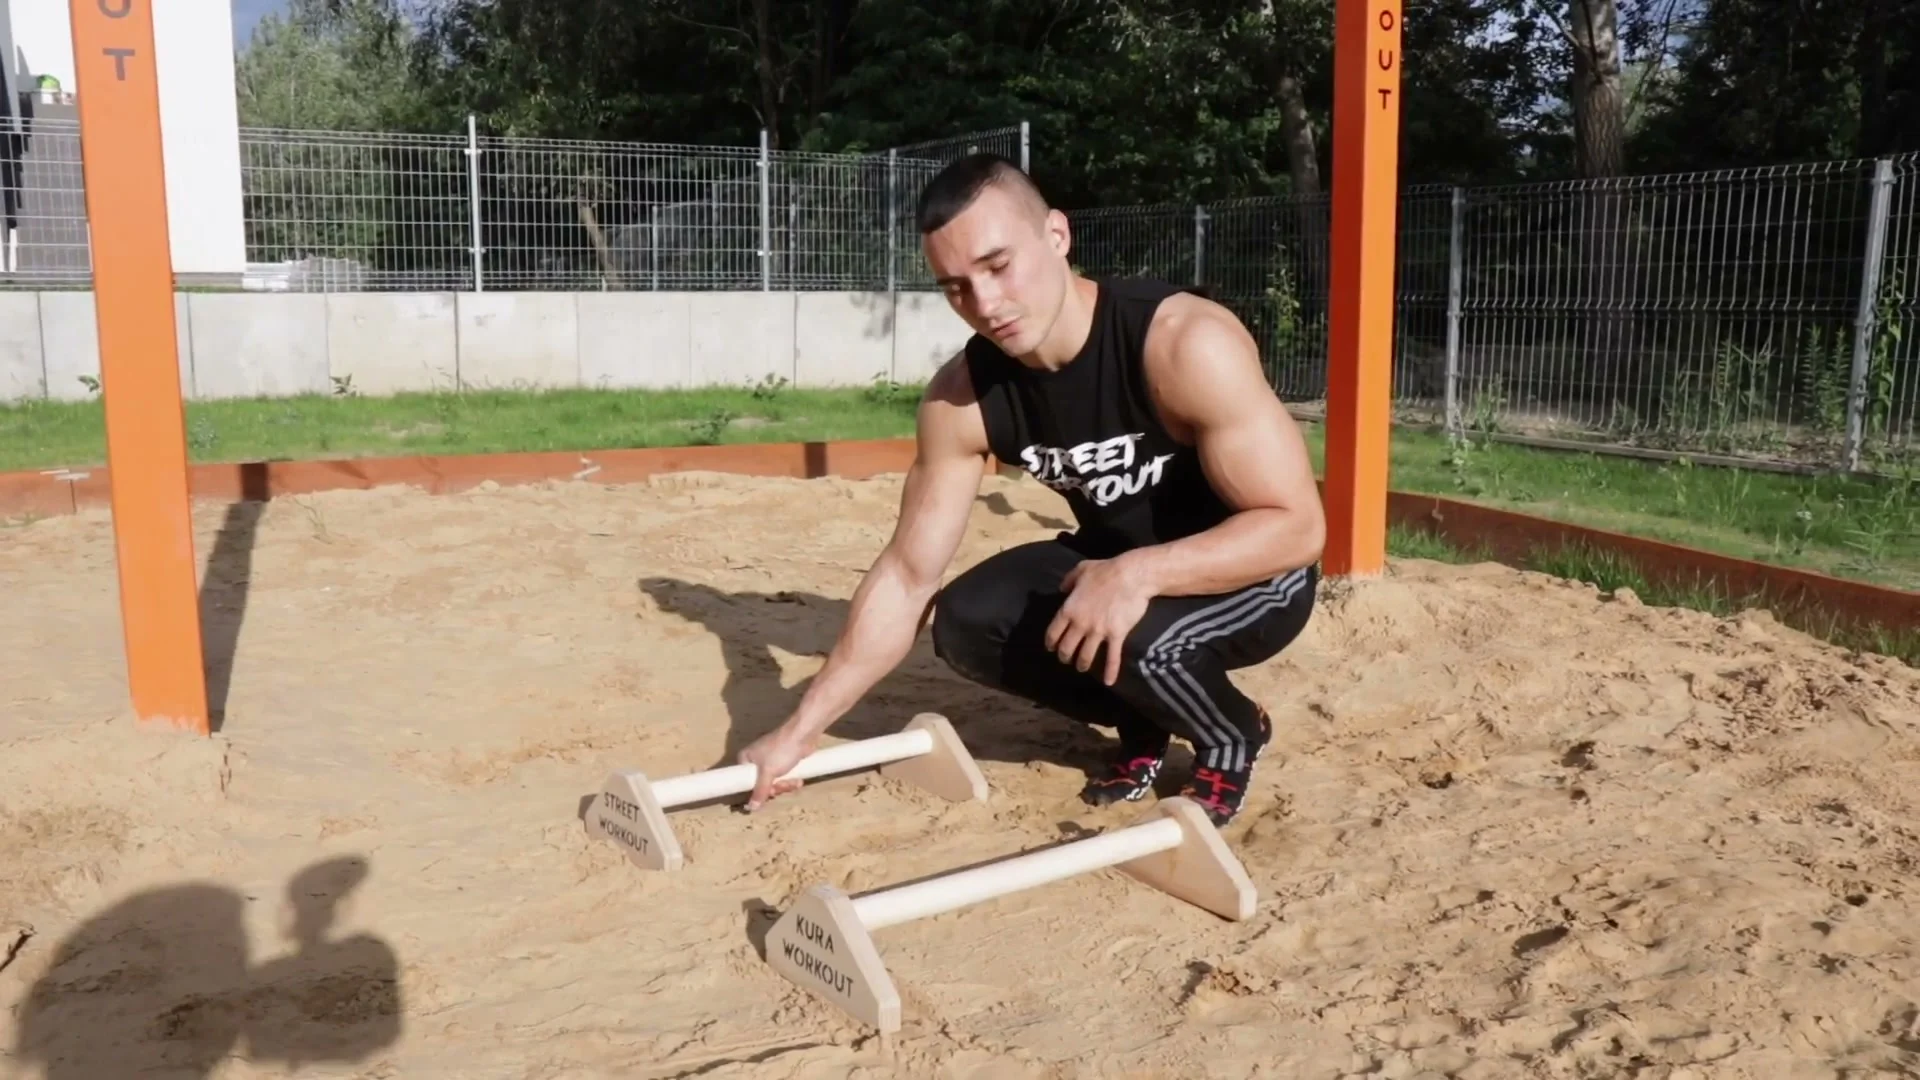
For hand pressure: most of the pressure goes through the heel of the hand and the upper part of the palm, not the fingers. Distribute the weight toward this area and away from the lower palm. This position keeps the wrist in a better angle for the hold.
Exercise 3: Advanced Tuck Planche
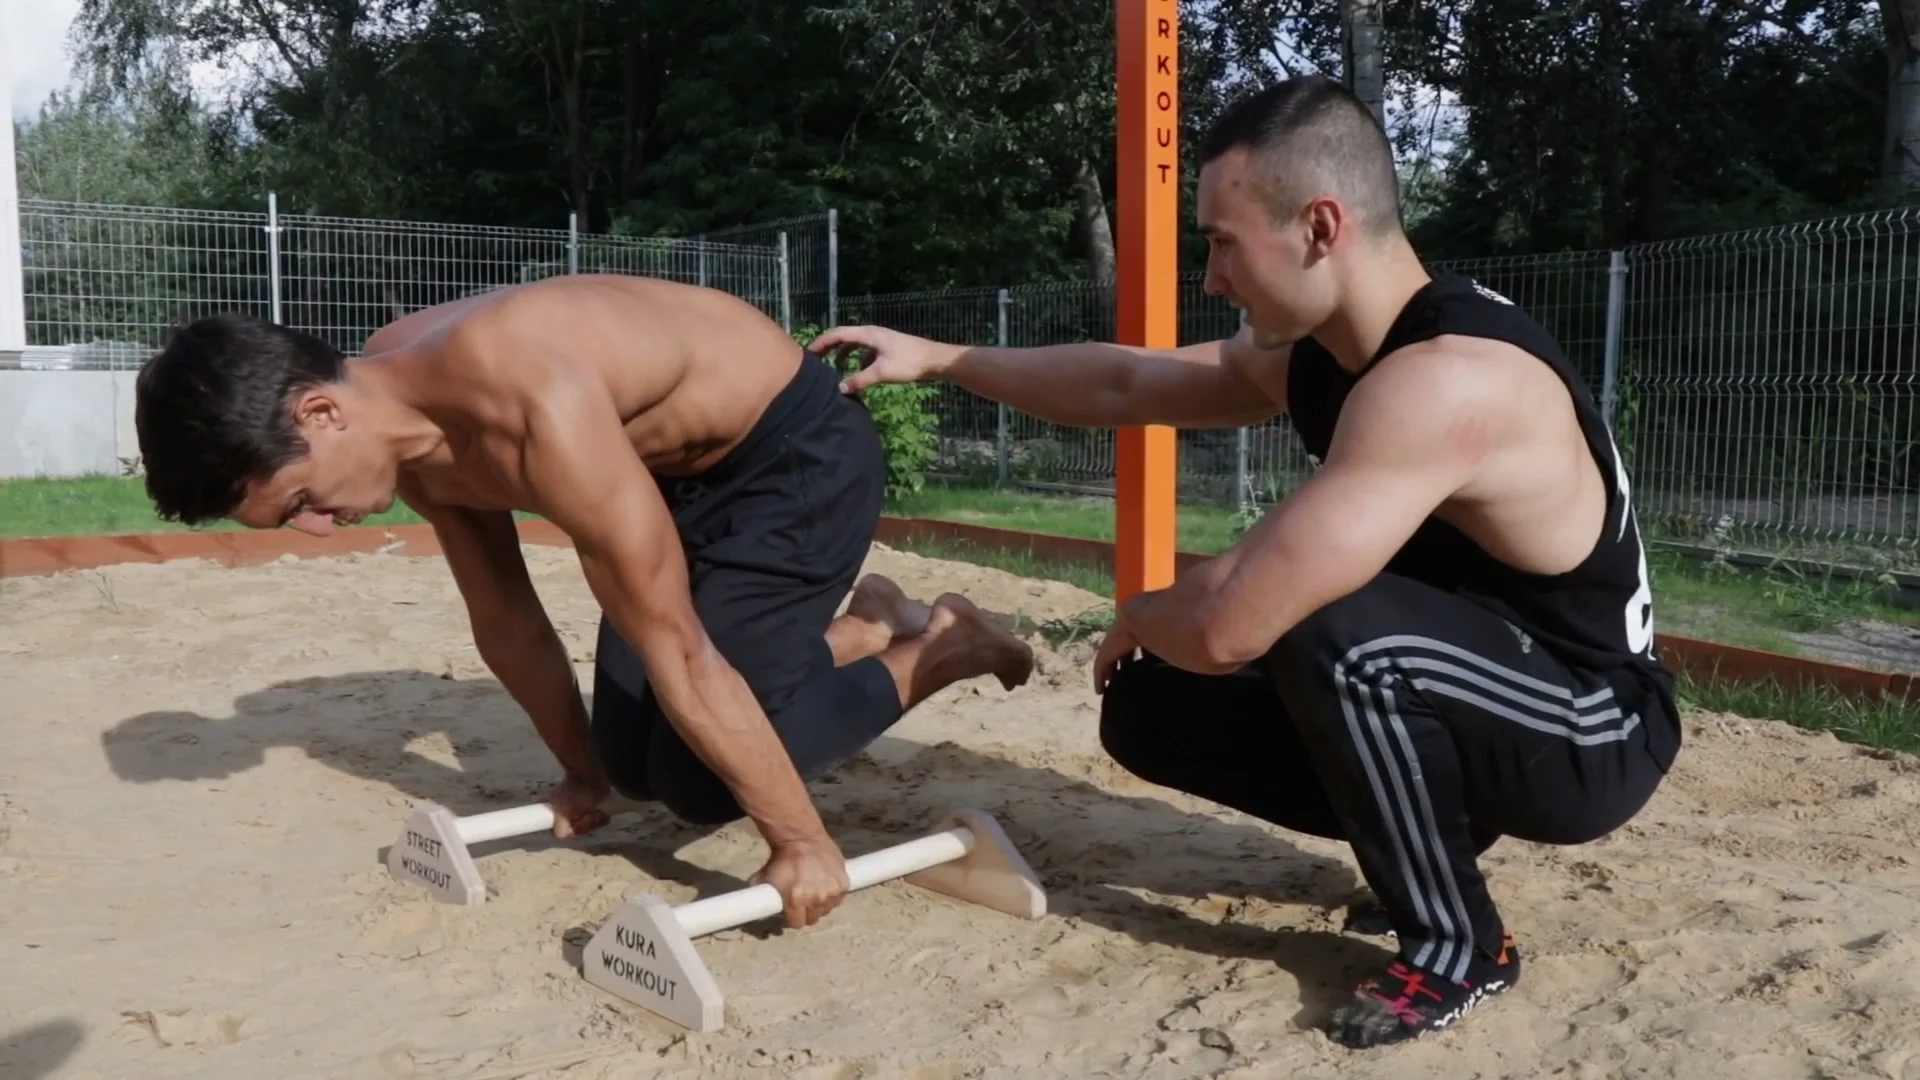
The advanced tuck planche starts from the tuck planche position and adds a straight back. The knees and hips are in the same position as the tuck, but the back flattens to horizontal rather than rounded. The body looks like a tucked planche where the torso is parallel to the floor.
The error Kura flags most often here is allowing the hips to rise when the back straightens. The hips stay at the same height as in the tuck. Only the back changes position. This is a harder position than the tuck because the trunk is now fully horizontal and the center of mass is further from the hands.
Progress from tuck to advanced tuck when the tuck planche can be held for 5 to 10 seconds with consistent protraction and straight arms.
Exercise 4: Pike Push-Ups
Pike push-ups are the first of the three beginner exercises for building the shoulder strength the planche demands. The form detail that most people miss: feet together, not shoulder-width apart. When the feet are wide (like a star shape), the chest muscles take more of the load. When the feet are together (feet closer), the shoulders take more. The planche needs the shoulder-dominant version.
The position looks like an inverted V. Arms straight at the top, then lower the head toward the floor and press back up. The body remains in the pike shape throughout the movement. This exercise is the accessible entry point for athletes who cannot yet do handstand push-ups.
Exercise 5: Handstand Push-Ups
The handstand push-up is the next level of shoulder strengthening after pike push-ups. Perform these against a wall for stability. The technique detail Kura emphasizes is the descent angle: do not go straight down. The head moves slightly forward as it descends, and the elbows angle slightly outward rather than pointing directly backward. This diagonal path engages the same shoulder mechanics the planche lean trains.
Progress from wall handstand push-ups by moving the feet progressively lower until freestanding handstand push-ups are achievable. This takes significant time and is a long-term goal rather than a short-term prerequisite.
Exercise 6: L-Sit to Pike Press
The L-sit to pike press combines shoulder depression with the hip flexor and core strength the planche position requires. Start in an L-sit (arms straight, legs extended forward parallel to the floor). From there, drive the feet upward into a pike position, aiming the feet toward the ceiling. The key is maximum shoulder depression: the shoulders drive downward while the hips and legs go up.
This exercise directly transfers to the press to handstand, which Kura also demonstrates in the video as a more advanced planche-related skill. The shoulder depression pattern trained here is the same one that controls the planche position from above. Do it with straight legs when possible; bent legs are the entry point if straight legs are not yet achievable.
Training Tips
Beginners should train planche two to three times per week. Intermediate athletes can handle four to five sessions per week. Session length of 30 to 40 minutes dedicated to planche work is the practical range. Training longer than one hour for planche only makes it difficult to recover between sessions.
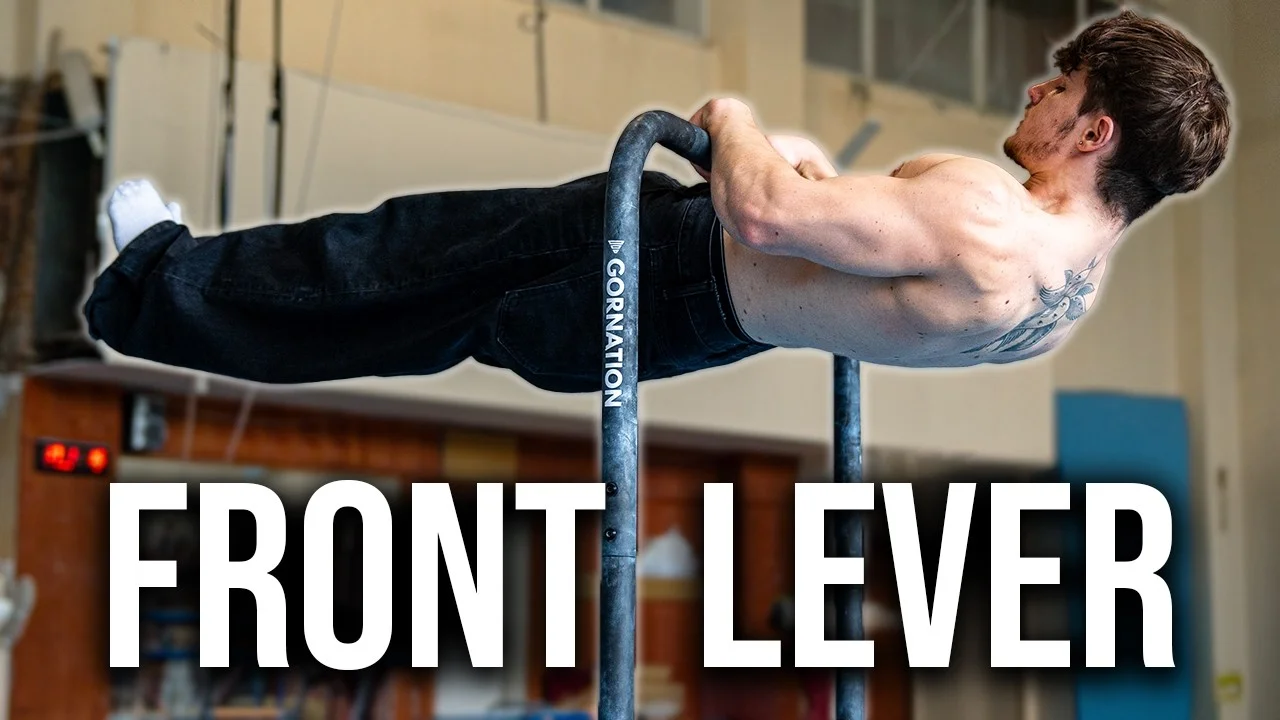
Planche can be trained alongside other strength skills. Kura trains front lever and planche in the same session. His recommendation: identify which skill you are currently weaker in and give it more time in each session. If both are roughly equal, 30 minutes on planche and 15 to 20 minutes on front lever works as a starting split.
Every rep of every exercise should be done with straight arms. This is the rule Kura emphasizes most from his own experience. The time it takes to unlearn bent-arm habits is longer than the time saved by using easier bent-arm versions. Start correct and stay correct.
Progress through the exercises in order. The planche lean and tuck planche establish the position. The advanced tuck increases the difficulty of the position. The three shoulder exercises (pike push-ups, handstand push-ups, L-sit to pike) build the raw strength that makes the planche positions possible to hold. Running all six exercises over two to three weekly sessions covers both the skill-specific and strength-specific training the planche requires.
Frequently Asked Questions About the Planche
How long does it take to learn the full planche?
Kura learned his first full planche in about six months from starting planche training, but he had years of handstand training beforehand that gave him exceptional shoulder strength. For most athletes starting without that base, one to two years is a more realistic timeline. The exact time depends heavily on starting strength, body proportions (taller athletes face more difficulty), and training consistency.
Do I need straight arms for planche or can I use bent arms?
Straight arms are the correct form. Kura's biggest regret from his own training is having trained with bent arms early on. Bent-arm planche builds a different movement pattern and is harder to correct later. Every exercise in the planche progression should be practiced with fully locked elbows from the first session.
What is protraction and why does it matter for planche?
Protraction means pushing the scapulas forward and apart from each other, which rounds the upper back slightly. In the planche, protraction positions the shoulders to hold the load efficiently and is also the starting position for any planche press movement. Without protraction, the planche position becomes harder to hold and the shoulder joint is in a less mechanically sound position.
Can tall athletes learn the planche?
Yes, but it is harder. Greater height means a longer body, which increases the torque the shoulders must overcome to hold the horizontal position. Kura directly addresses this: taller athletes take longer and need to build more shoulder strength relative to their bodyweight. The exercises and progression are the same regardless of height. Taller athletes simply need more time at each stage.
What is the difference between a tuck planche and an advanced tuck planche?
The tuck planche has the back rounded and knees to the chest. The advanced tuck planche has the back horizontal (flat) while the knees remain tucked in roughly the same hip position. The hips should not rise when moving from tuck to advanced tuck. The advanced tuck is harder because the torso is now fully parallel to the floor.
Can I train planche and front lever at the same time?
Yes. Kura does this in his own training. The recommendation is to prioritize whichever skill you are weaker at by giving it more time in each session. If both are at a similar level, 30 minutes for one and 15 to 20 minutes for the other works well. Both are shoulder-intensive, so total training volume across both in a session should be manageable for recovery.
What hand position is correct for the planche?
Most of the pressure should go through the heel of the hand and the upper part of the palm, not the fingers or lower palm. The wrist should be positioned so the weight loads through this area. This hand pressure point applies in both the tuck planche and all other planche progressions.
Daniel Flefil
Calisthenics coach with 11 years of experience, co-founder of Calixpert, and organizer of Beast of the Barz, one of the world's largest calisthenics competitions. Based in Stockholm. I write about training, equipment, and everything that goes into building a serious calisthenics practice.
More about Daniel →