Daniel Flefil
July 24, 2022 · 6 min read
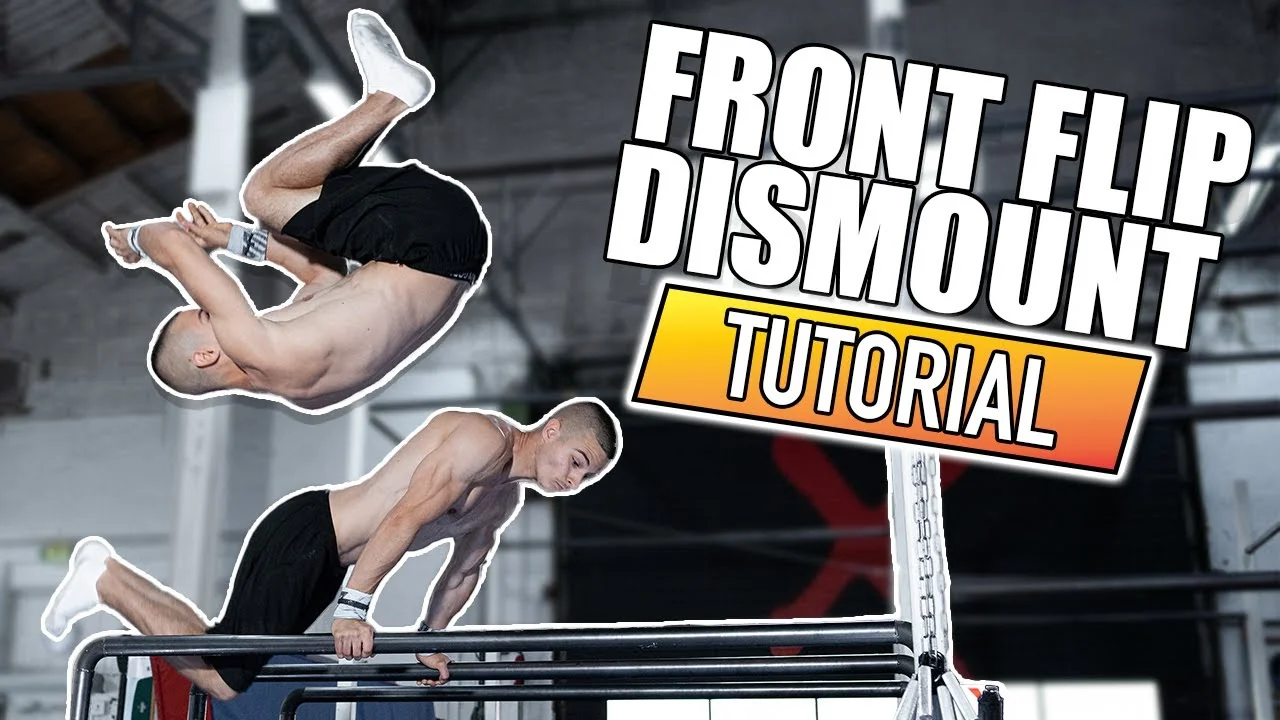
The front flip dismount on P-bars is an advanced freestyle calisthenics skill that combines a swing, a jump out of the bars, and a tucked front flip to land beside the apparatus. It is one of the more technical dismounts in the sport and requires prior experience with front flips before attempting any part of this progression. For this tutorial I brought in Daniel Hristov, a world champion in calisthenics who uses this as his favorite competition dismount. He covers six steps from grip setup through the full dismount, with safety progressions built into each stage. Mats are not optional for this skill.
Watch the Full Tutorial
What Is the Front Flip Dismount on P-Bars?
The front flip dismount is a P-bars skill where the athlete swings backward, exits the apparatus by moving the legs and hips out to the side, and executes a tucked front flip to land beside the bars. It appears in freestyle calisthenics competitions as a finishing or transitional dismount.
The skill sits at advanced level. The flip mechanics are those of a standard tucked front flip. What is specific to the P-bars version is the exit: getting the body cleanly out of the bars before the flip begins. A mistimed exit or a body twist on the way out can cause the athlete to hit the bars mid-flip. This is why every step in this progression starts at the edge of the P-bars.
Prerequisites
This is not a skill for beginners. Two things must be in place before starting. The first is consistent experience doing front flips on the ground or with a spotter. The flip mechanics in this skill are the same as a standard front flip. If the flip itself is not familiar, learn it elsewhere first. The second is basic P-bars competence: the ability to hold a support position, swing with control, and get to at least a 90-degree leg position in both directions. If you are newer to parallel bars, the easy parallel bar tricks guide covers the fundamentals first.
Specific standards before starting:
- Front flip on the ground or with a spotter (consistent, not just a few attempts)
- P-bars support position with controlled swing
- Ability to reach 90 degrees on both forward and backward swing
Mats under the P-bars are mandatory for every step. Use chalk to prevent grip slip.
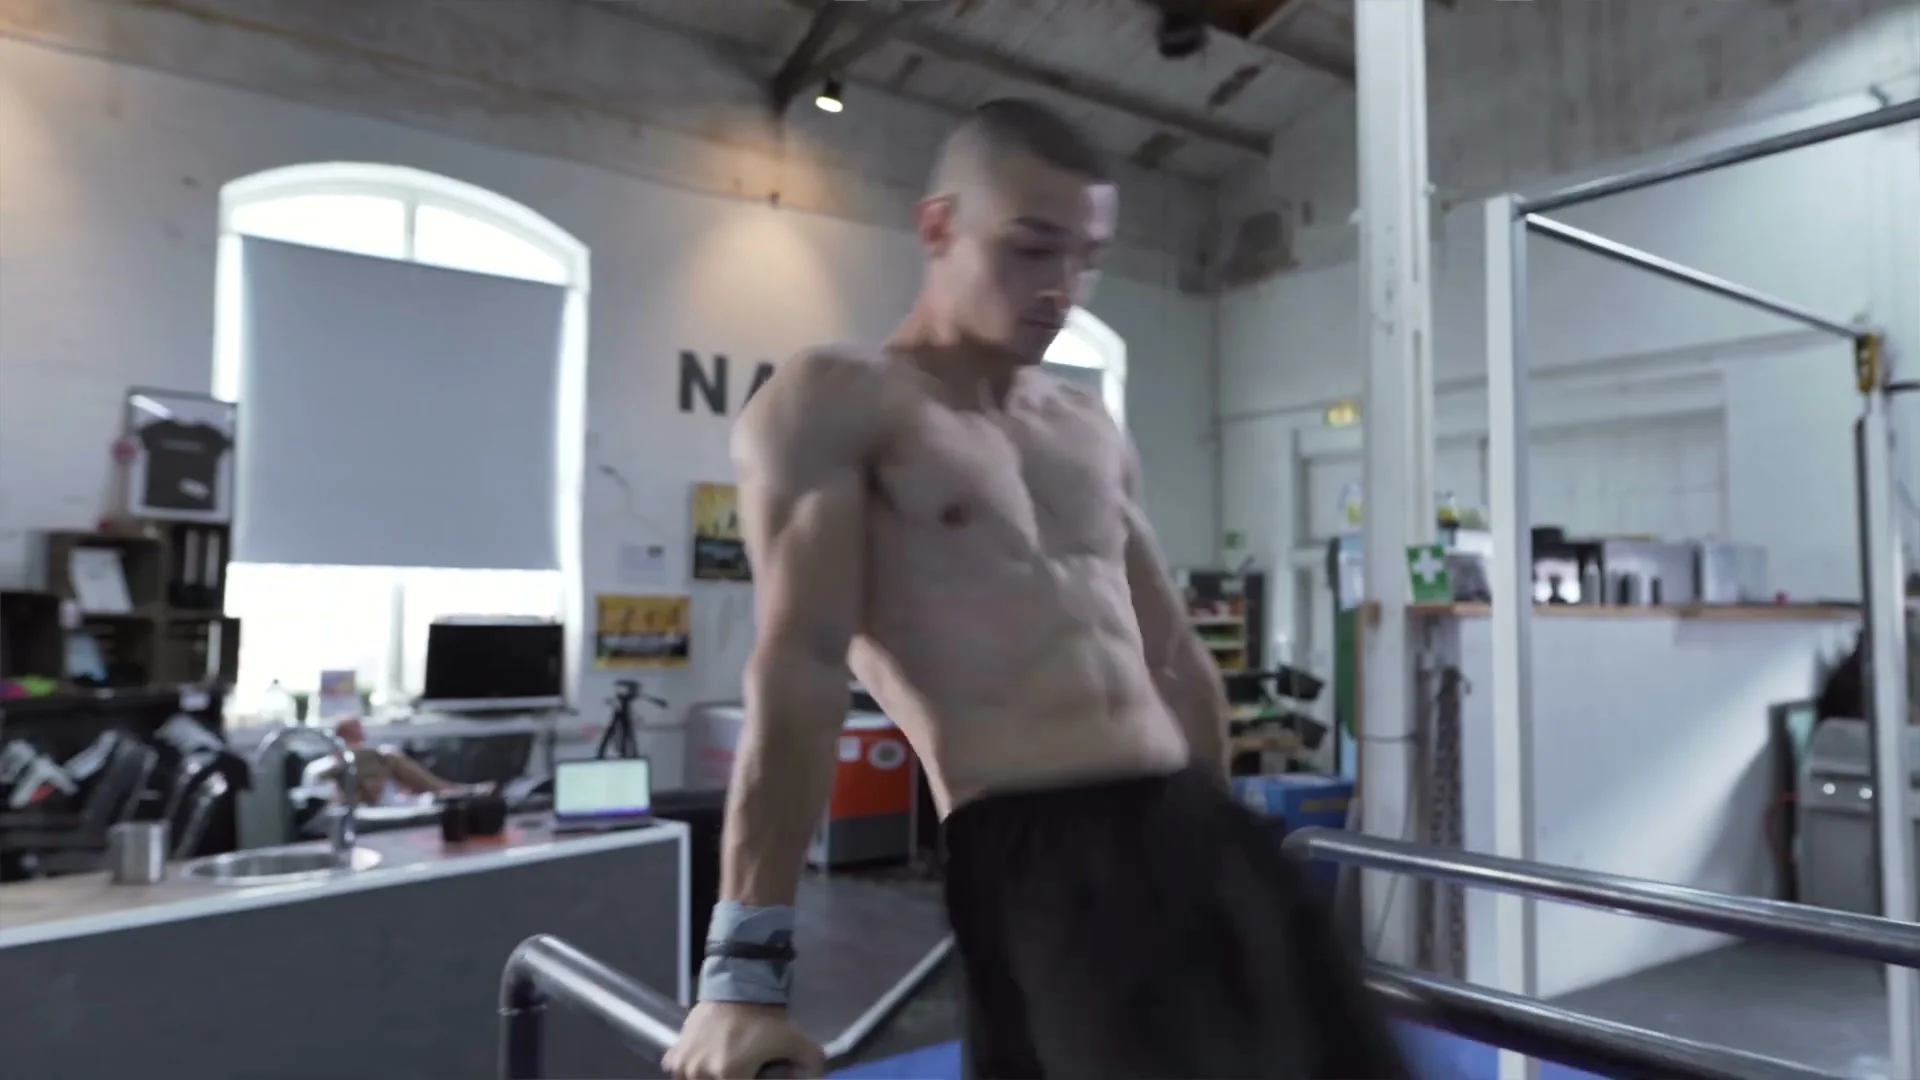
Step 1: The Right Grip
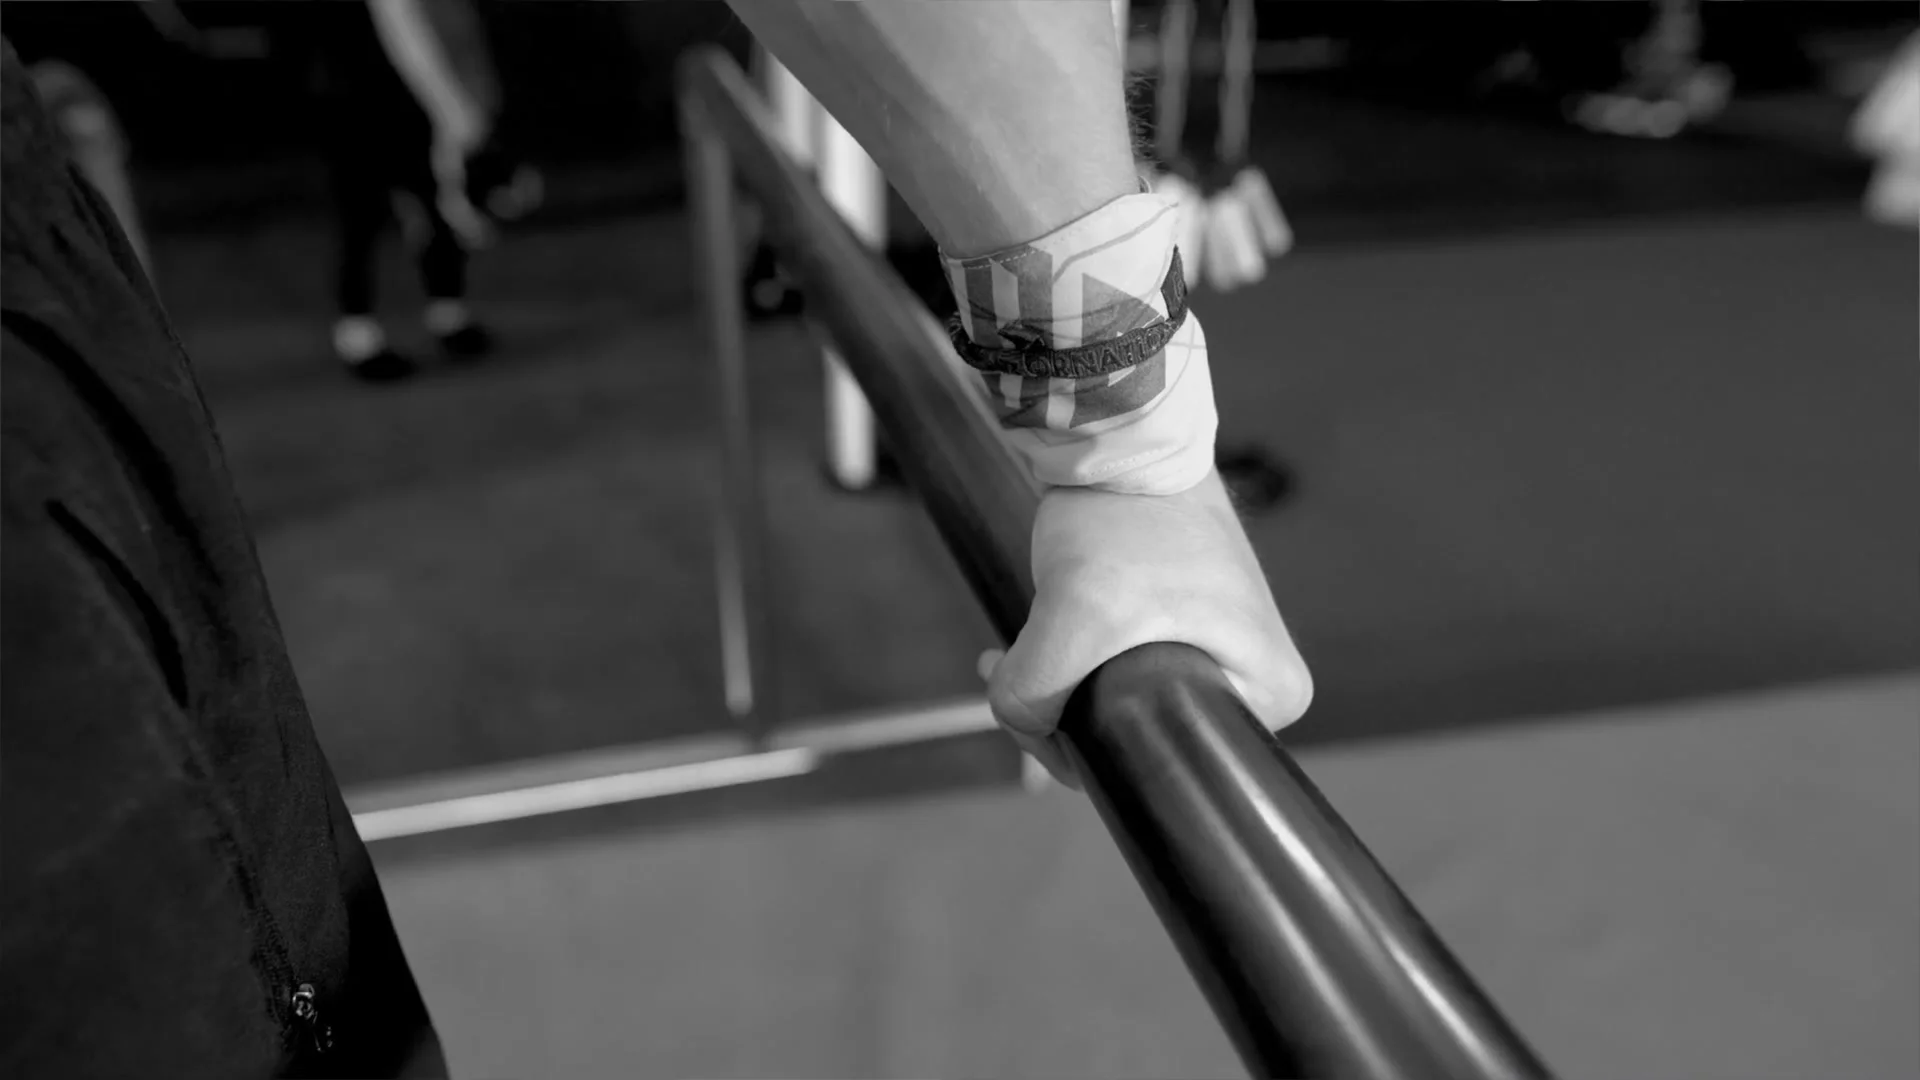
The arms must be lined up perfectly beside each other on the bars. Both hands at the same position along the P-bars, arms parallel. The hand position is the foundation for the swing and the exit. An asymmetric grip causes uneven swing mechanics, which affects every step that follows.
Confirm the grip and arm alignment before moving on. This is the base the entire skill is built on.
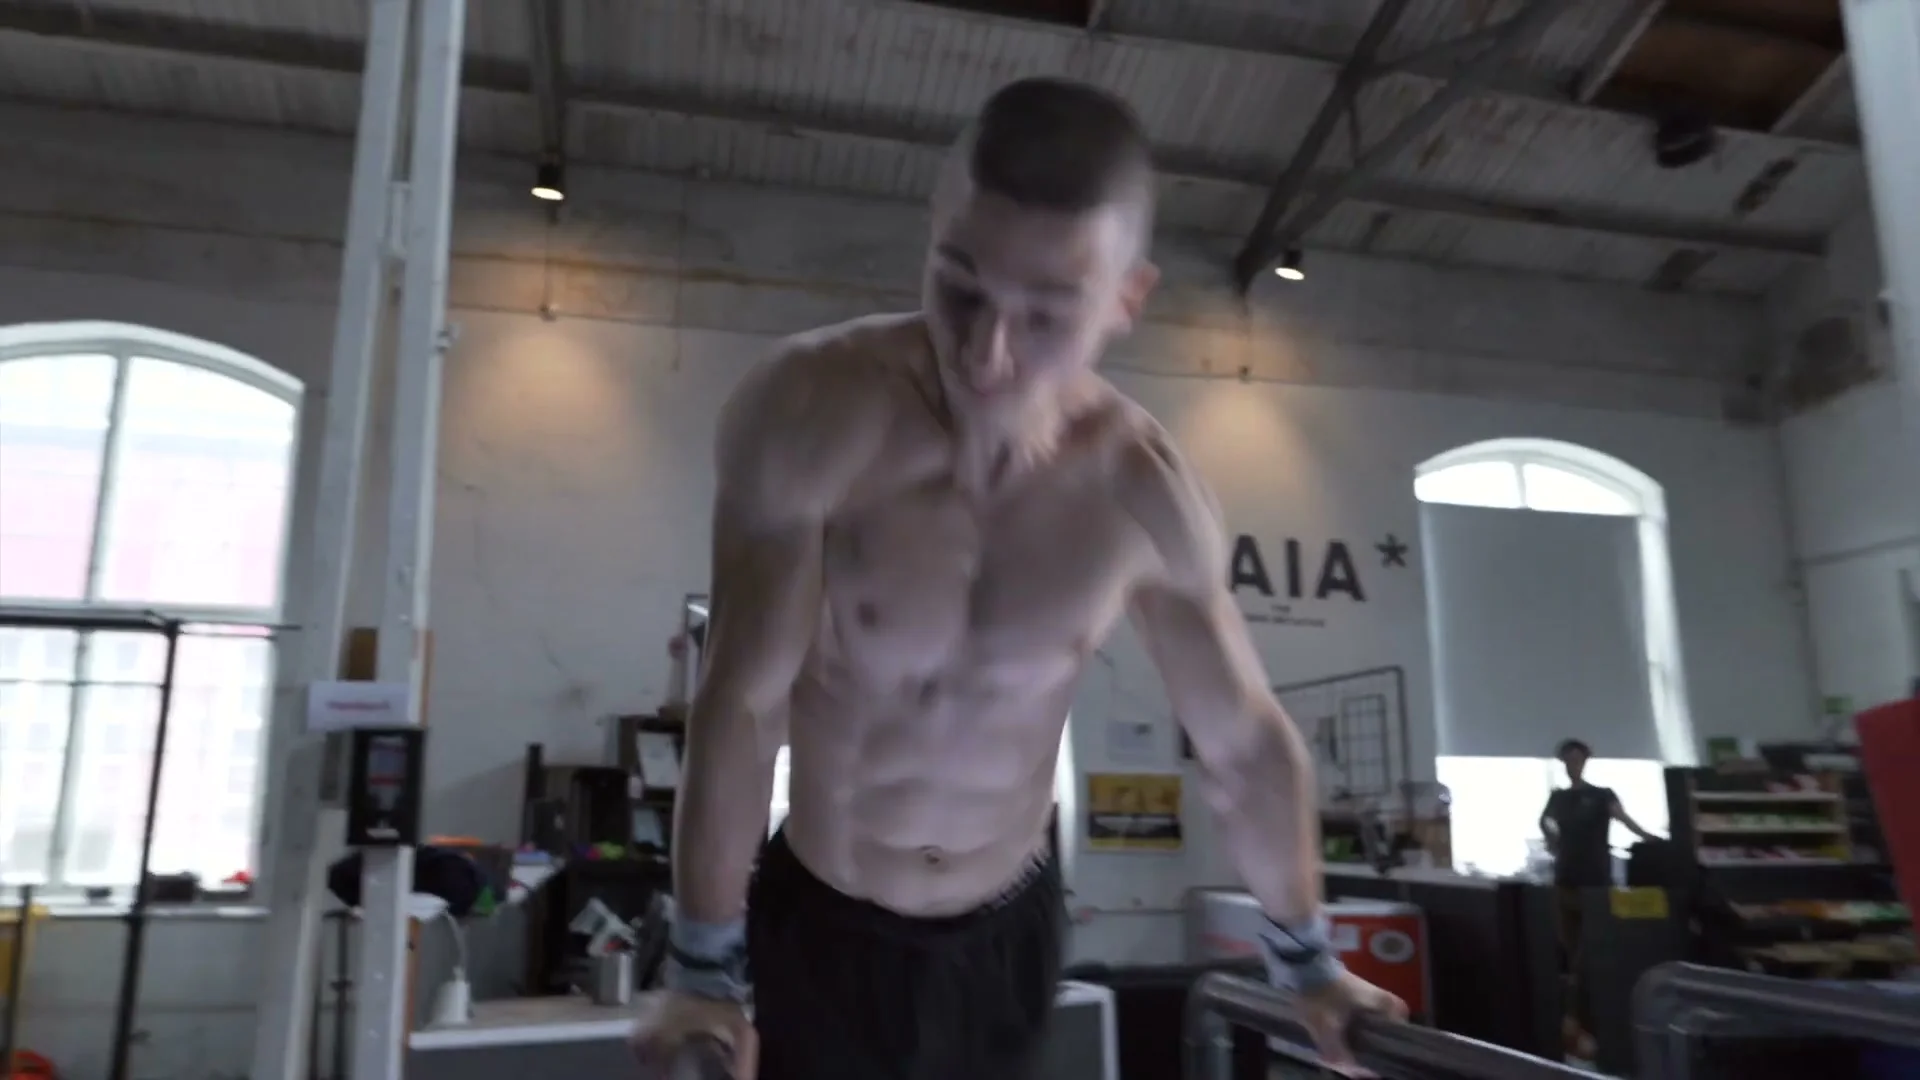
Step 2: Swing on the Bars
Start in the top support position. Swing the legs forward and back to build speed. The chest position drives the swing height. When the legs are in front of the body, open the chest. This gets the legs higher. When swinging backward, close the chest.
The target is a 90-degree angle between the arm and body on both the forward and backward swing. Practice this until the swing height and rhythm are consistent before moving to step 3. This is the power source for every step that follows.
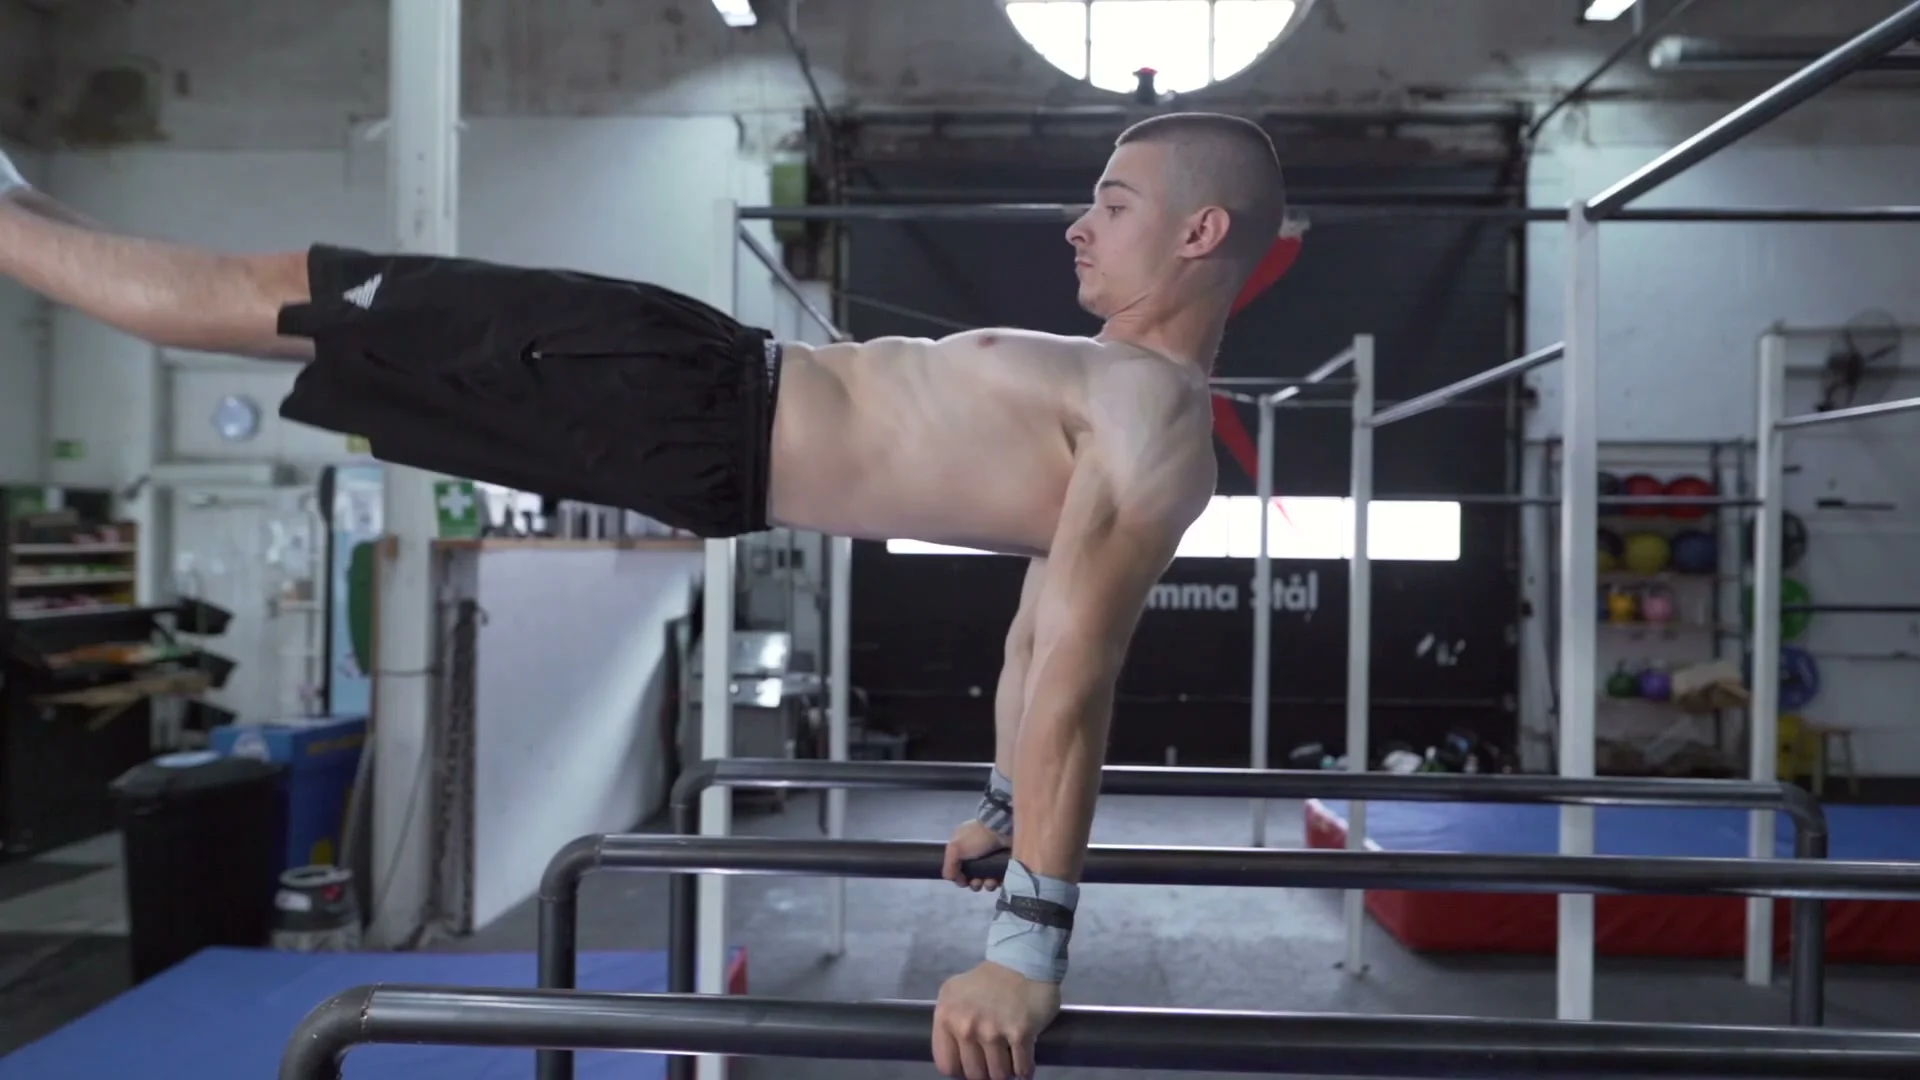
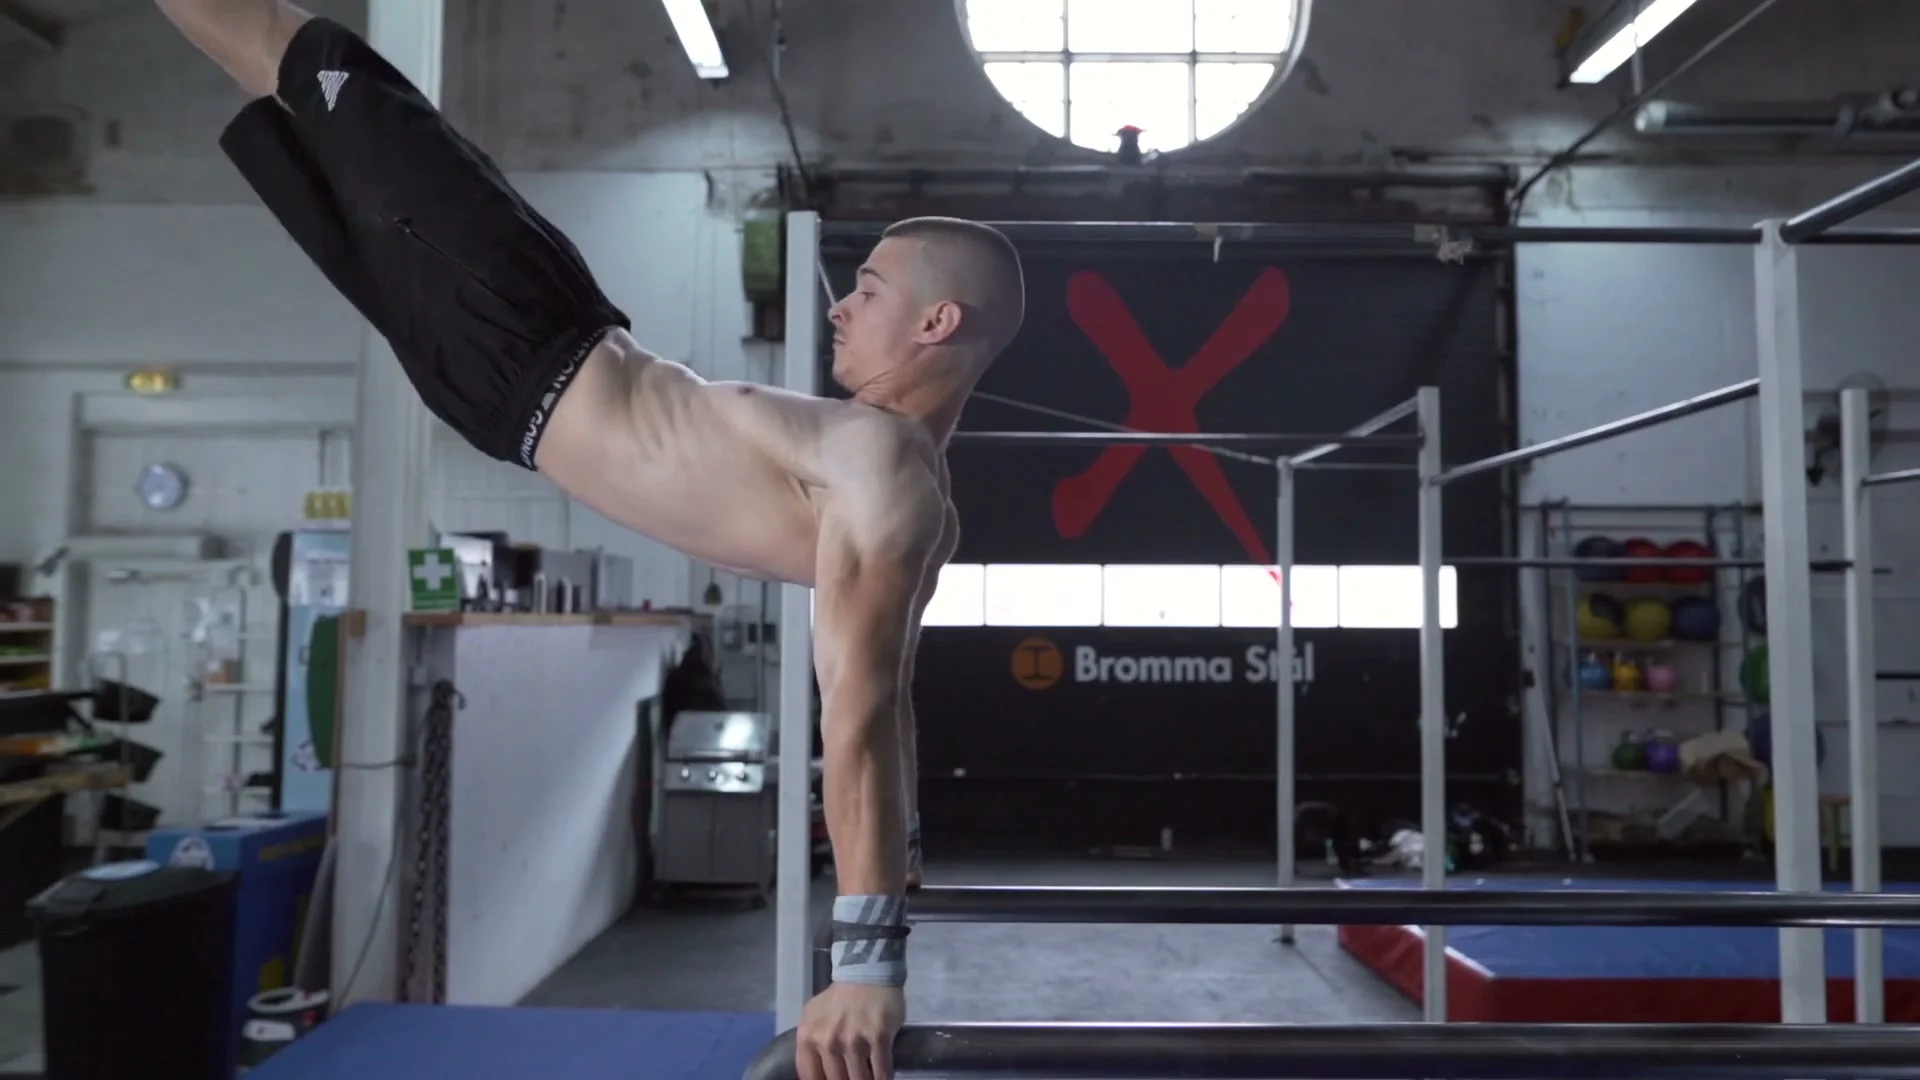
Step 3: Swing to Handstand
Before adding the flip, get comfortable swinging to a handstand on the P-bars. Start this step at the edge of the P-bars, not in the middle. Starting at the edge means if the swing goes too fast and past the handstand, falling forward is safe and the bars are not in the way.
Keep the arms straight and the legs straight throughout the swing. Tension both. Bent arms during the swing lose control and make the dismount harder. When the handstand position is reached, return to the starting position in a controlled way. Practice until swinging to handstand and back feels stable.
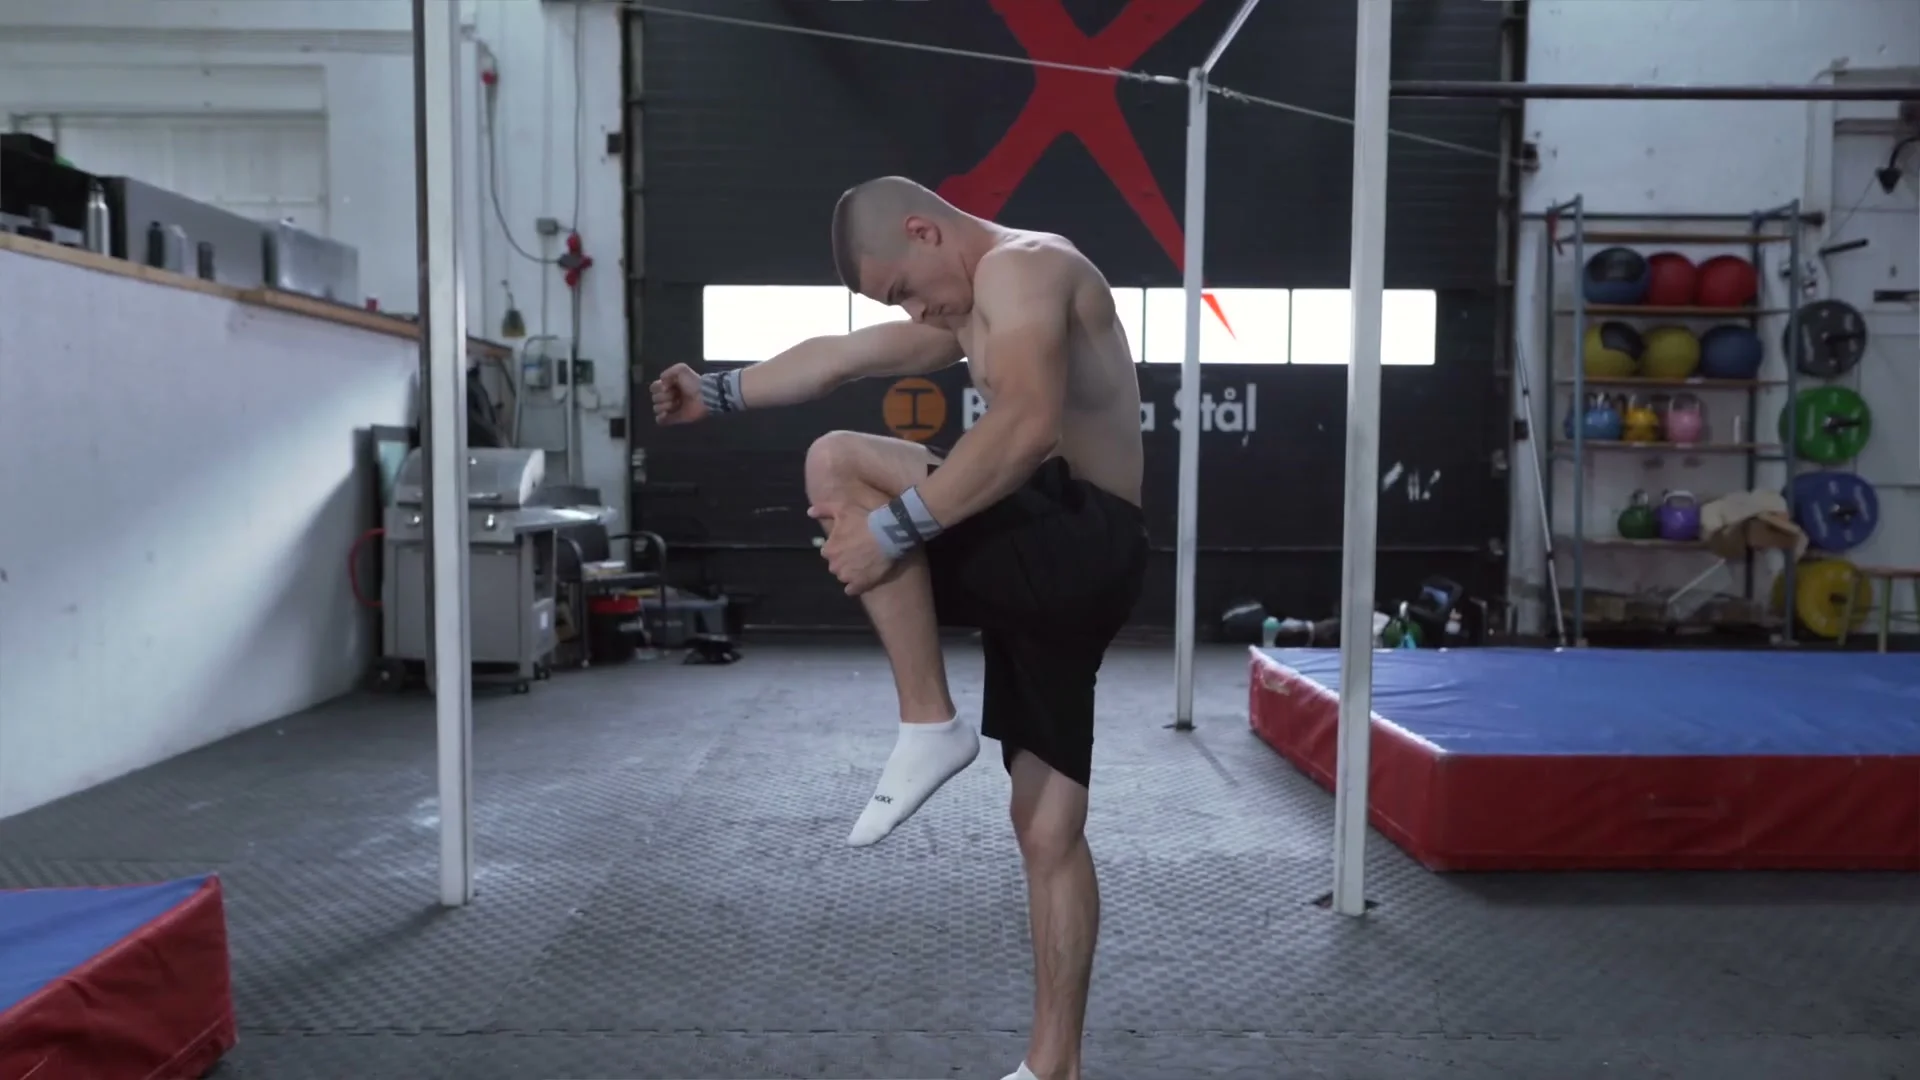
Step 4: Jump Outside the P-Bars
This step teaches the exit without the flip. From the backward swing, when the legs and hips are behind the body, move them out of the P-bars to the side. At the same time, push out with the hands. Lean forward slightly as the body comes out.
The landing is sideways beside the bars, not in front of them. The body must not twist during the exit. Twisting when exiting causes the flip to go sideways rather than forward, which risks hitting the bars or doing a different rotation entirely. Get the hips and legs a bit higher than 90 degrees when jumping out. This gives the flip more time to complete.
Practice this exit without any flip until the sideways landing beside the bars is controlled and consistent.
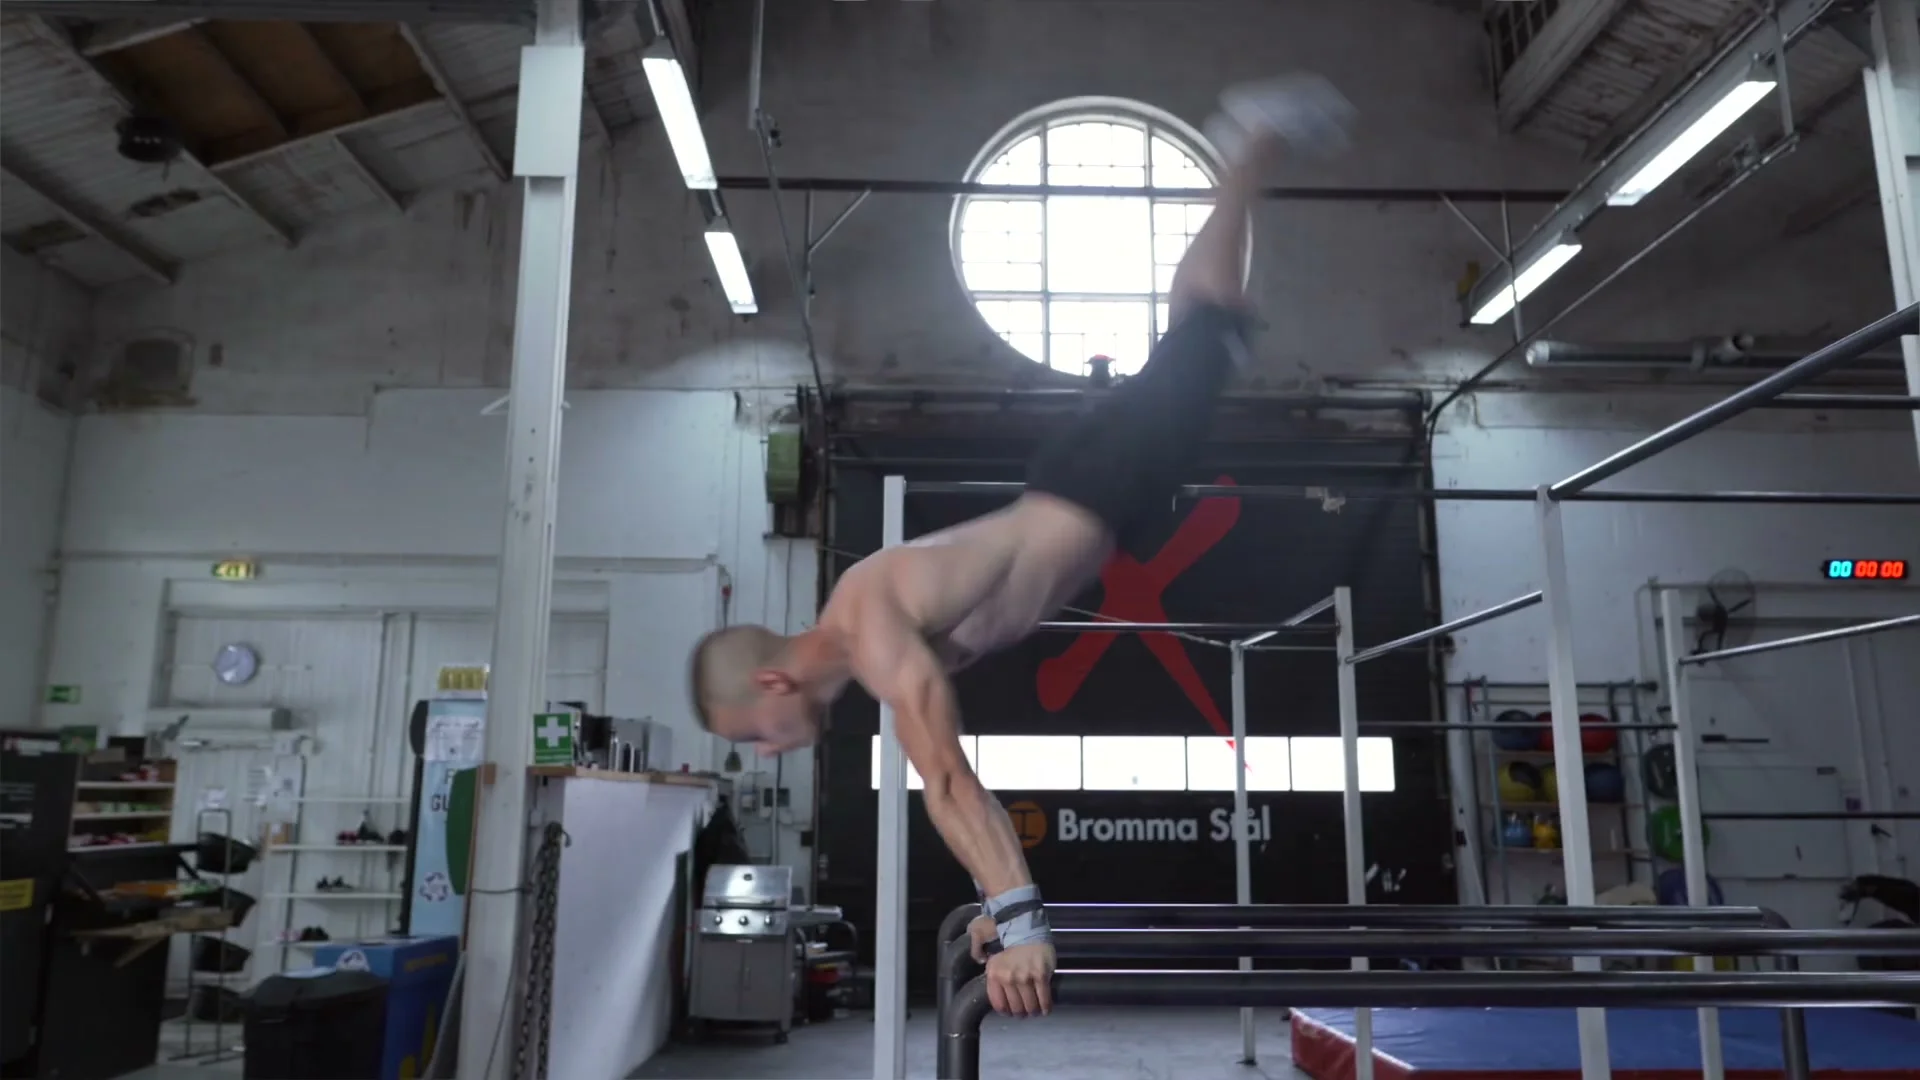
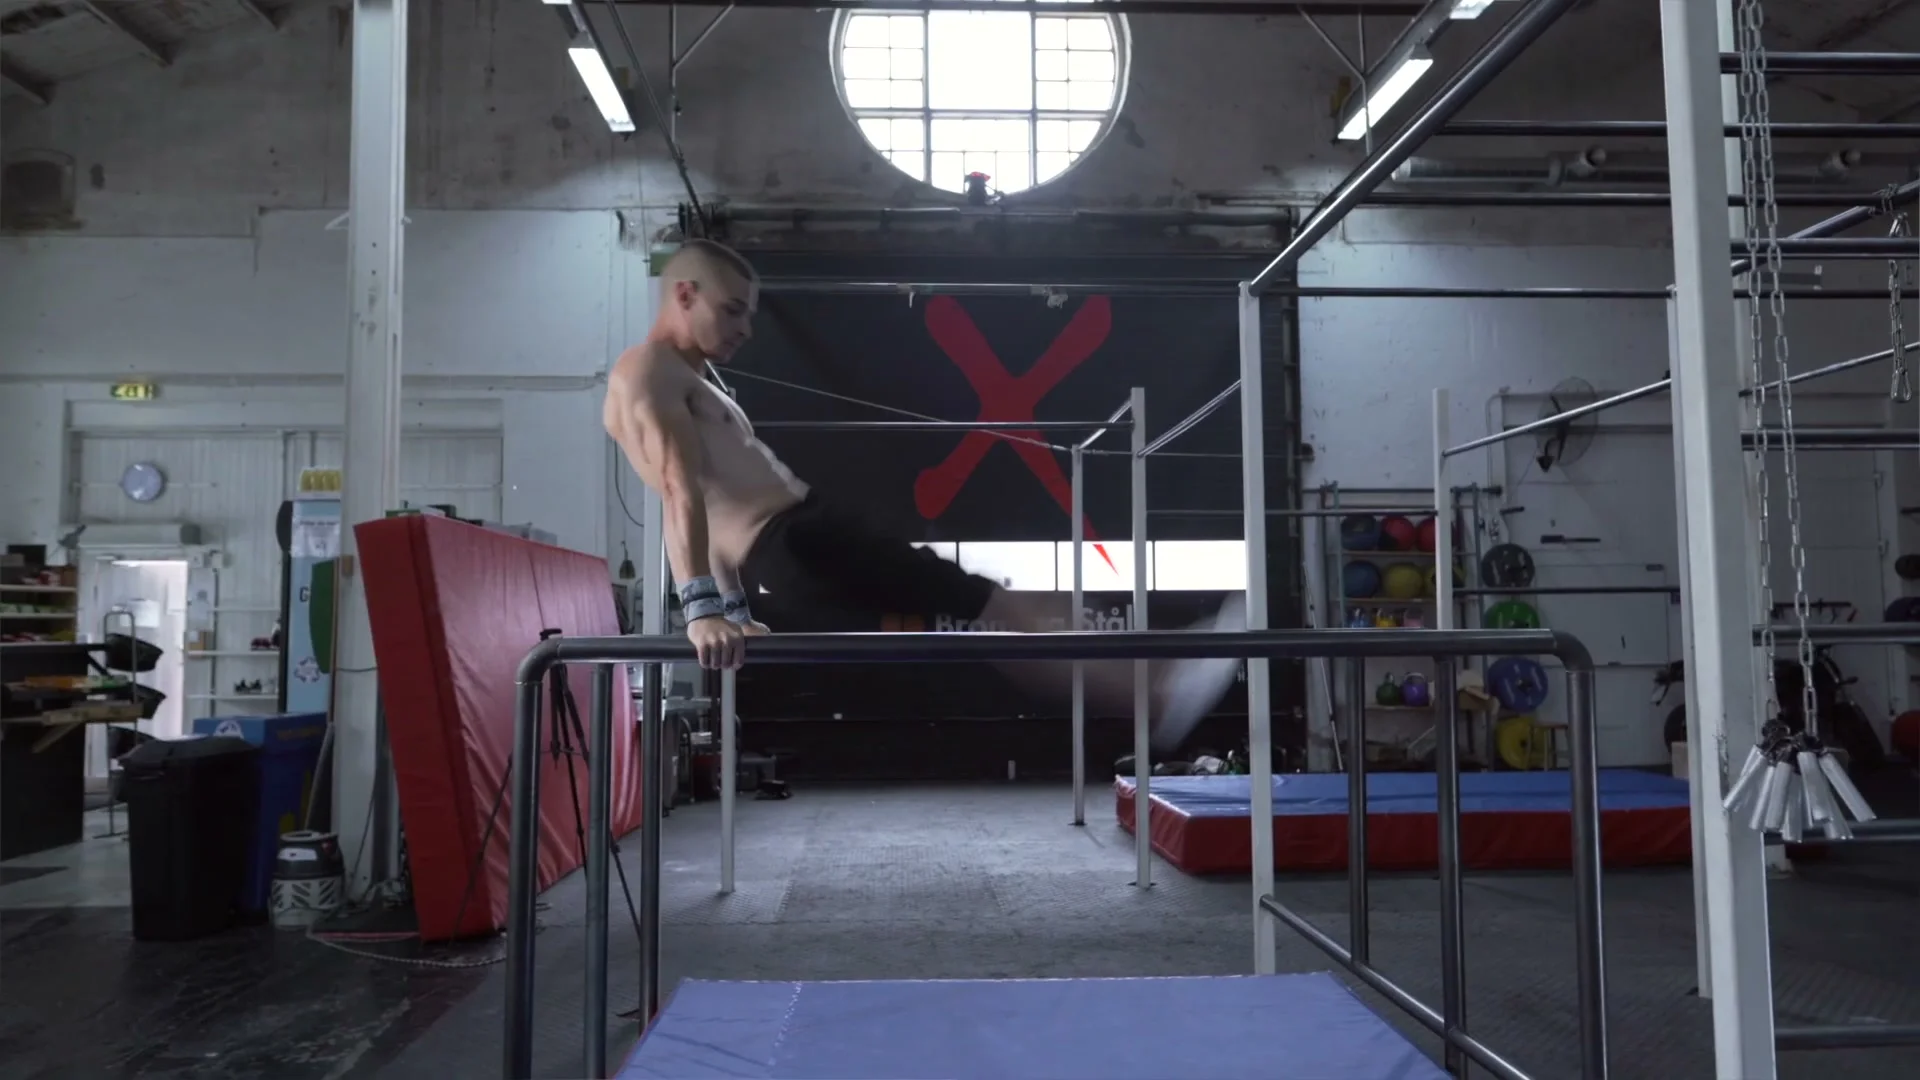
Step 5: Flip Inside the P-Bars

Now practice the flip while still inside the P-bars, not exiting yet. Start at the edge of the bars for safety. A bigger swing is needed here. Aim to get the body higher than 90 degrees on the forward swing to build enough speed. Lock the elbows throughout to maintain control of the swing.
Look forward throughout the backward swing. At 90 degrees on the backswing, start arching the back. From that arched position, tuck the head and close the hips to begin the flip. Open the knees slightly during the tuck to prevent the head from hitting the knees during the rotation.
Key Takeaway
Practice the flip inside the bars at the edge position until the rotation feels controlled before combining with the exit.
Step 6: Flip Yourself Out
Combine the exit from step 4 with the flip from step 5. Start at the edge of the P-bars. On the backswing, the body should already begin moving to the side before the flip starts. Head and eyes face forward all the way until the tuck. When the tuck begins, the body is already outside the bars.
The sequence: swing back, body drifts to the side, tuck head, close hips, flip, land beside the bars. The exit and the flip happen together, not one after the other. Starting the exit before tucking is what keeps the body clear of the bars.
Landing Tips
If the landing is consistently on the butt or back rather than the feet, the cause is not enough swing speed. Increase the swing height. More speed gives the flip more rotation to complete.
Only move to practicing the dismount from the middle of the P-bars after the edge version is fully consistent. The edge provides the safety margin. The middle increases the consequence of a mistimed exit. Make the edge version automatic first.
Training Tips
Do not skip the step where the exit is practiced without the flip. That exit pattern, the sideways movement without twisting, must be automatic before the flip is added. Adding the flip before the exit is clean leads to body twists, which is where the risk of hitting the bars comes from.
Practice each step until it is comfortable before moving to the next. The flip inside the bars and the jump outside can be trained separately in the same session. Both are prerequisites for combining them in step 6.
Mats and chalk are not optional at any stage. The mats protect every landing during learning. The chalk prevents grip slip during the swing, which is a higher risk move than static bar work.
Film from the side or from behind to check whether the body is twisting during the exit. A twisted exit is not visible from in front or from the athlete's own perspective.
Frequently Asked Questions About the Front Flip Dismount on P-Bars
Do I need to know how to front flip before learning this?
Yes. Experience with front flips is listed as a hard prerequisite before attempting any step of this progression. The flip mechanics are identical to a standard front flip. Attempting the P-bars version without an existing front flip means learning both at once in a less safe environment. Learn the front flip first.
Why should I start at the edge of the P-bars?
Starting at the edge means if the swing goes past the handstand, the athlete falls forward away from the bars rather than backward into them. The edge also makes it easier to exit the bars to the side in step 4. Once the skill is mastered at the edge, move to the middle.
Why must the body not twist when exiting the P-bars?
Twisting during the exit rotates the flip plane sideways rather than forward. A sideways flip at the P-bars either causes the athlete to hit the bars or produces a completely different rotation. The landing must be sideways beside the bars from a forward-facing flip. Keep the head and eyes forward until the tuck begins.
What does locking the elbows do for the swing?
Locked elbows maintain the length of the arms as a fixed lever in the swing. Bent elbows shorten that lever and destabilize the swing. For the big swing needed in step 5, unlocked elbows cause the body to lose height and make the flip much harder to complete with enough rotation.
Why open the knees during the tuck?
Opening the knees slightly during the tuck creates space between the knees and the face. When tucking hard with knees together, the knees travel up and can hit the head or face. A slightly wider knee position prevents that without reducing the tuck speed meaningfully.
What if I keep landing on my back or butt?
Increase the swing speed. Landing on the back or butt means the rotation is not completing. More swing height gives the flip more time and power to rotate fully. The flip itself does not need to change. The swing does.
Is this skill safe to learn alone?
The video recommends mats and chalk at every step. Starting at the edge of the P-bars is the primary safety measure built into the progression. A spotter is not mentioned in the tutorial, but having someone present during the first attempts of step 5 and step 6 is worthwhile if available. Never practice this on concrete without mats.
Daniel Flefil
Calisthenics coach with 11 years of experience, co-founder of Calixpert, and organizer of Beast of the Barz, one of the world's largest calisthenics competitions. Based in Stockholm. I write about training, equipment, and everything that goes into building a serious calisthenics practice.
More about Daniel →